
Set up your first syndicate
When you open Syndik8 on a brand-new account that nobody has invited anywhere, a setup wizard takes over the home screen and walks you through getting a syndicate off the ground. (An invitation already waiting for your email is shown first, and the wizard follows only once you’ve decided on each one; that route is covered in Join a syndicate as a member.) This tutorial follows it end to end. By the finish you’ll have a syndicate with one aircraft, a rate your members will be charged, and an invitation on its way to your first member. Plan on about ten minutes.
The wizard has five steps, shown as a progress row across the top: Welcome, Group, Aircraft, Rates, and Invite. The compulsory parts are a name for your group, an aircraft, an answer to the first of the capture questions, and an hourly rate. The rest of the capture questions come with sensible answers already filled in, so you can accept them and move on; everything else you can leave blank now and set later.
Before you begin, it helps to have a few things to hand:
- A name for your syndicate (anything recognisable, such as “G-QNEW Syndicate”).
- Your aircraft’s tail number (for example,
G-QNEW) and today’s reading on the meter you bill by. - The airfield your aircraft is based at, if you have one. You only need it if you recharge landing fees.
- The rate a member pays per flying hour. Syndik8 does not add VAT to the charges your members owe each other.
- The email address of the first person you want to invite.
Missing some of it? Follow along anyway; every one of these can be changed afterwards.
Step 1: Welcome
Section titled “Step 1: Welcome”On a fresh account with no invitation waiting, the home screen opens on the wizard’s Welcome step, headed “Welcome to Syndik8”. Tap Get Started to begin. (If an invitation was waiting, you reach this step after deciding on it.)
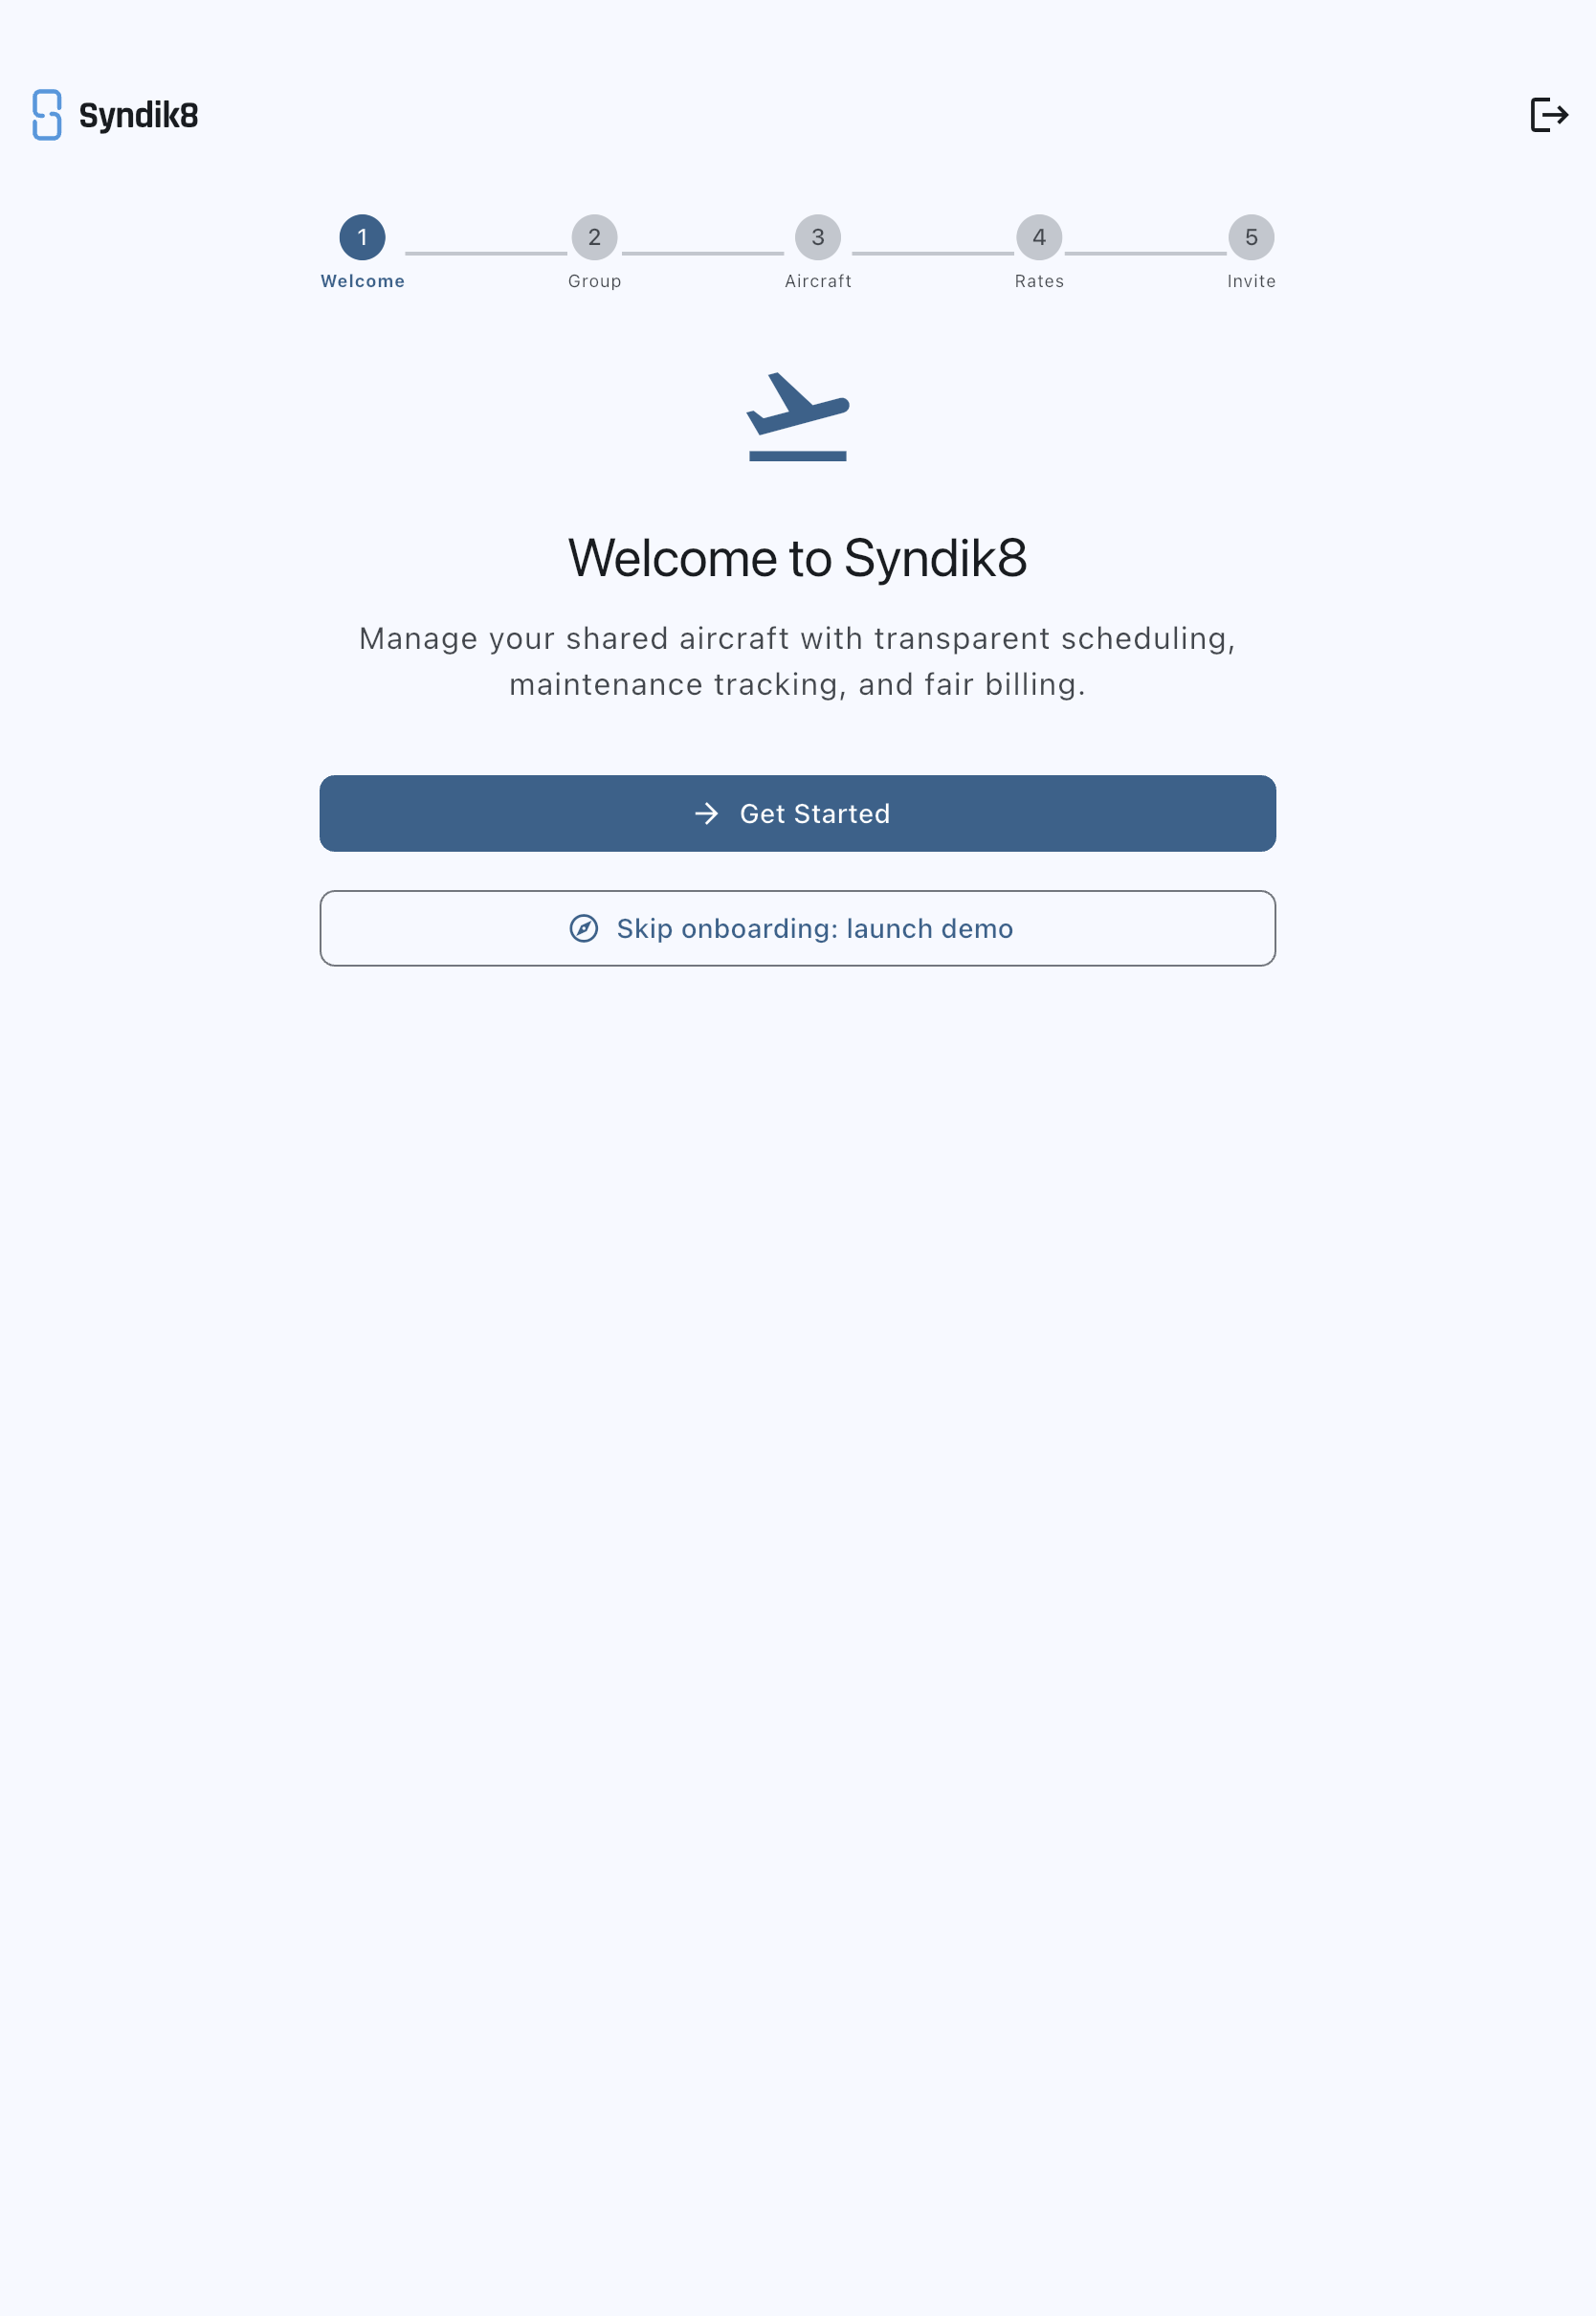
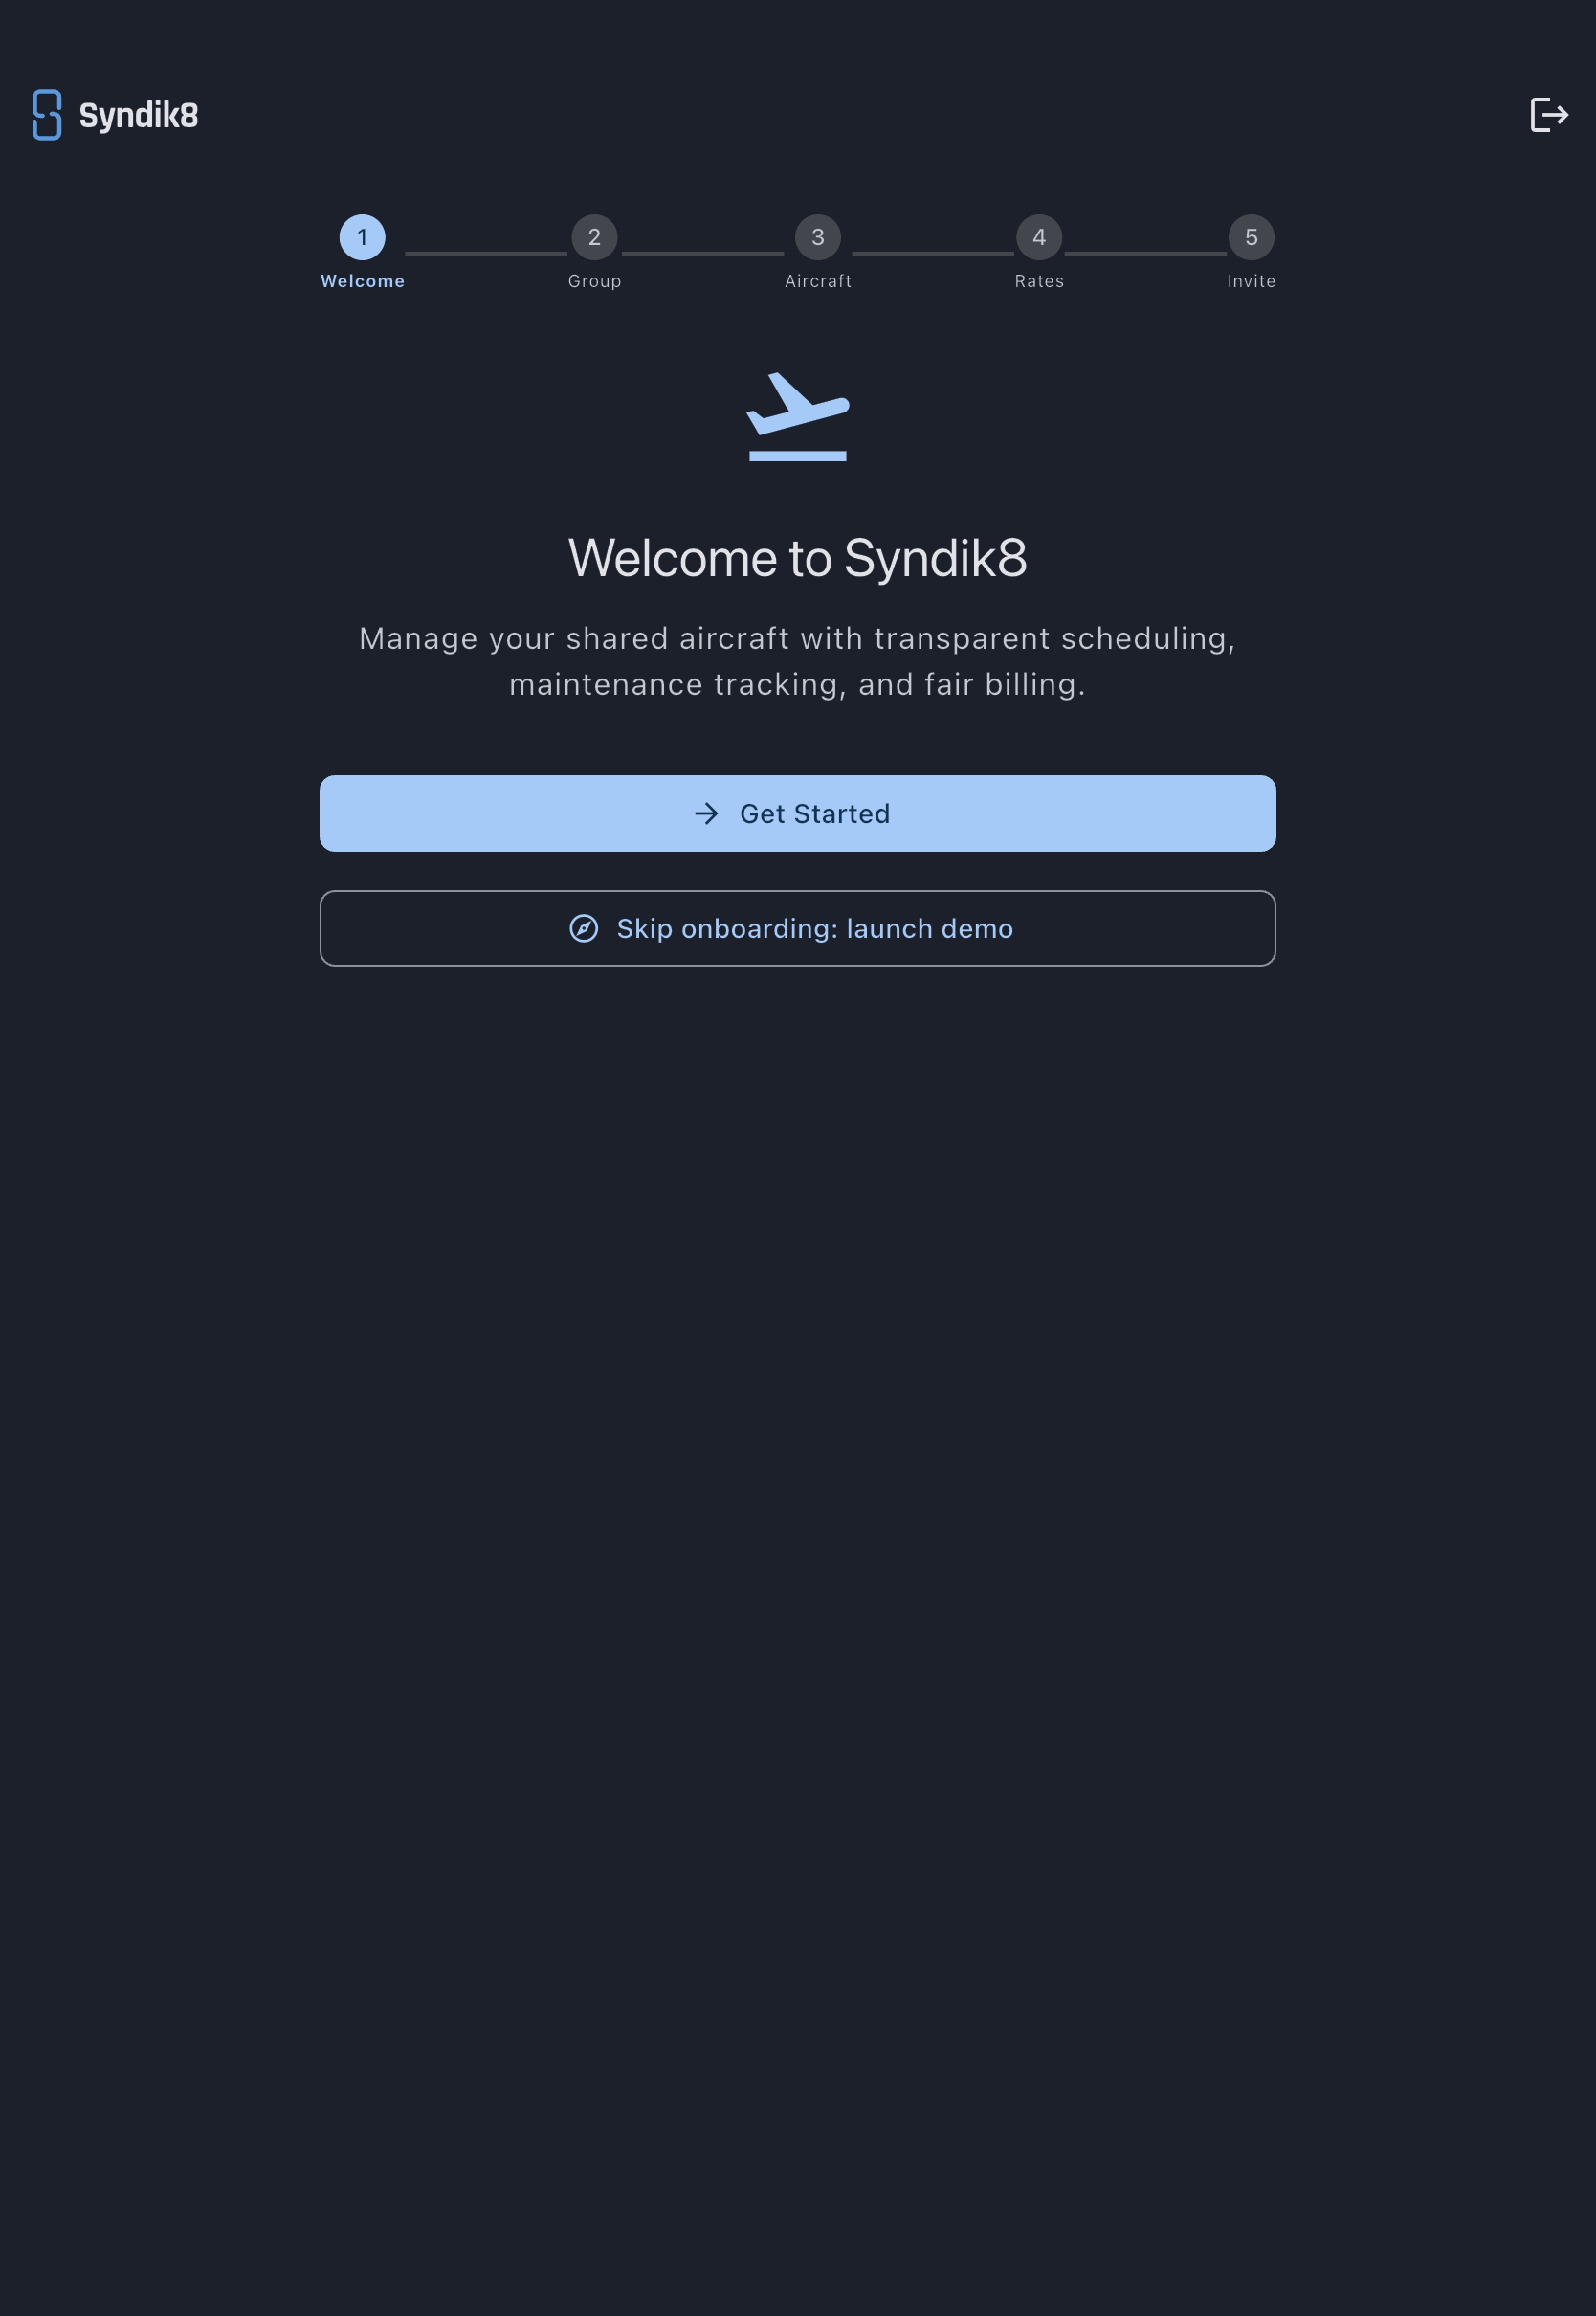
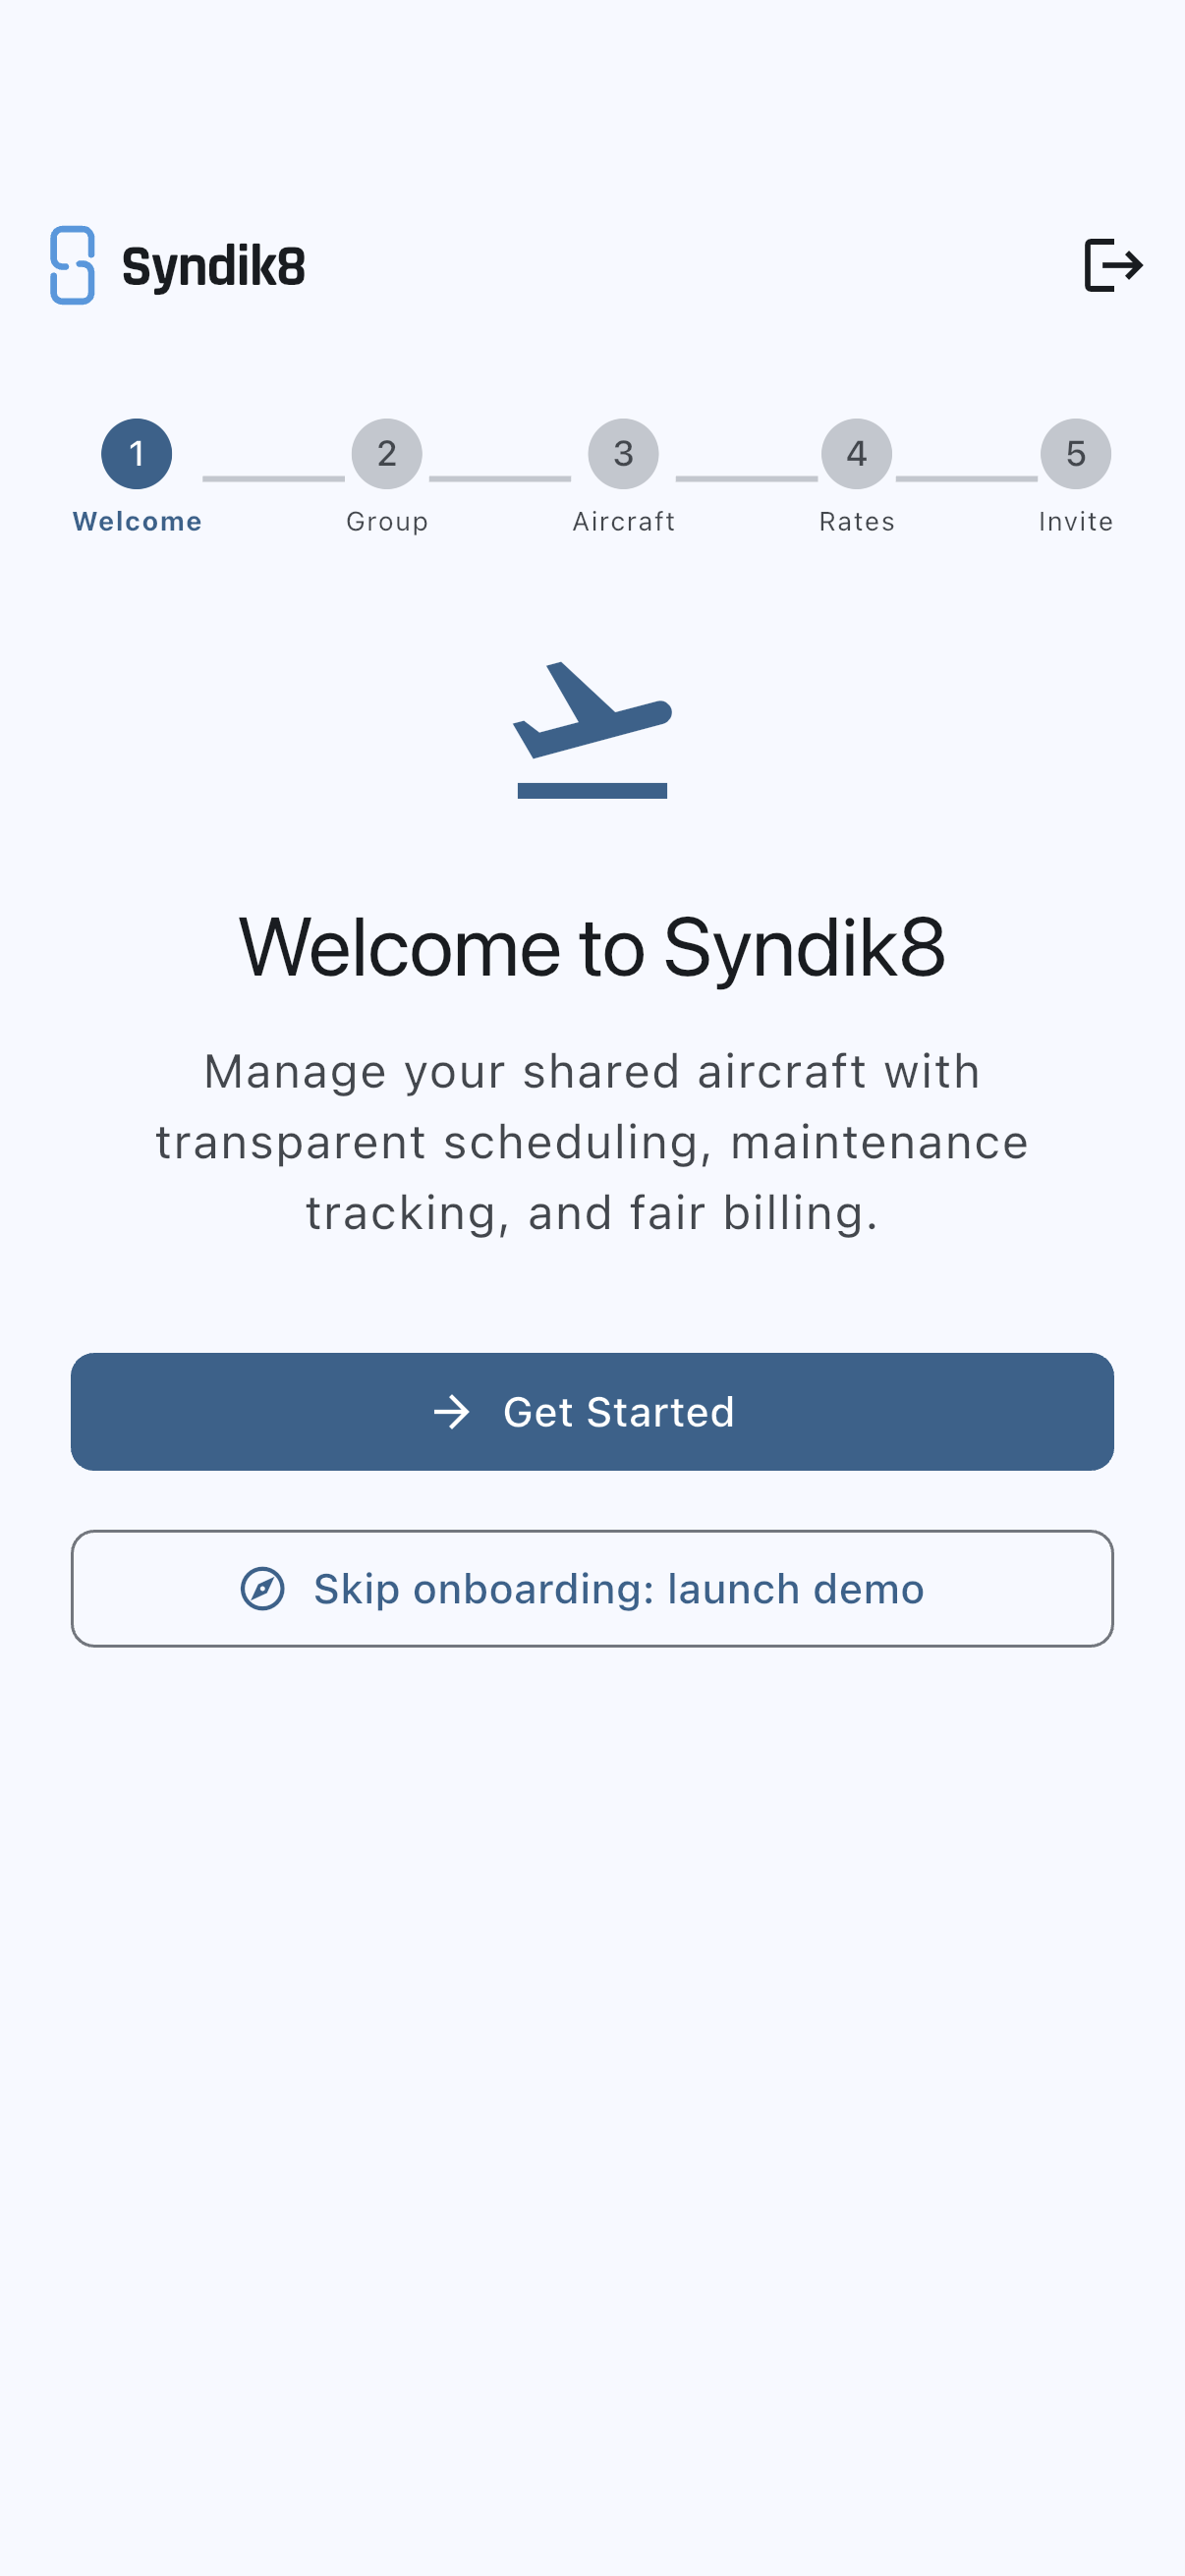
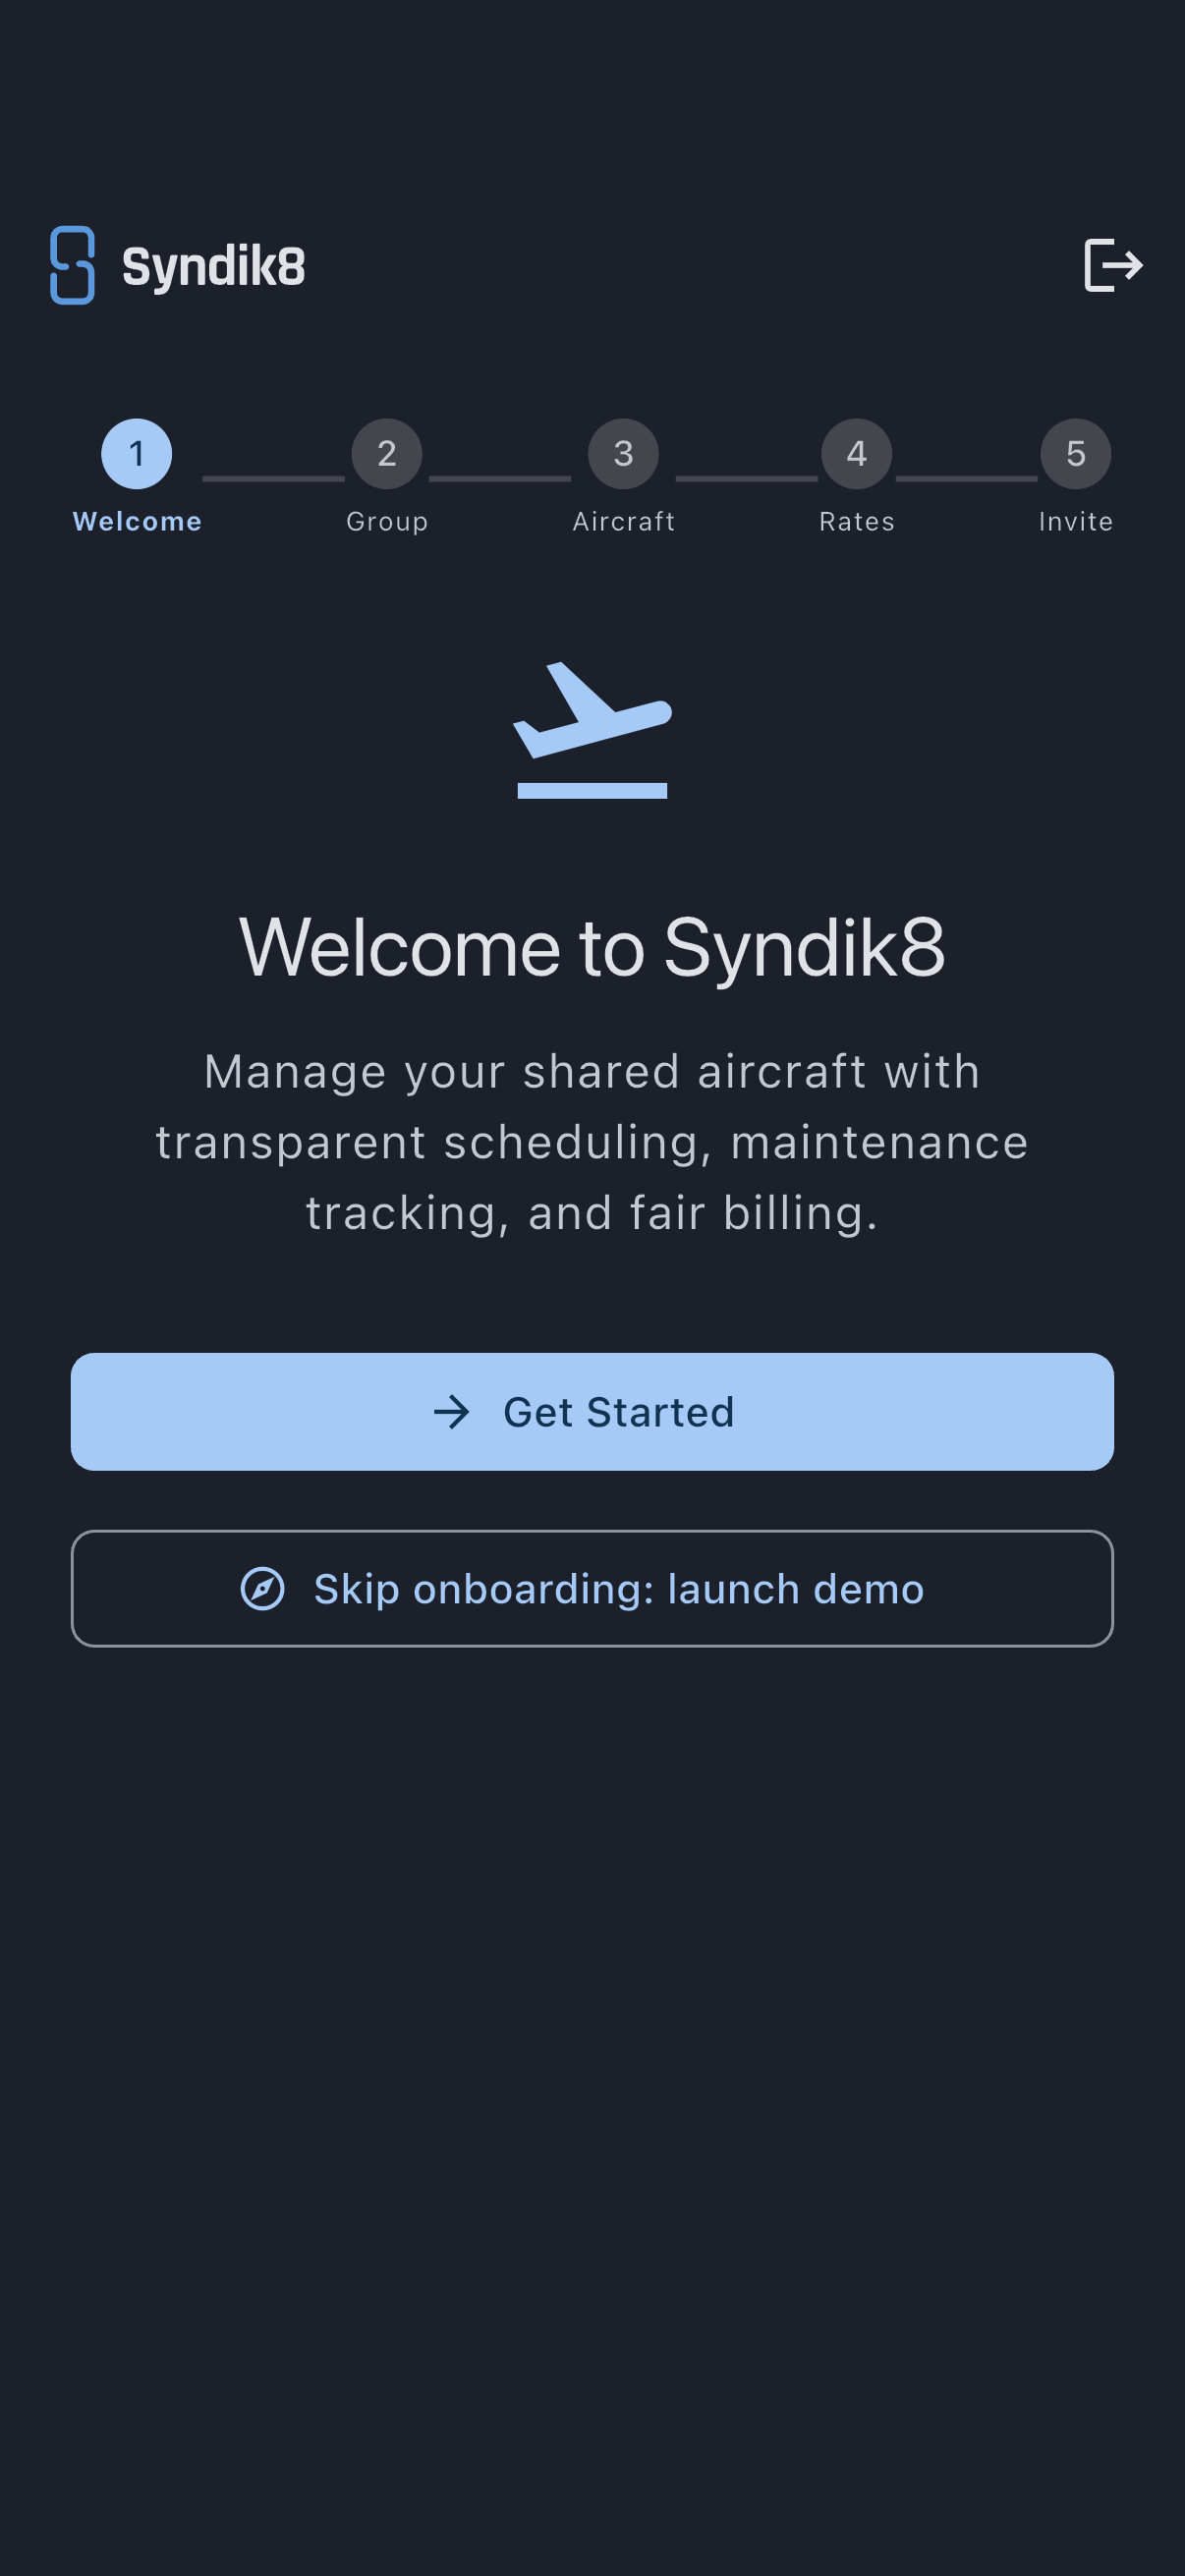
The progress row moves from Welcome to Group, and you’re ready to name your syndicate.
Step 2: Create your group
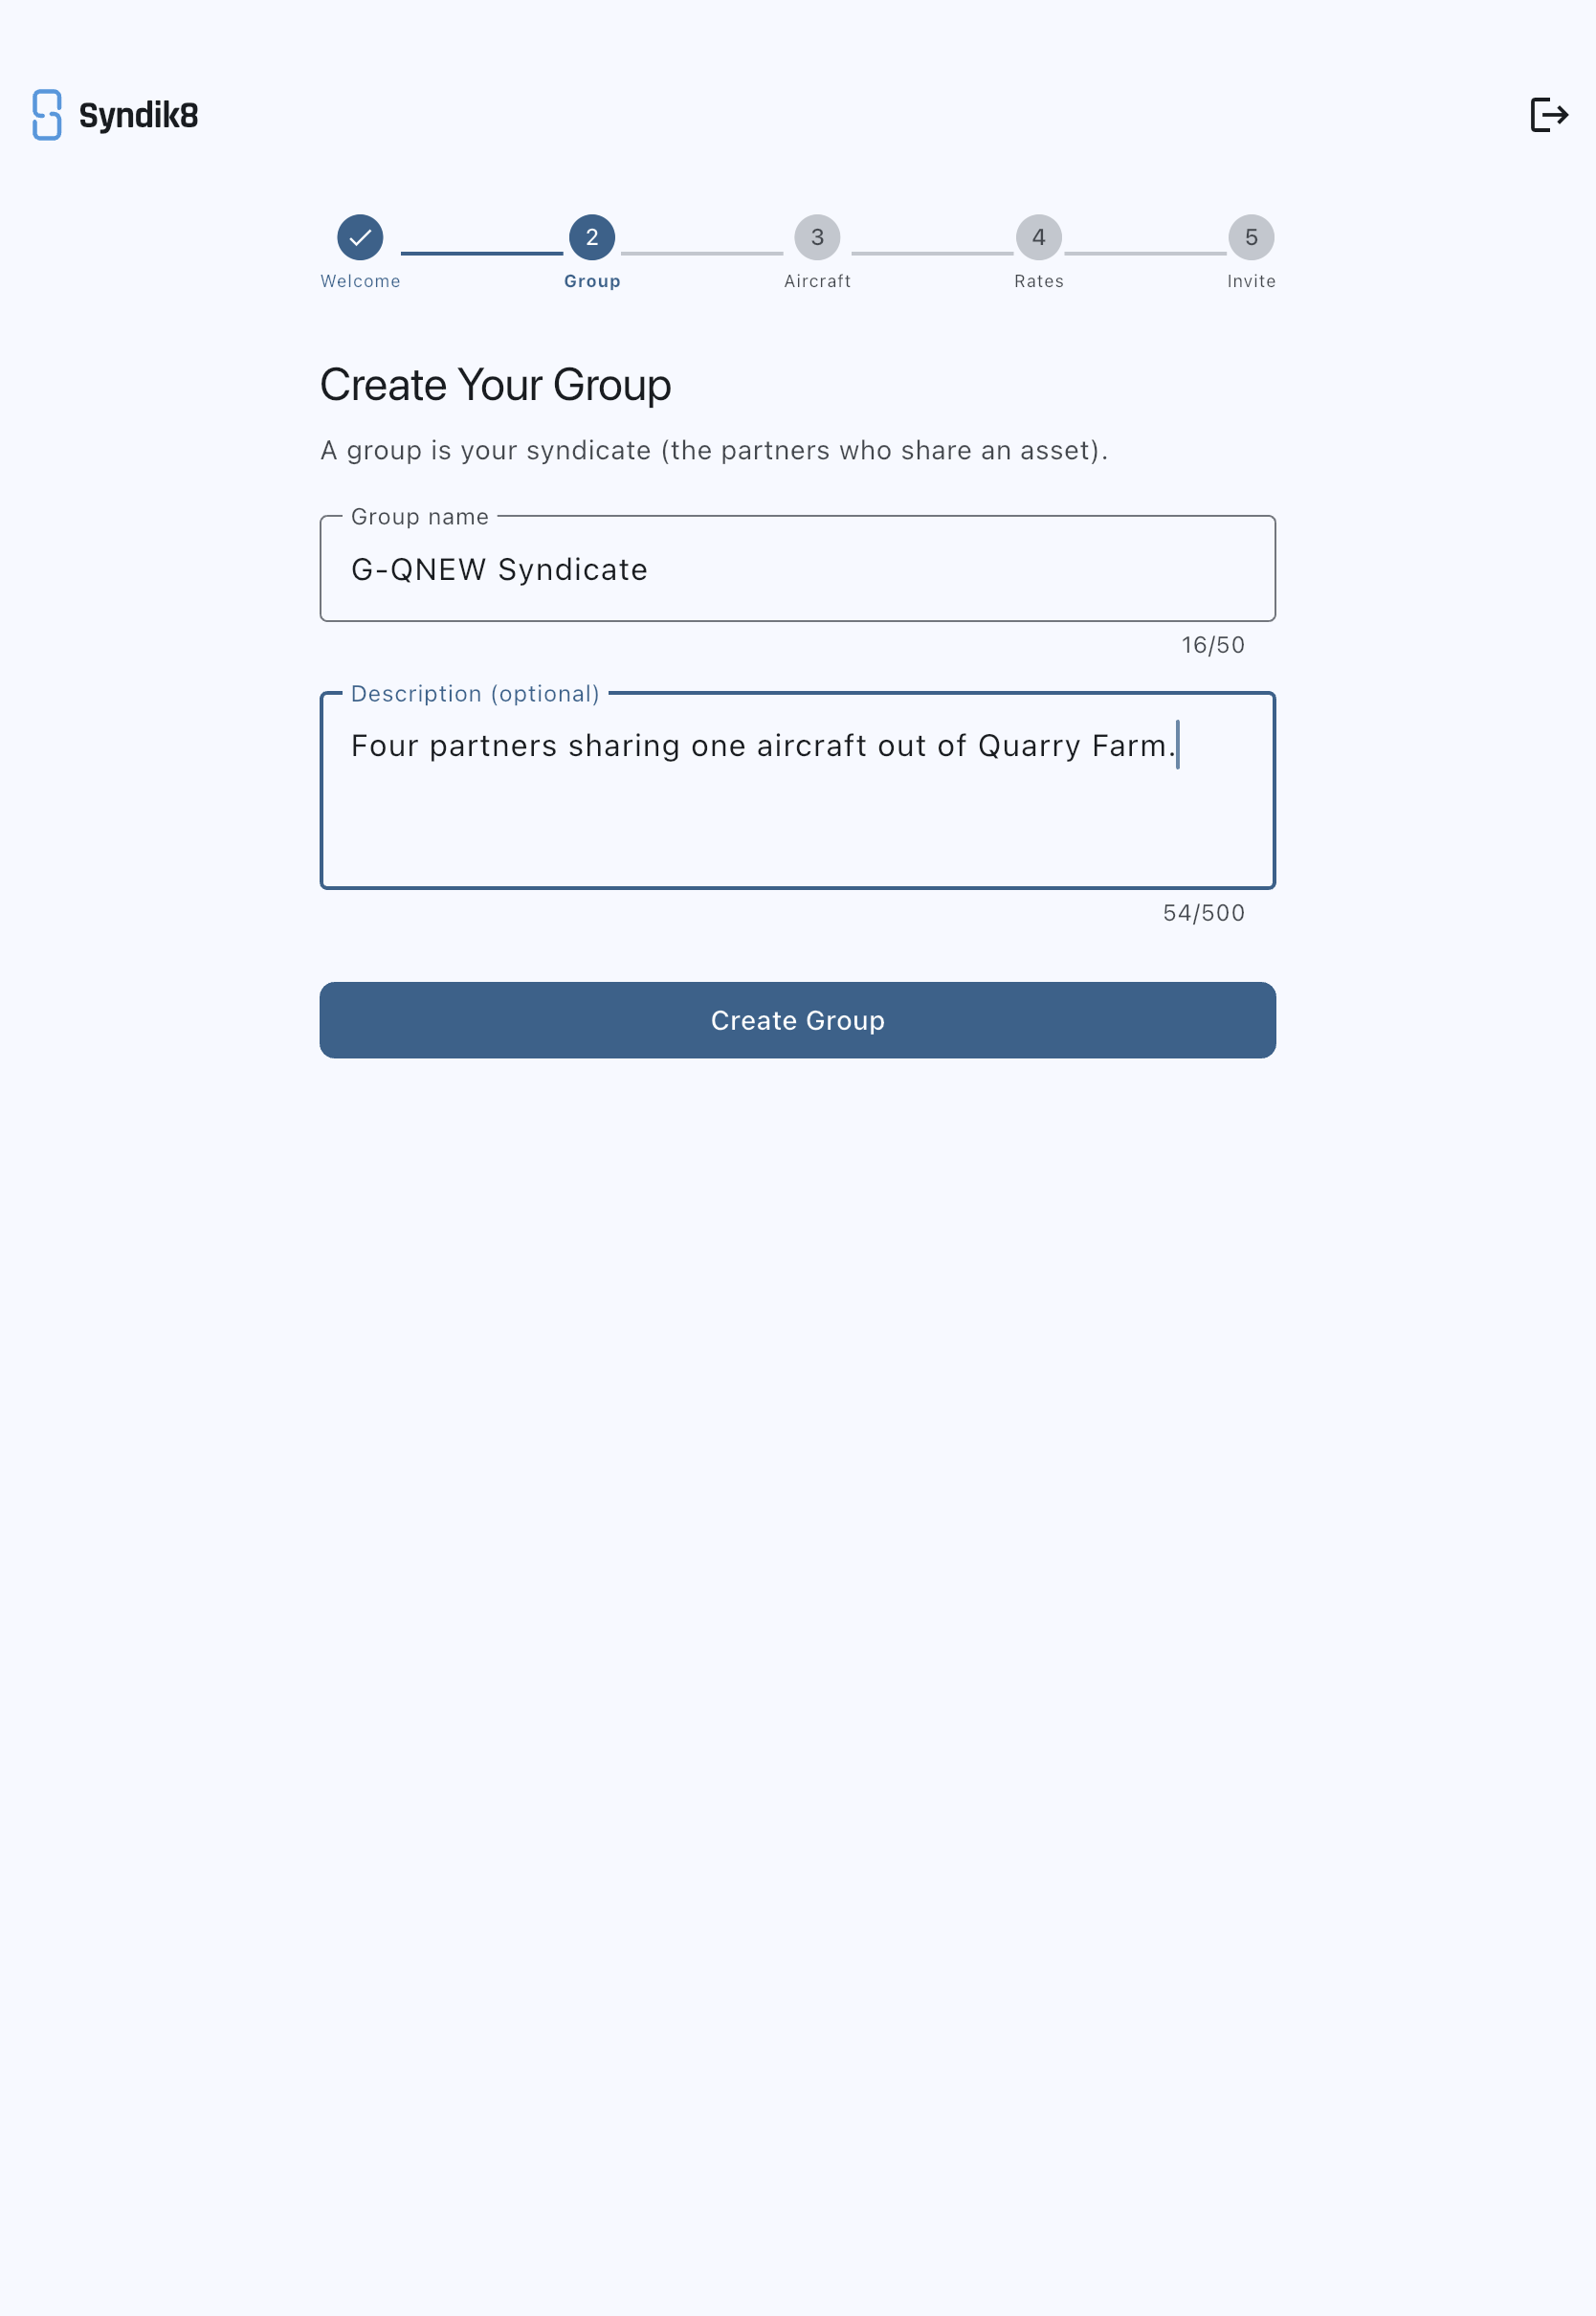
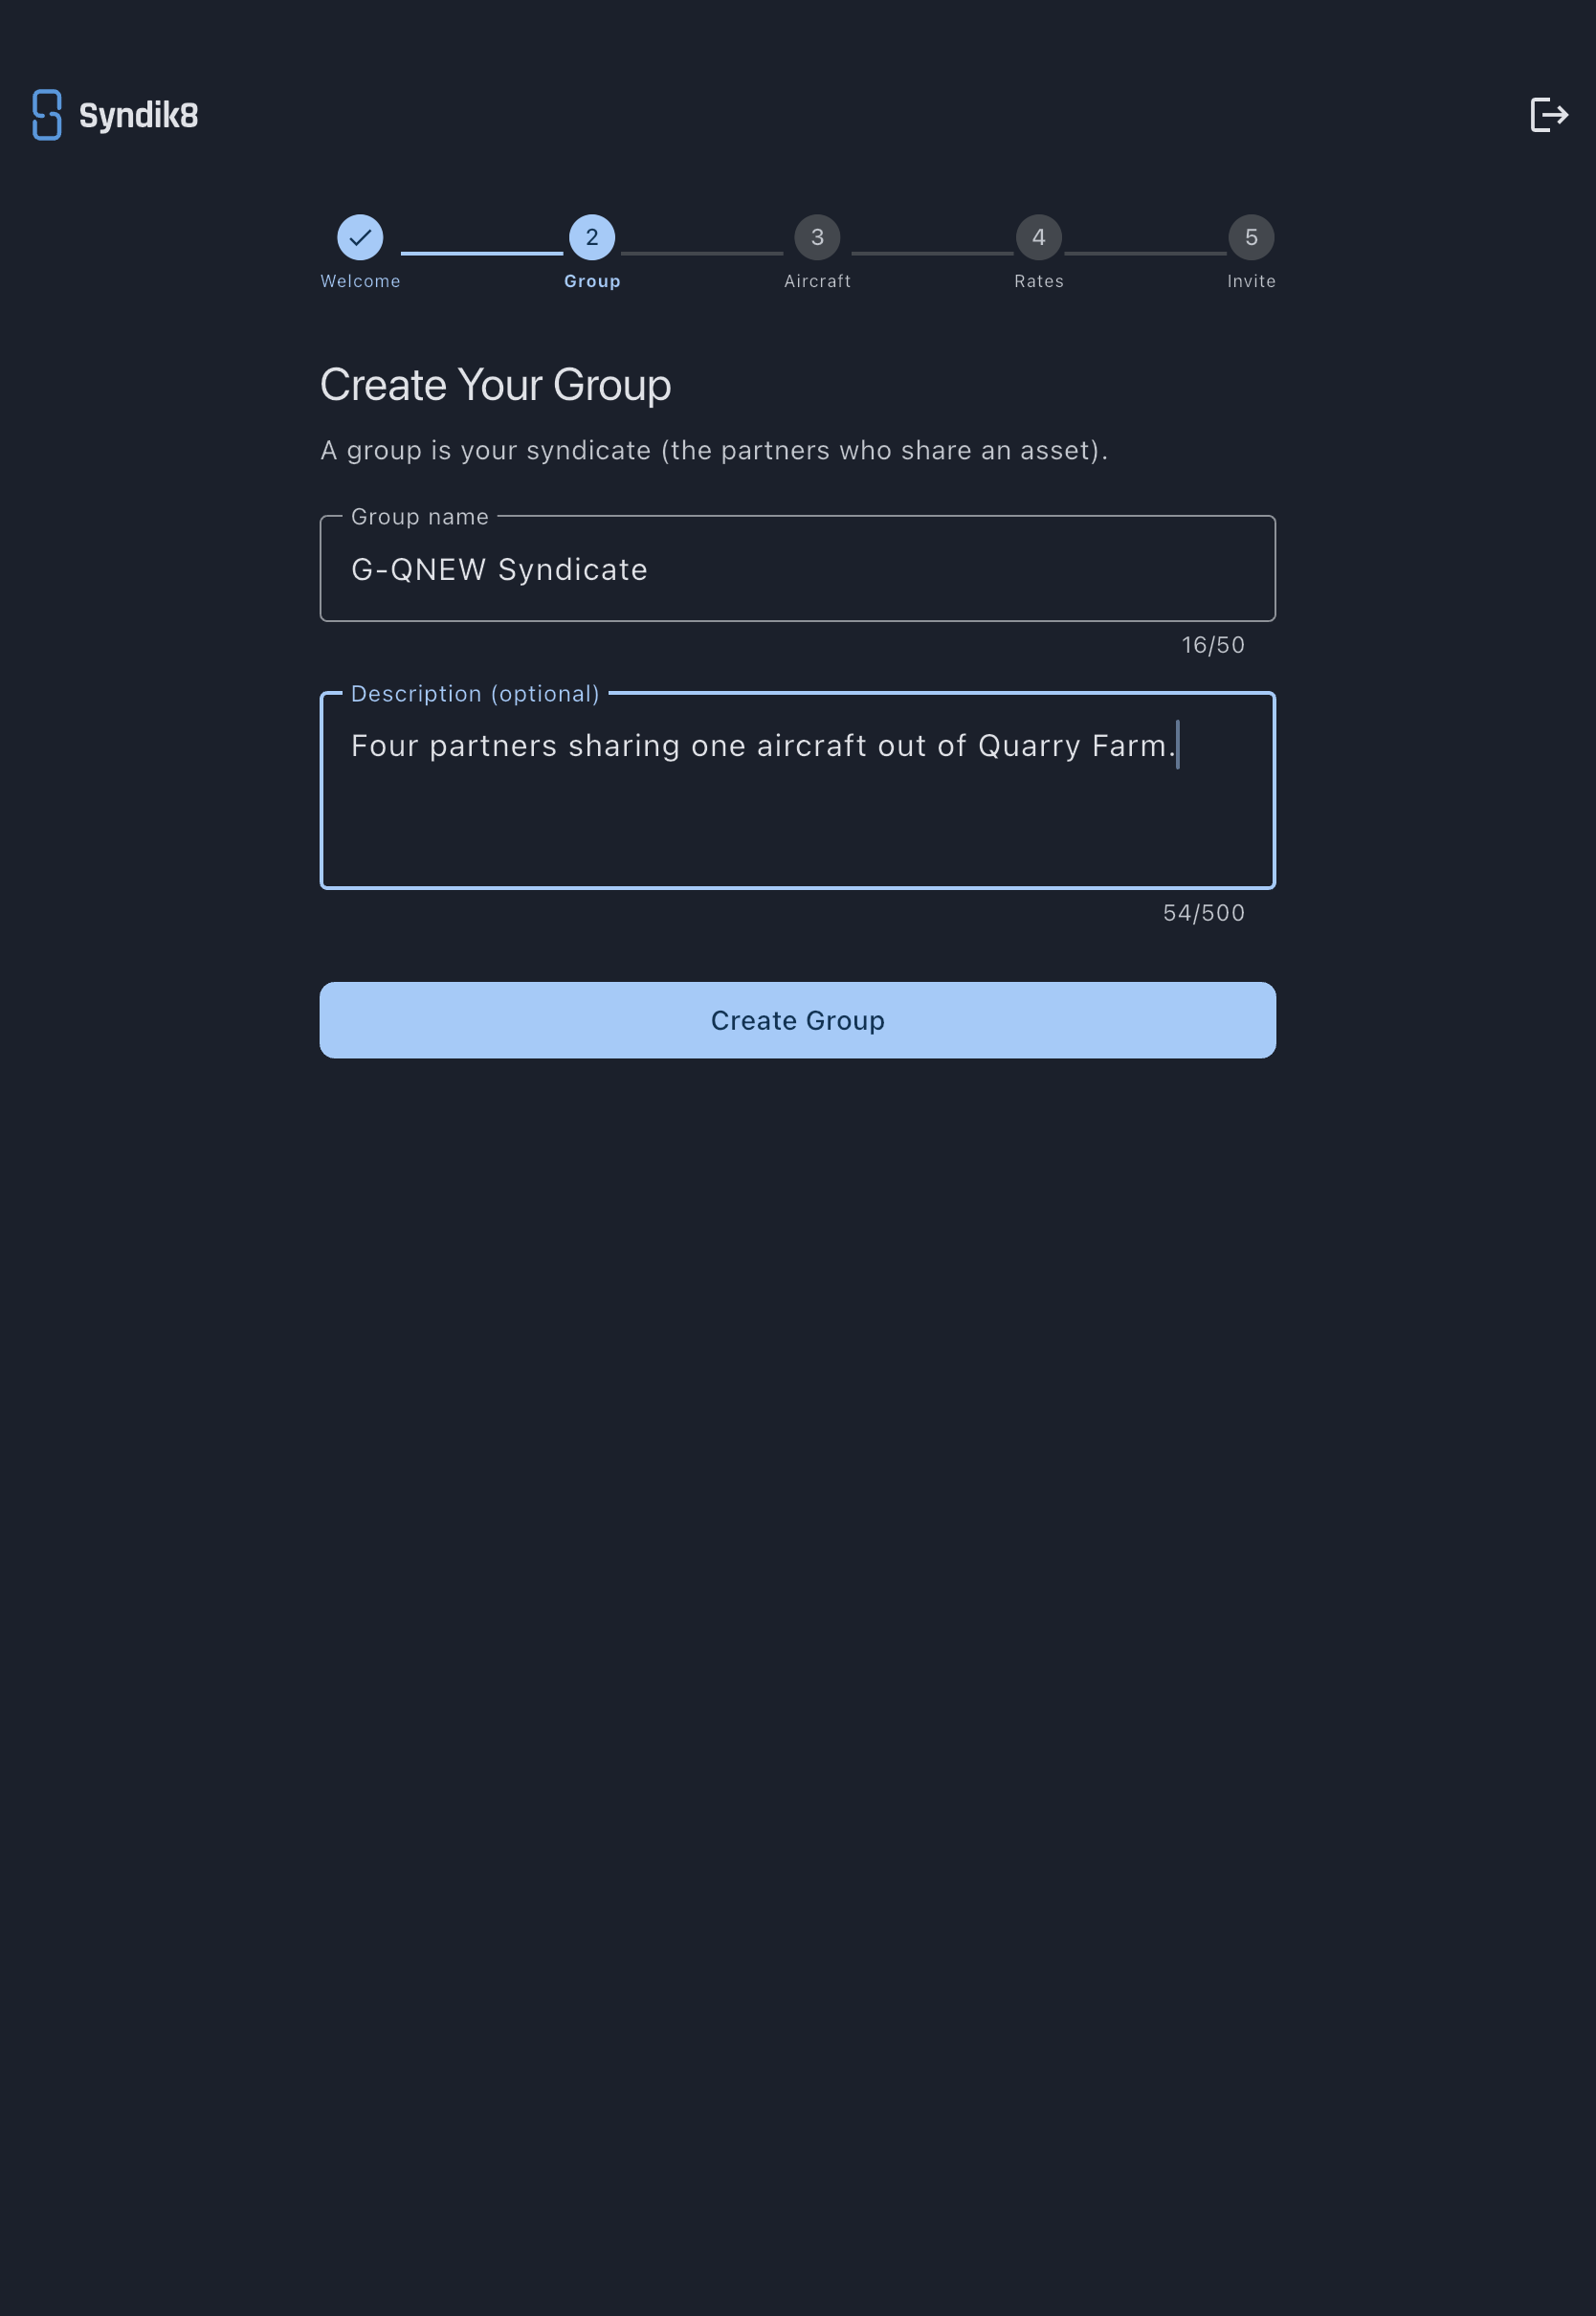
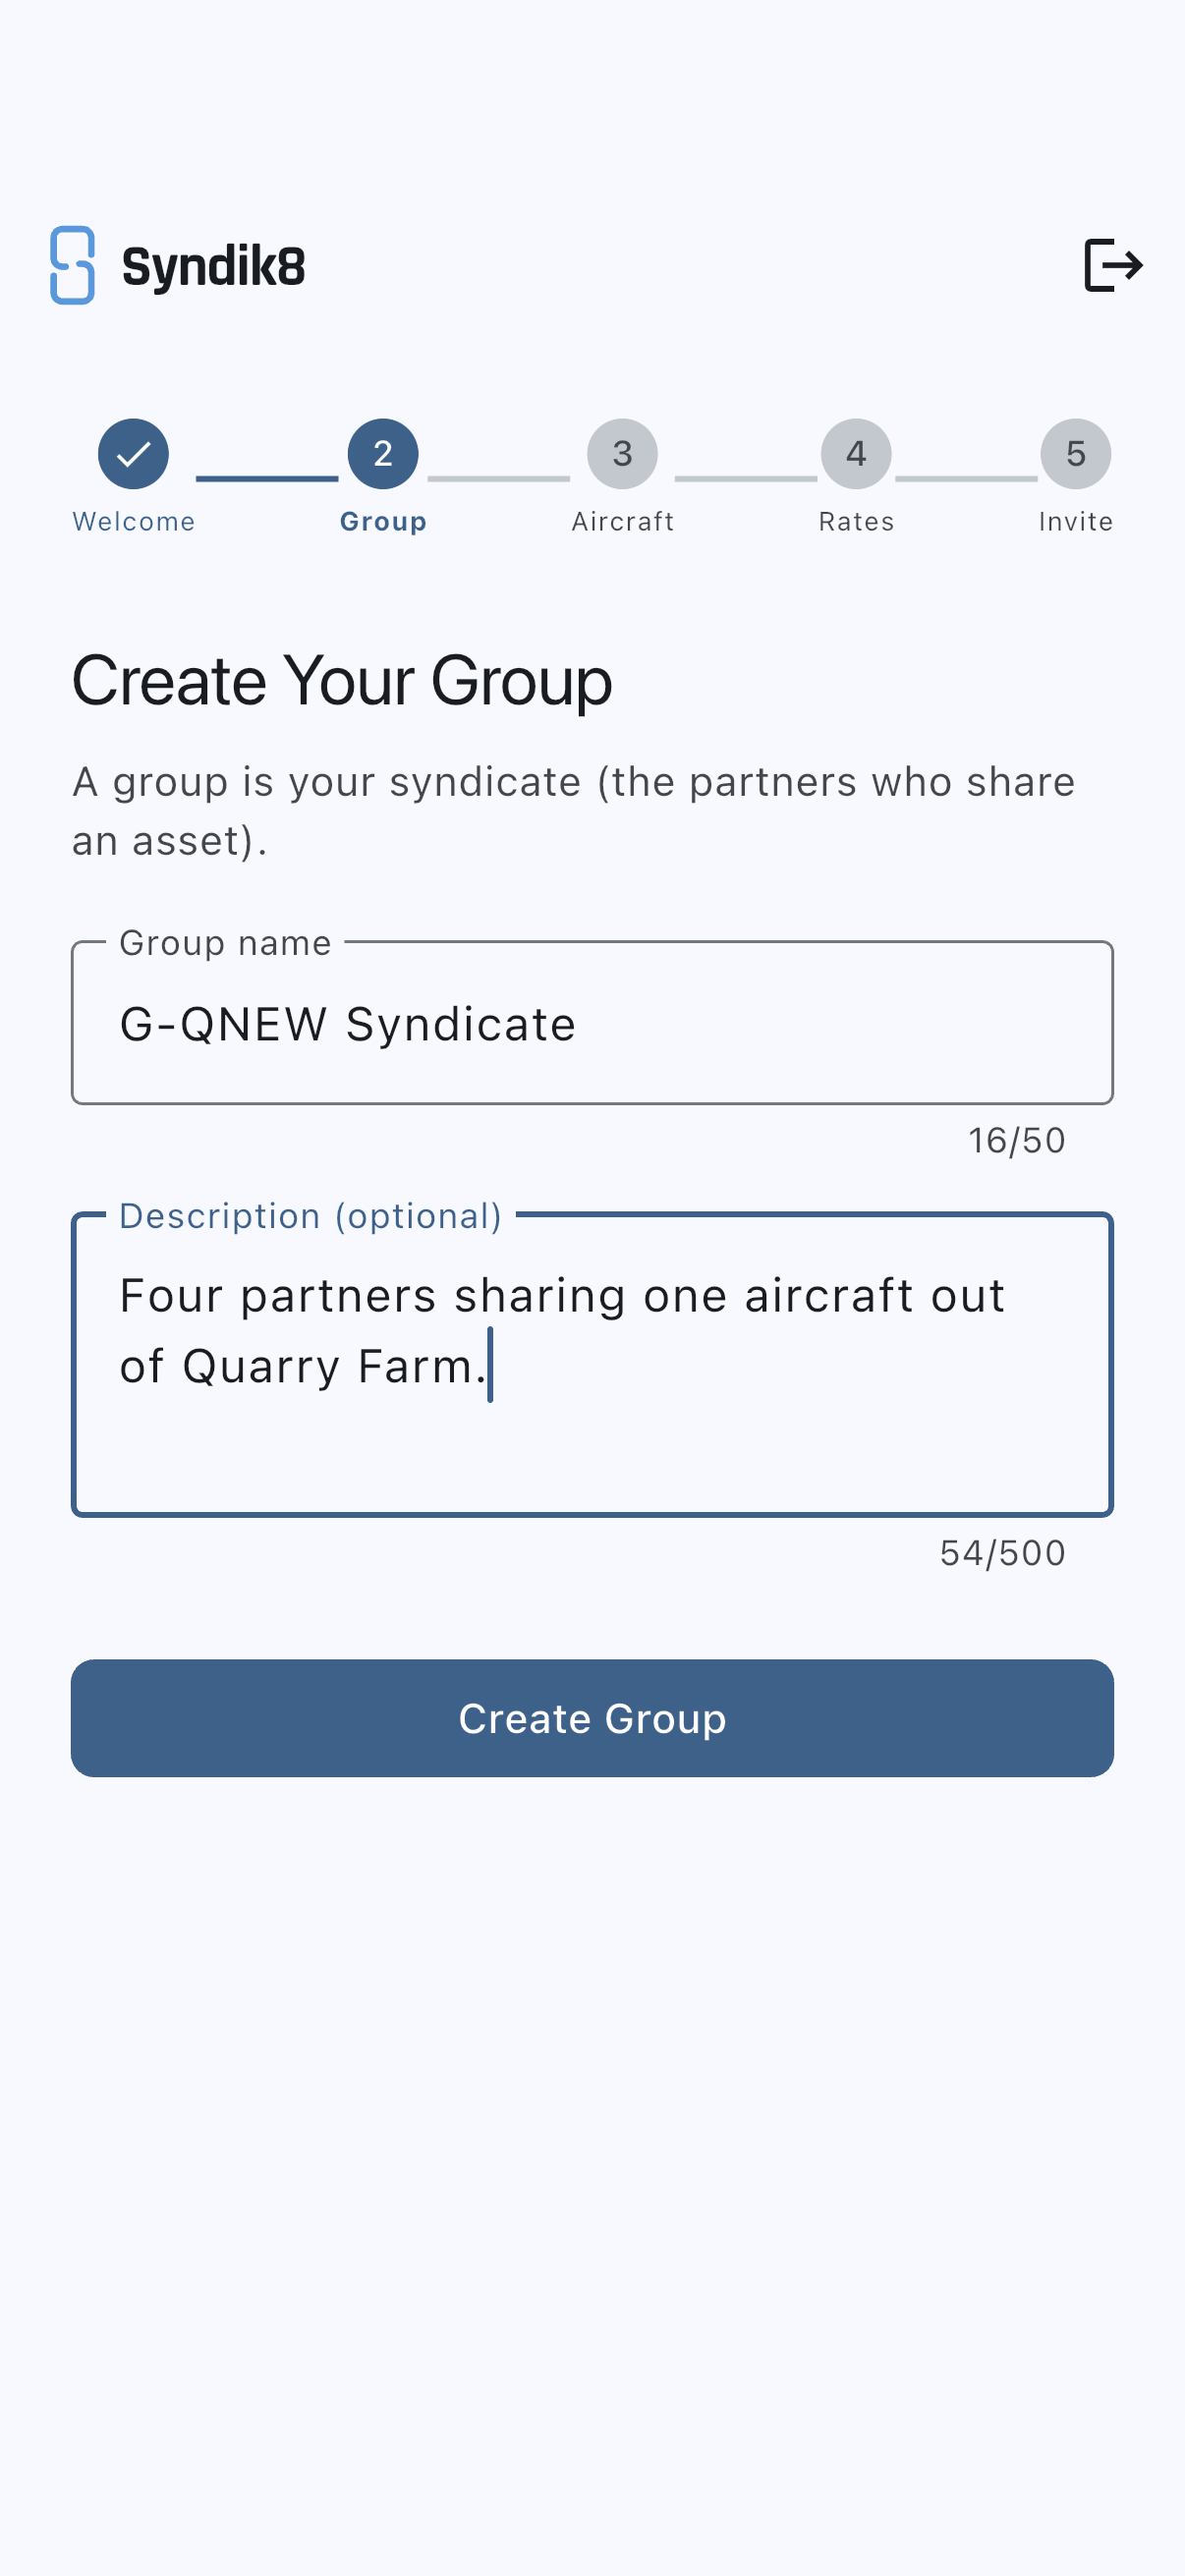
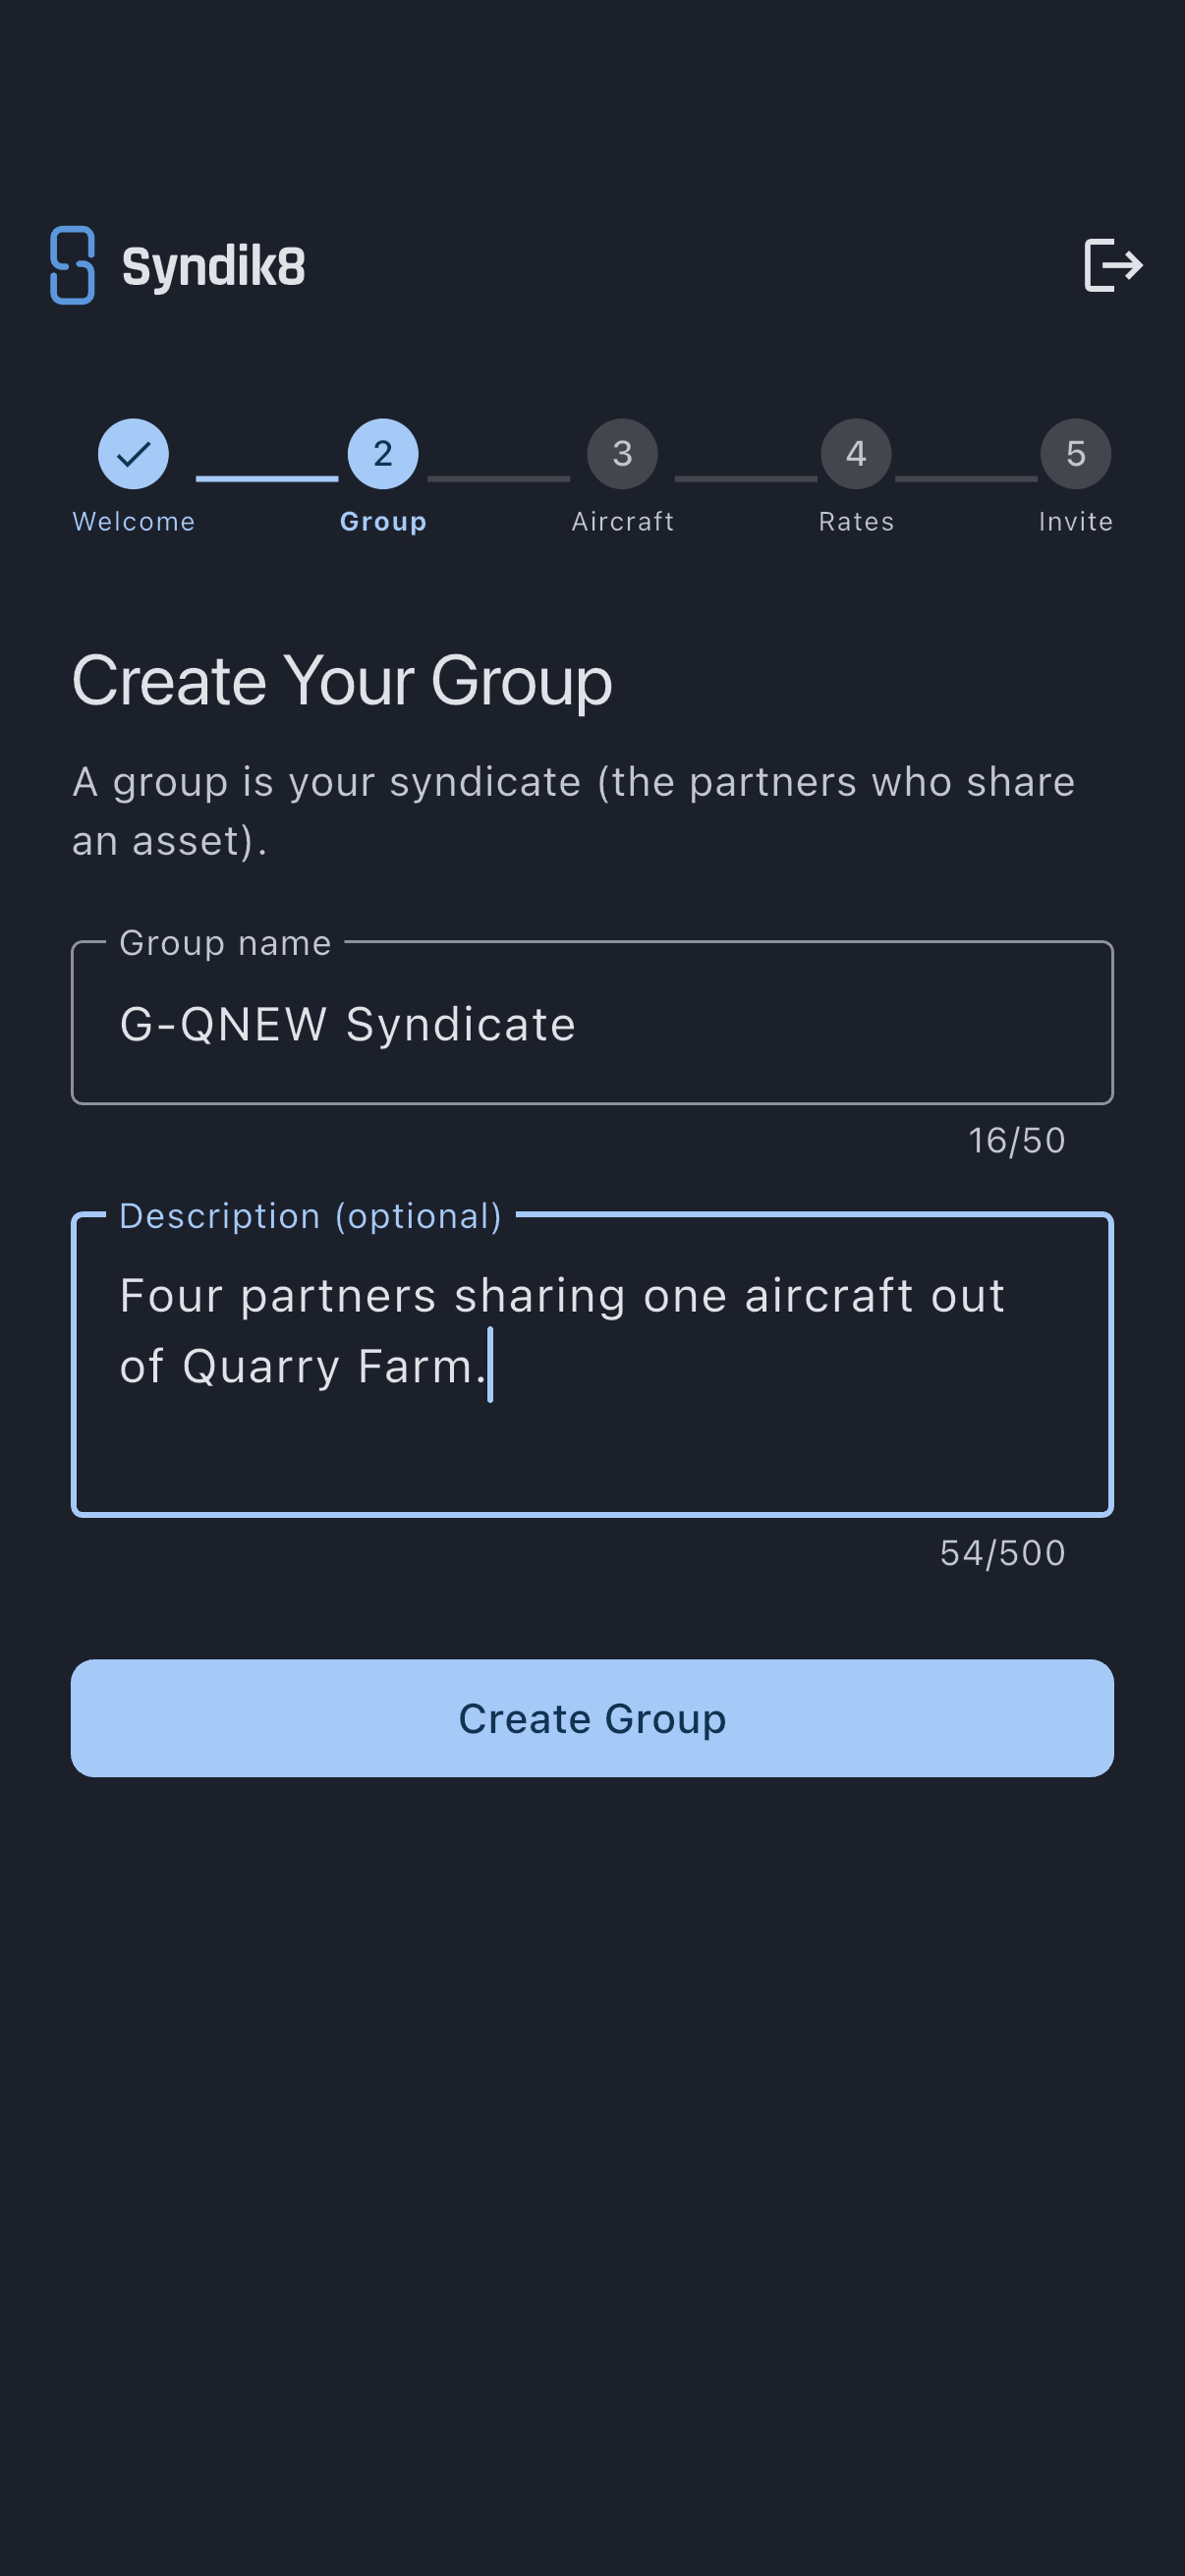
Section titled “Step 2: Create your group”Create Your Group is the first thing the wizard asks for. A group is your syndicate: the partners who share the aircraft. Fill in:
- Group name: 3 to 50 characters. Short and recognisable beats clever.
- Description (optional): a line for your members, up to 500 characters.
Tap Create Group and the wizard rolls on to Aircraft.
Two things happen as you do this. You become the syndicate’s first admin, the role that carries out the rest of the setup. And Syndik8 gives the syndicate a starter rate band called Standard Member that every member sits on until you add more.
Step 3: Add your first aircraft
Section titled “Step 3: Add your first aircraft”Every syndicate is built around at least one aircraft, so the wizard won’t move on without one. The step is headed Add Your First Aircraft, and it wants:
- Aircraft name: usually the tail number, such as
G-QNEW. - Registration (optional): the full registration, if the name above is a nickname.
- Hours on the meter now: today’s reading from the meter you bill by. Syndik8 uses it as the starting point for usage-based maintenance, so enter what the meter actually shows. You can change it later.
- Home airfield: where the aircraft is normally based. Tap Search airfields and type an ICAO code or a name to pick from the list. Based at a private strip that has no ICAO code? Tap Not listed? Enter your own and type the name in yourself.
- Photo (optional): tap Add a photo to take one or choose from your library.
Tap Add Aircraft and the wizard advances to Rates.
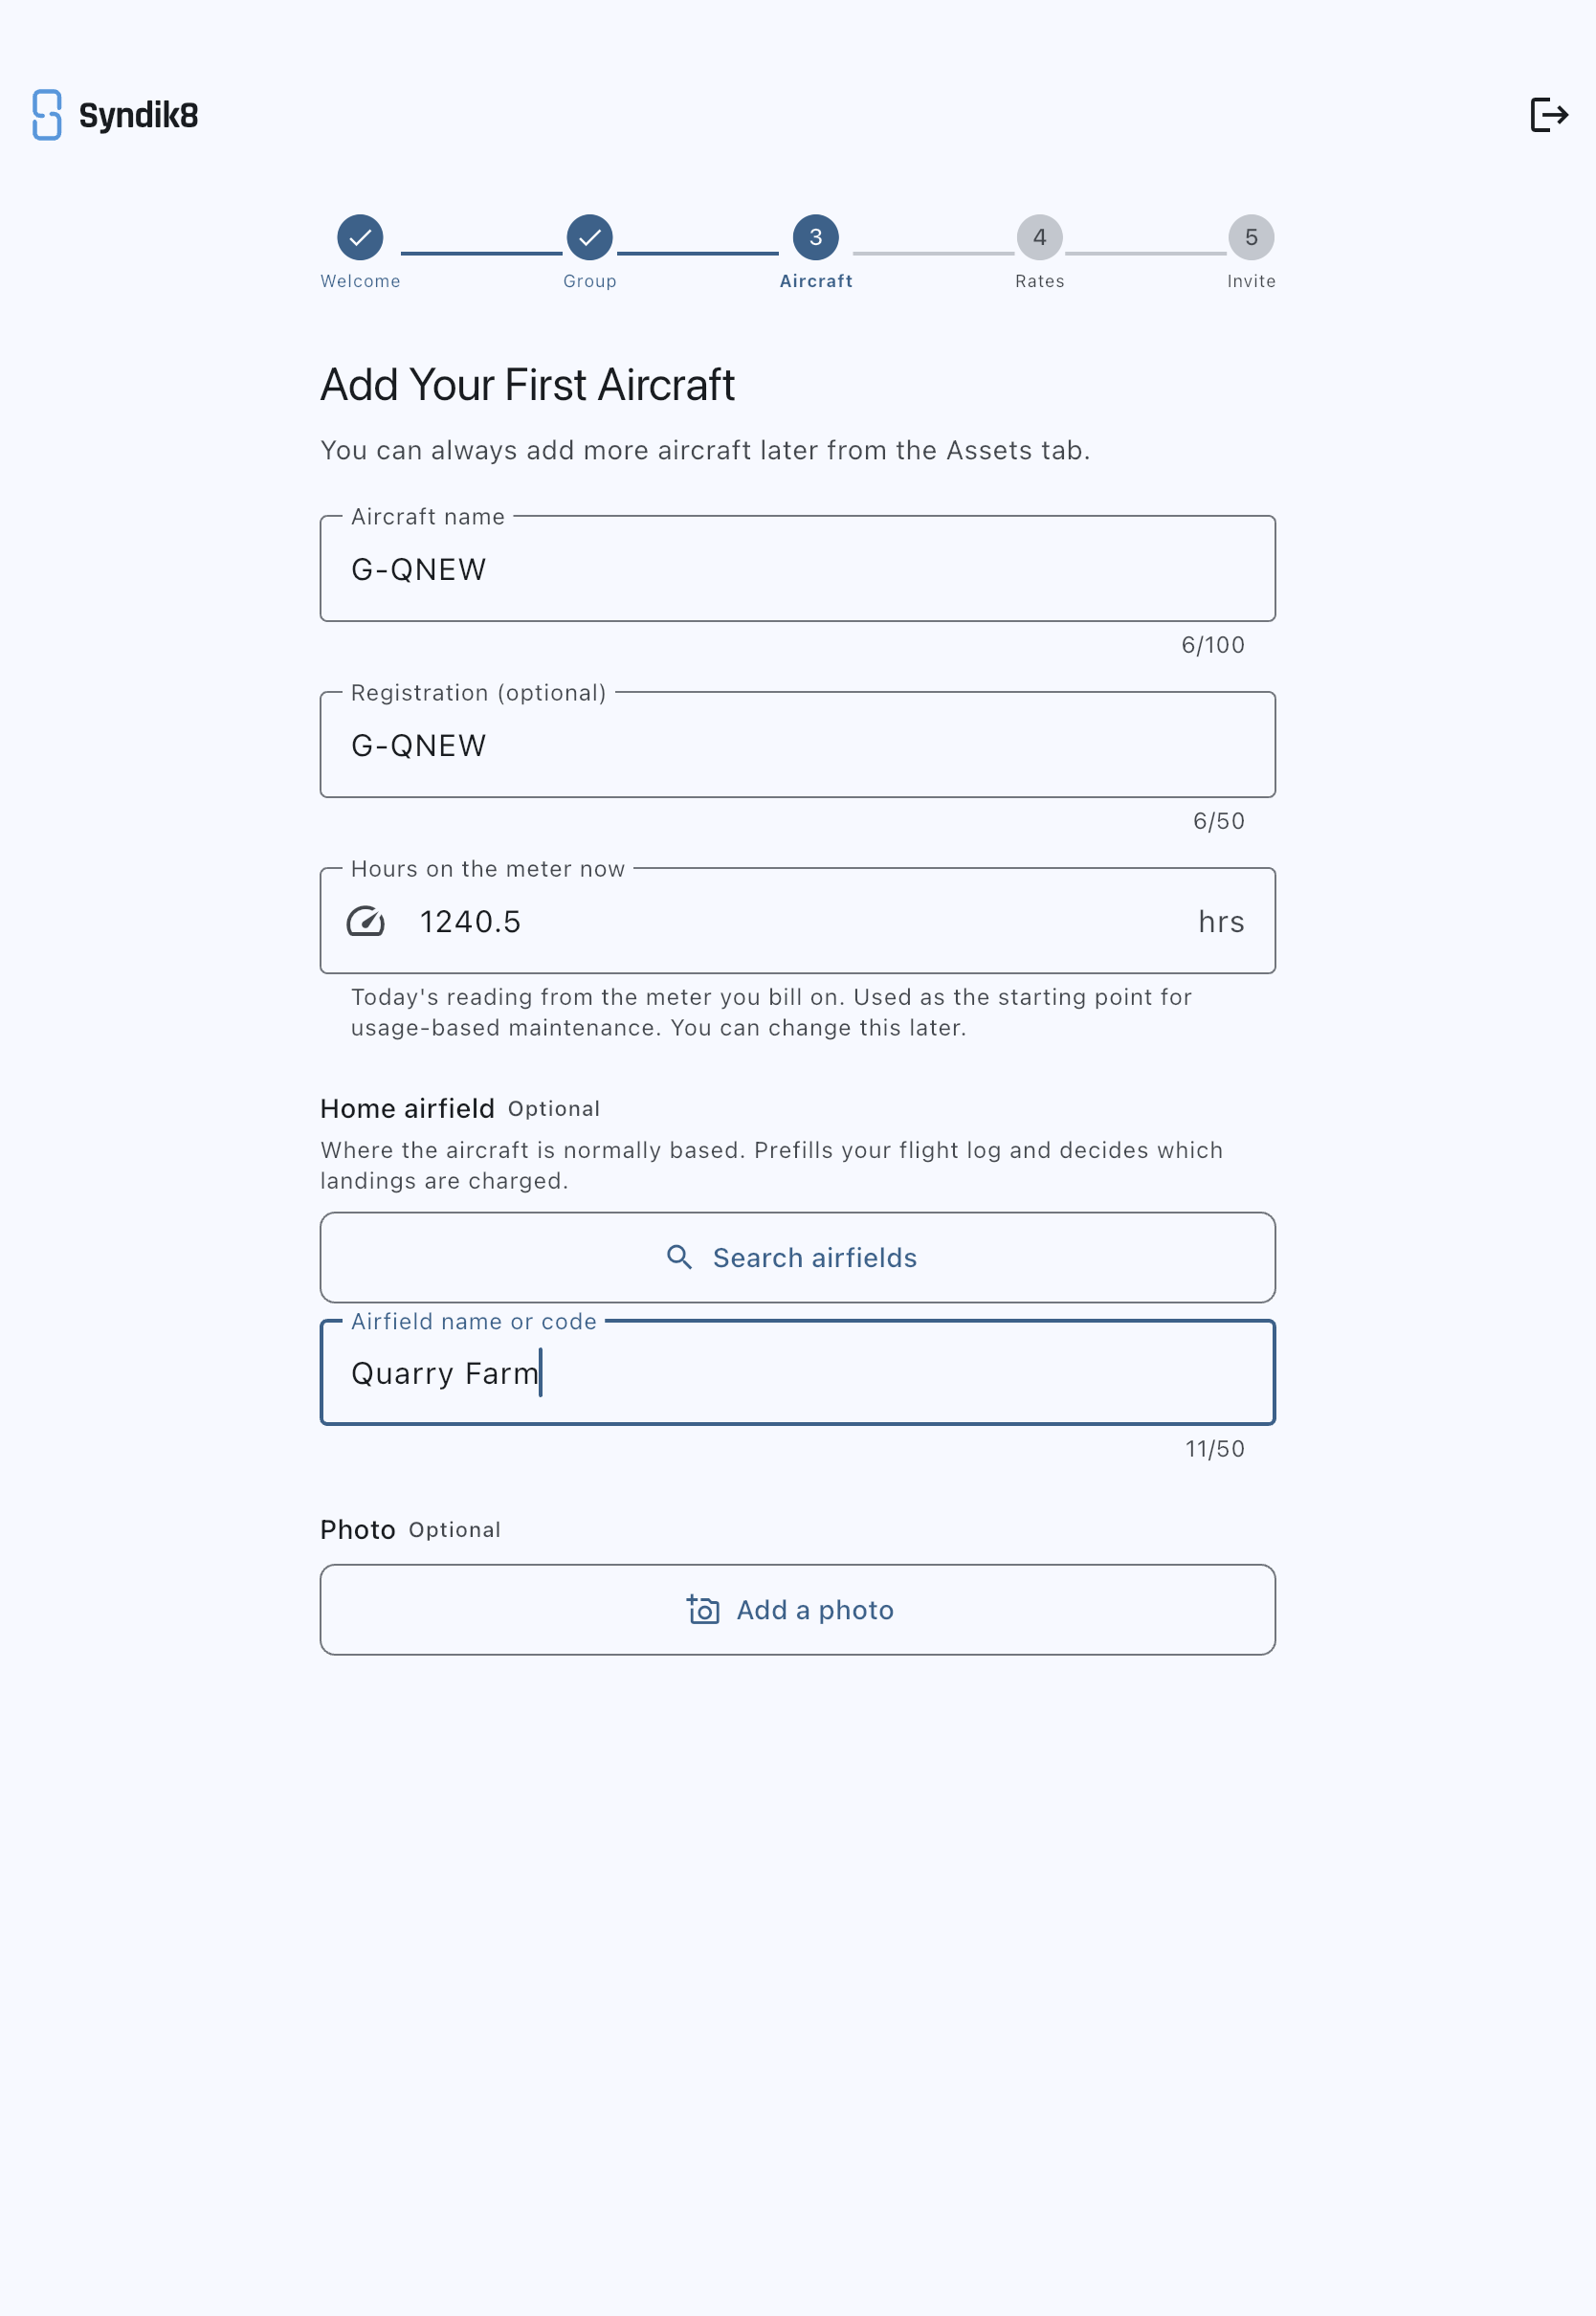
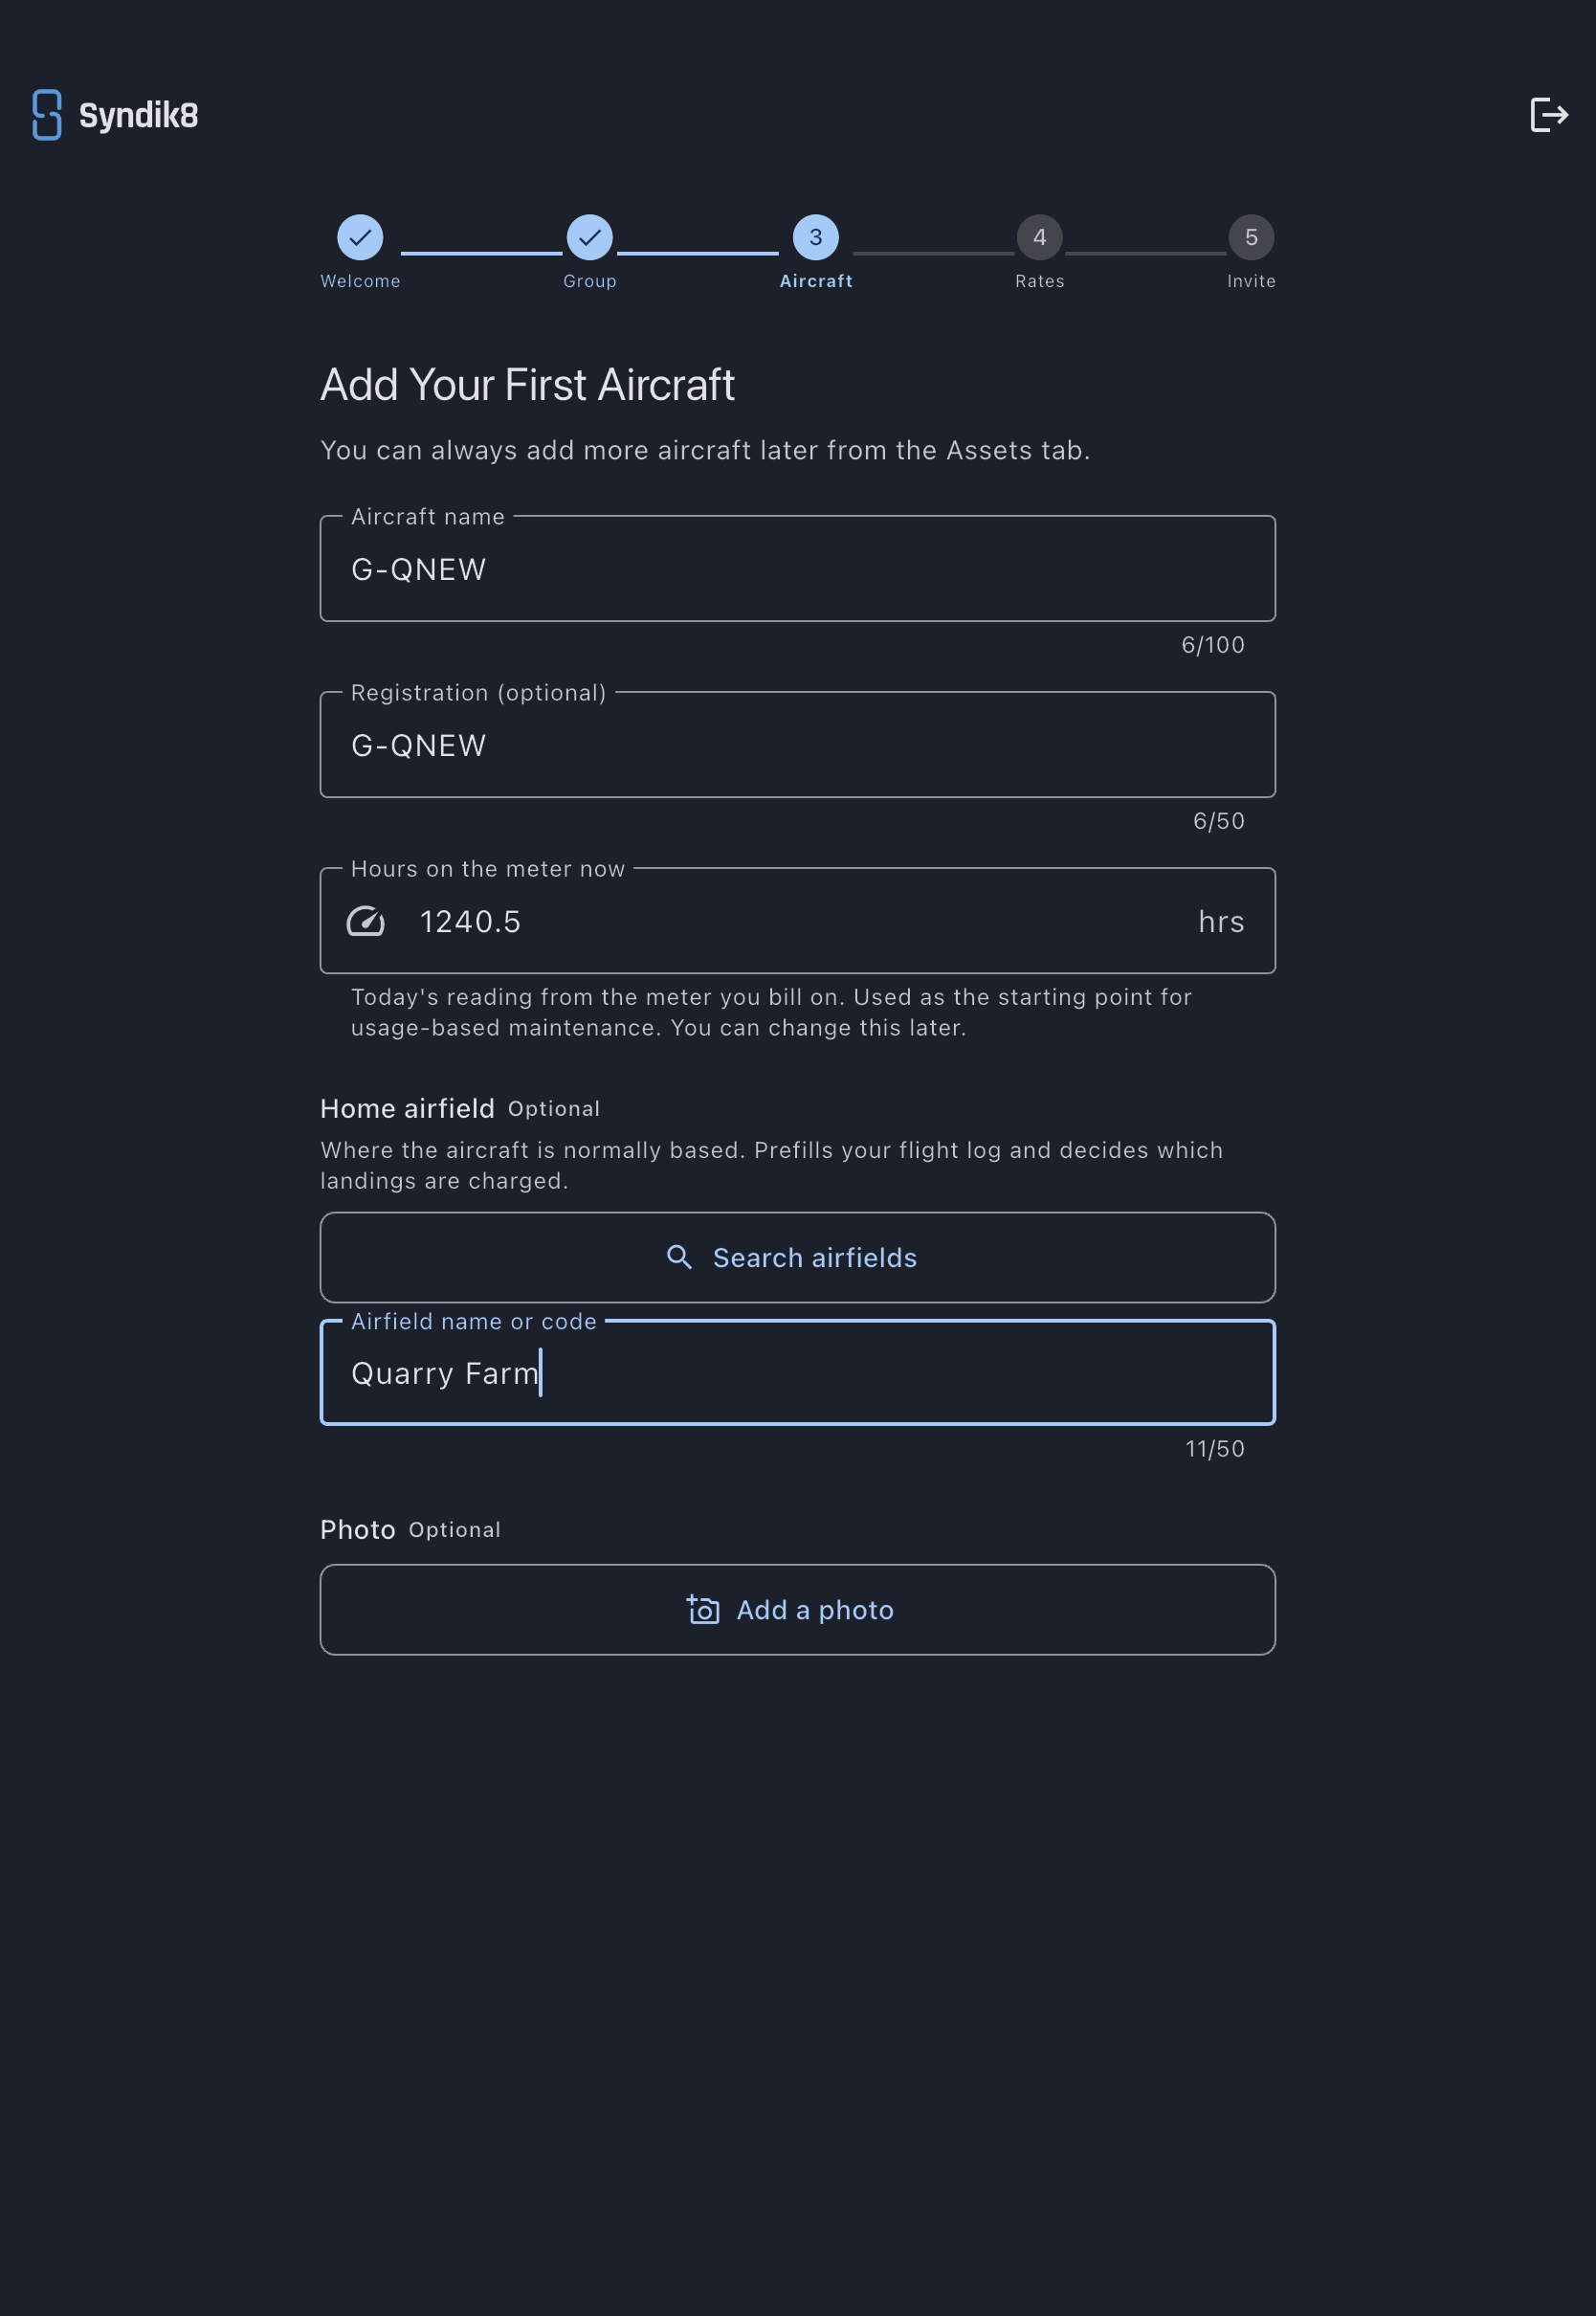
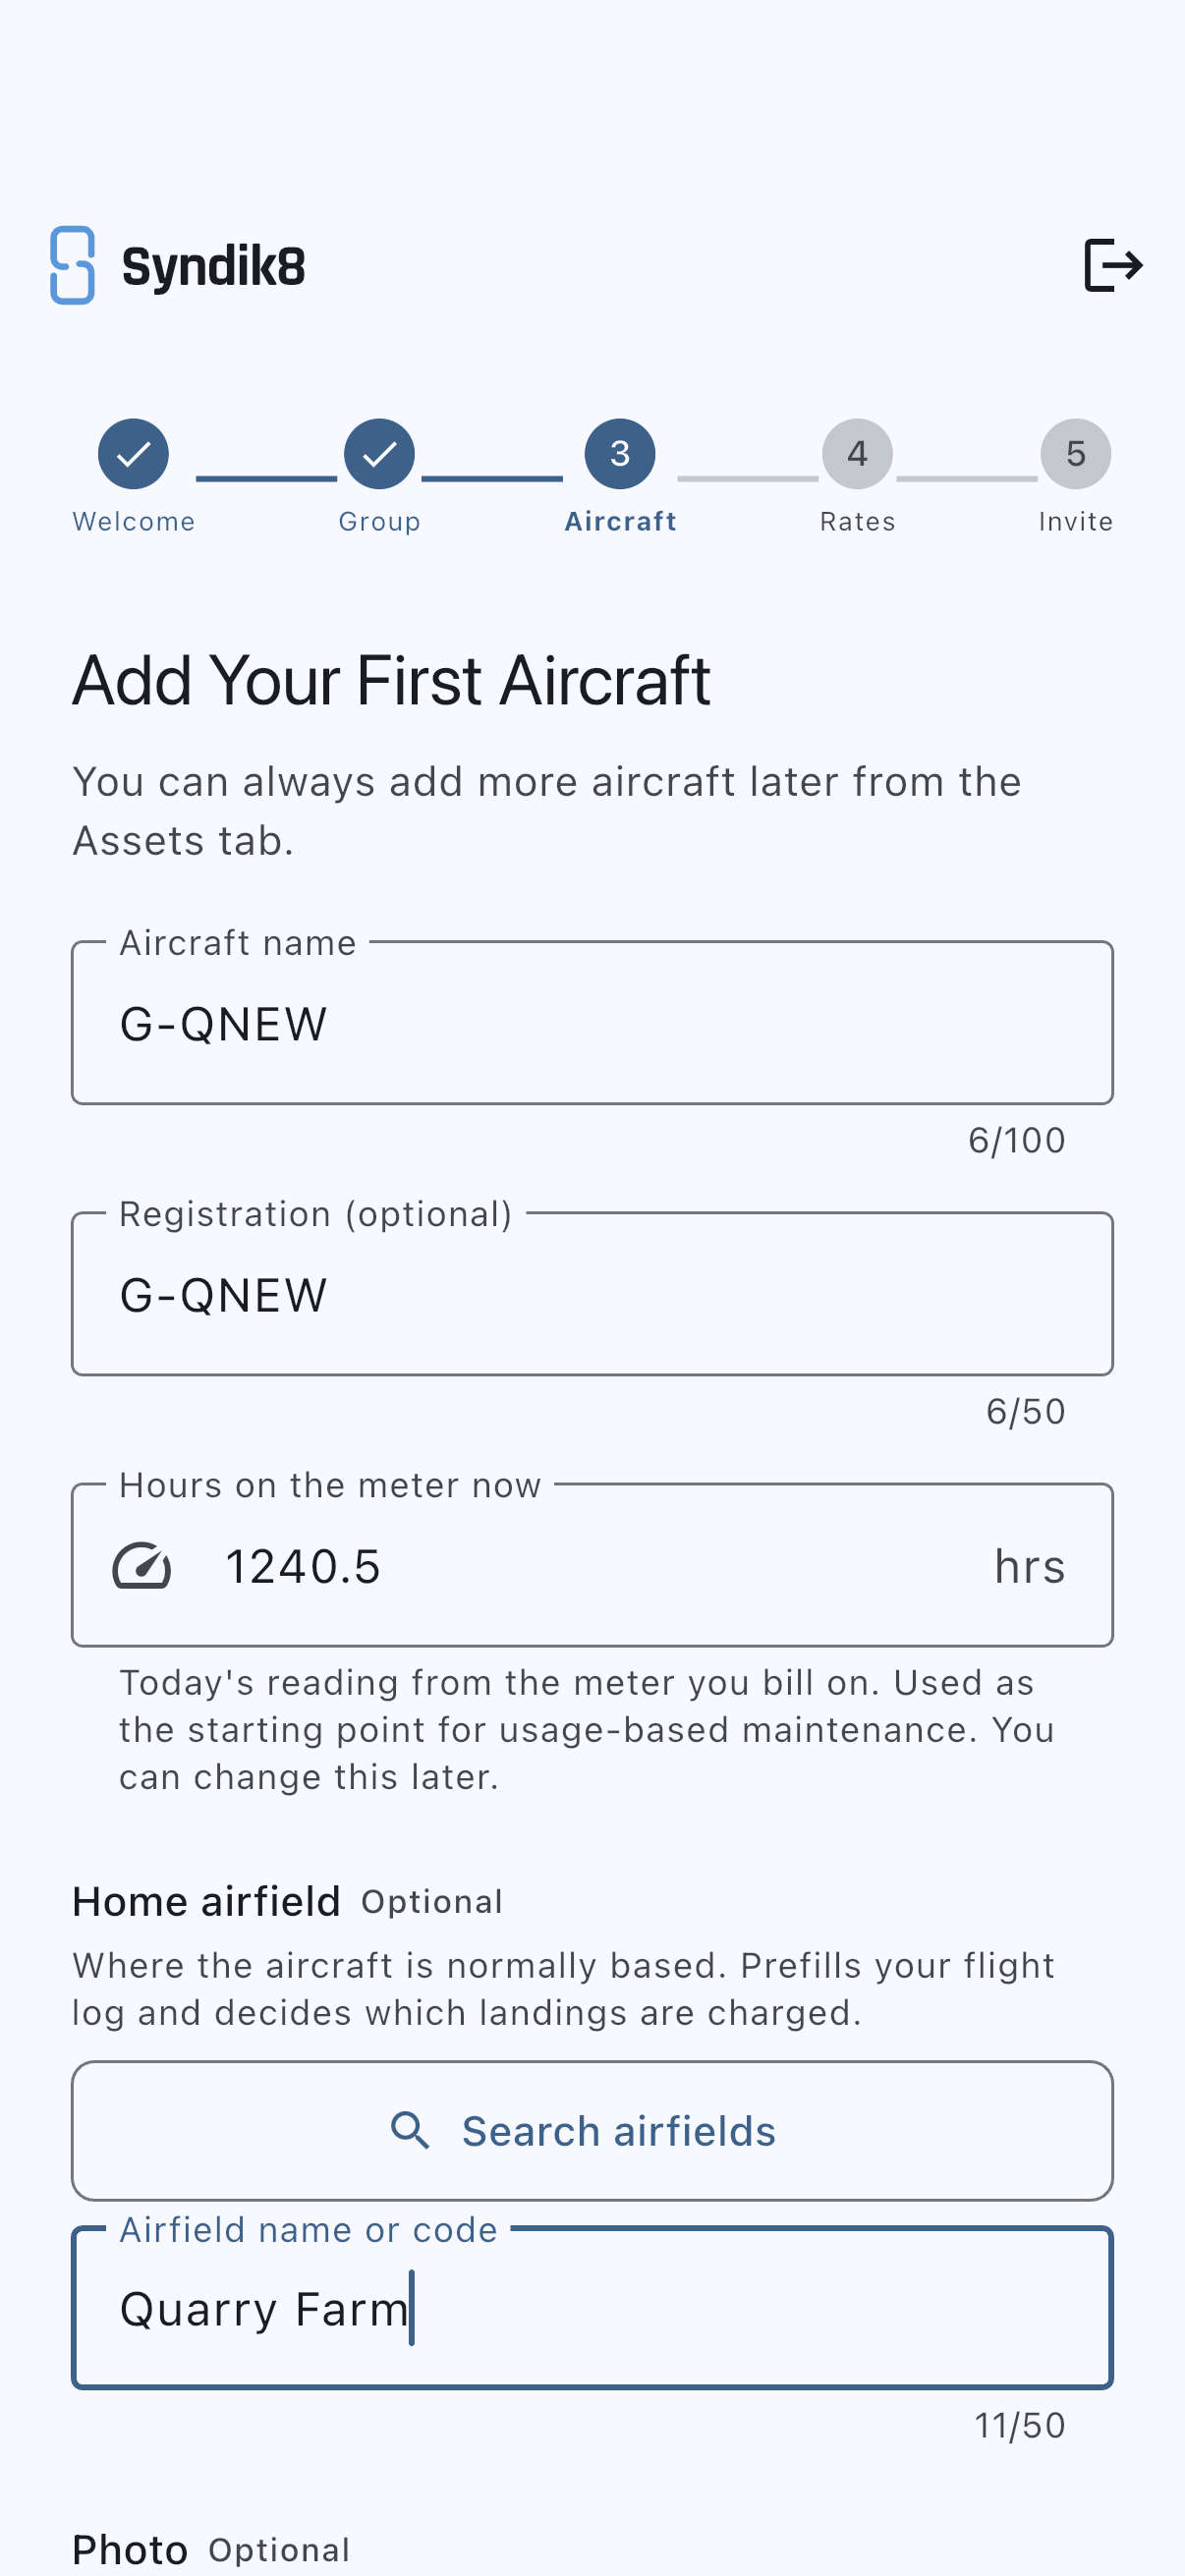
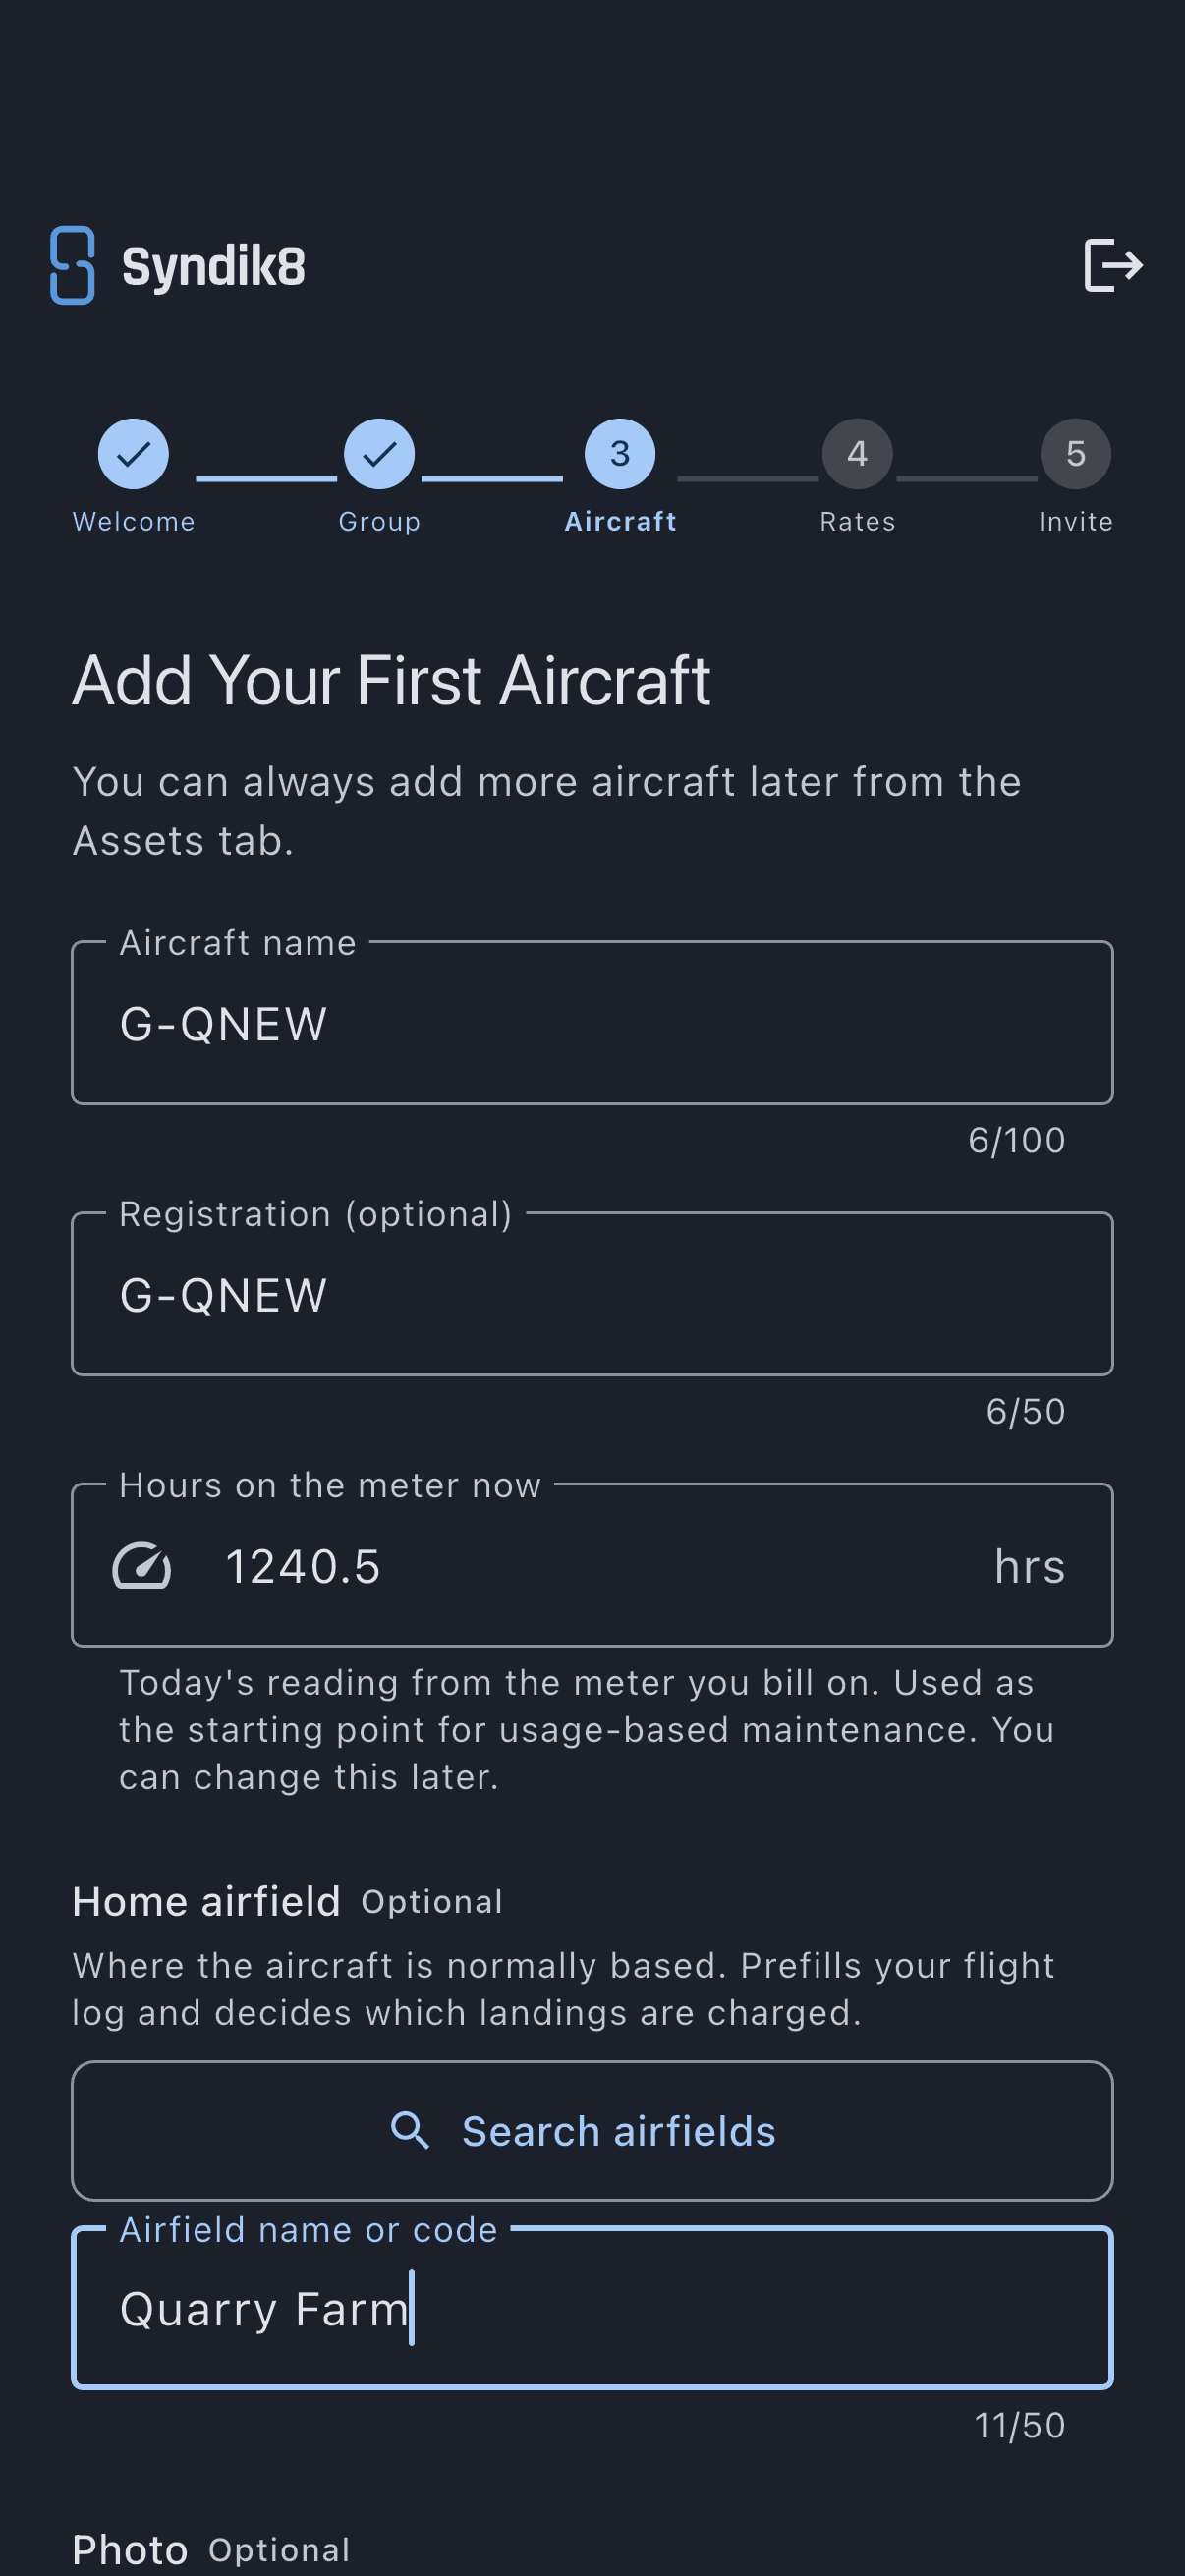
The home airfield decides which landings are charged, which the next step asks about: a landing fee bills when a flight’s stated arrival matches it. It does not fill anything in for you — a pilot states the departure and arrival on every flight, including a local one. Syndik8 keeps it as the syndicate’s home airfield, so a second aircraft added later starts from the same base until you give that one a base of its own.
Leaving it blank is fine. You can add it on the next step, or later from Admin, then Asset rates.
Step 4: Set what you record and what you charge
Section titled “Step 4: Set what you record and what you charge”The Rates & capture step is a short run of questions. It settles what goes on each flight record and what a member pays for it. Answer them in order; each one narrows what the next one asks.
1. Do you record brakes off and brakes on? Block time is the span from the aircraft leaving its parking spot to arriving back. There’s no default here, because guessing wrong would misconfigure every flight you log, so the rest of the step waits until you’ve answered. Answer for how your group actually keeps its records.
2. Also record airborne time? Airborne time is wheels off to wheels on, so taxiing is left out. It’s the measure maintenance intervals are properly counted against, so this starts set to yes. Said yes to block times as well? A Taxi allowance field appears with it, set to 5 minutes at each end, and Syndik8 uses it to fill the airborne times in from the block times as a starting point. A worked example under the field shows exactly which way the arithmetic runs. The filled times stay editable on every flight, so a long hold is a quick correction rather than a re-entry, and emptying the field turns the prefill off. If you said no to block times, the question is simply Record airborne time? and there’s nothing to derive from, so no allowance is offered.
3. What are flights charged on? Your hourly rate is priced against exactly one measure, and this is where you choose it. The engine-meter options are named after the meter your aircraft carries, Tacho hours or Hobbs hours, and alongside them sit Brakes (block time) and Wheels (airborne time) for whichever of those you record. Picking an engine option is also how you tell Syndik8 which meter you read, so there’s no separate Hobbs-or-tacho question to answer.
4. What do you charge per hour? The amount a member pays for each hour of the measure you just picked. The field names that measure back to you, reading Charge per tacho hour, Charge per block hour, and so on, so you can see what you’re pricing. For example, enter 180 for £180 an hour. This is the one number you can’t skip.
5. Do members also pay for landings? If you entered a home airfield on the last step, the question names it. Your home airfield invoices the syndicate for landings and circuits, so those are the ones worth recharging to whoever flew. Say yes and two fee fields appear, one per landing and one per touch-and-go. Both are added to that member’s charge for the flight, on top of the hourly charge you just set.
Answer no if your airfield doesn’t charge, or bills the pilot directly. Fees away from home never reach the group: the pilot settles those at the desk, so Syndik8 waives them on any flight that ends somewhere other than the home airfield.
If you skipped the home airfield on the aircraft step, the question still appears, without an airfield in it. Answering yes reveals the airfield search here and you have to fill it in, because there’s nothing to compare a flight’s arrival against otherwise.
Tap Continue.
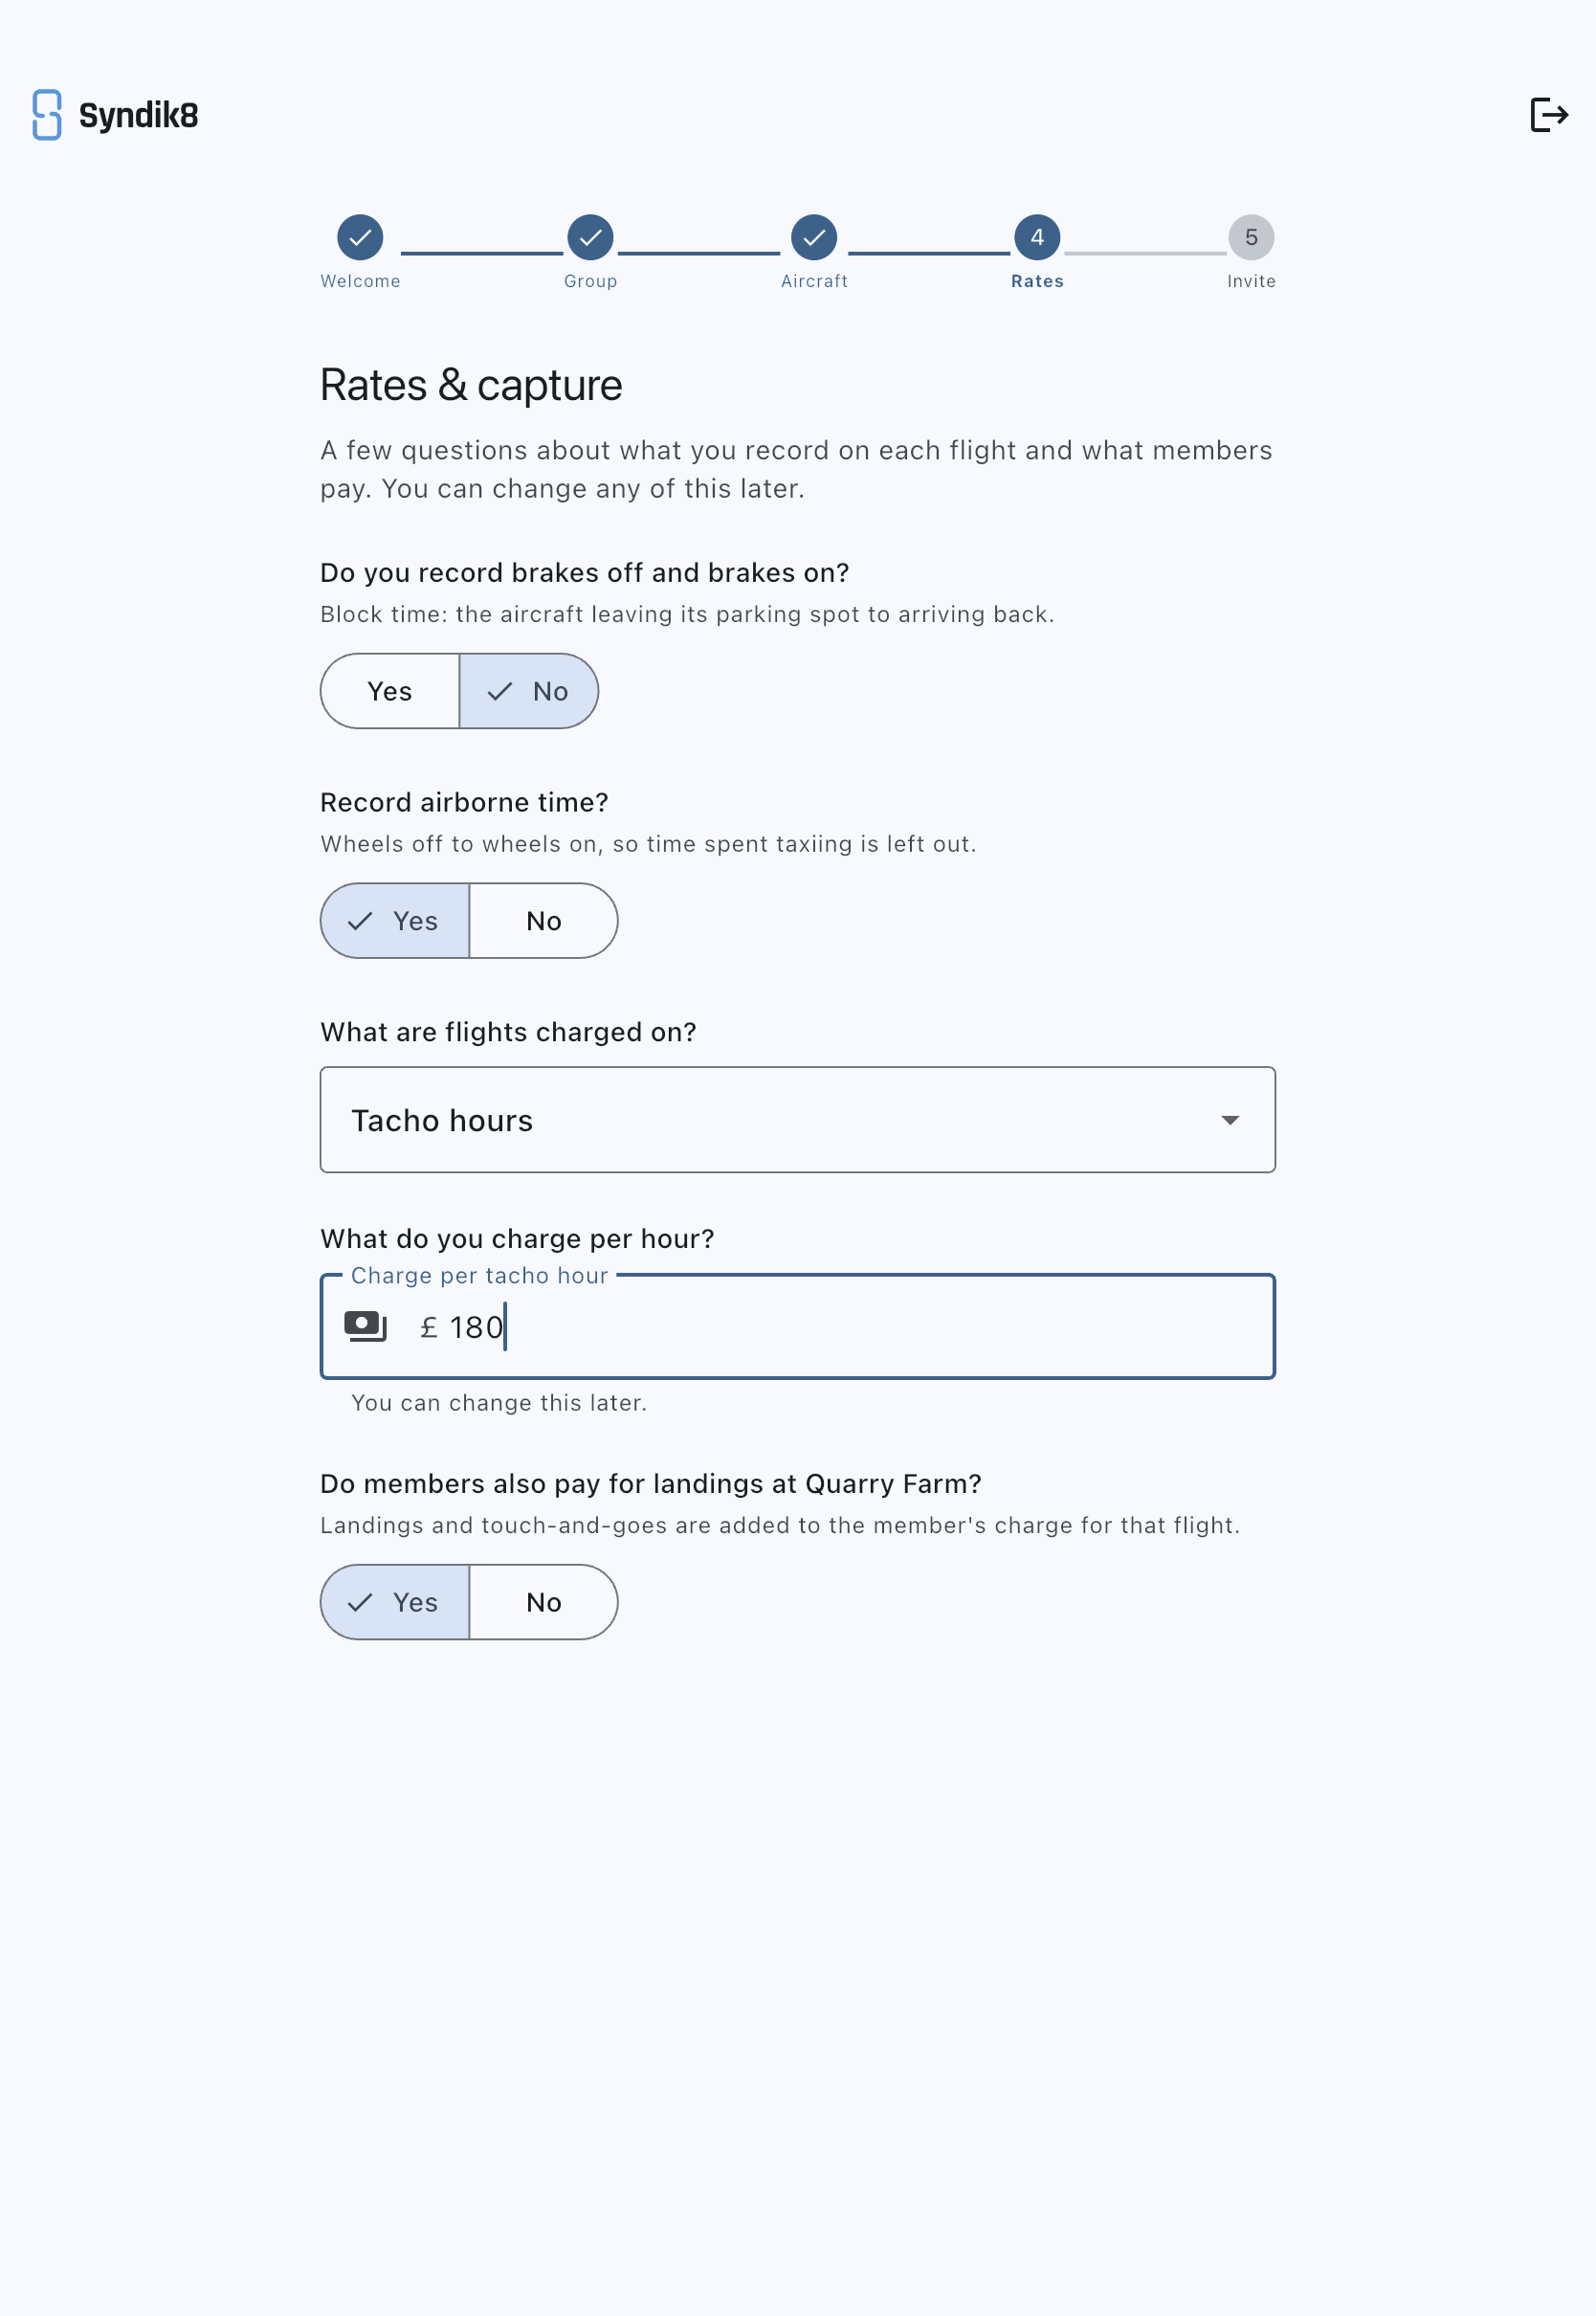
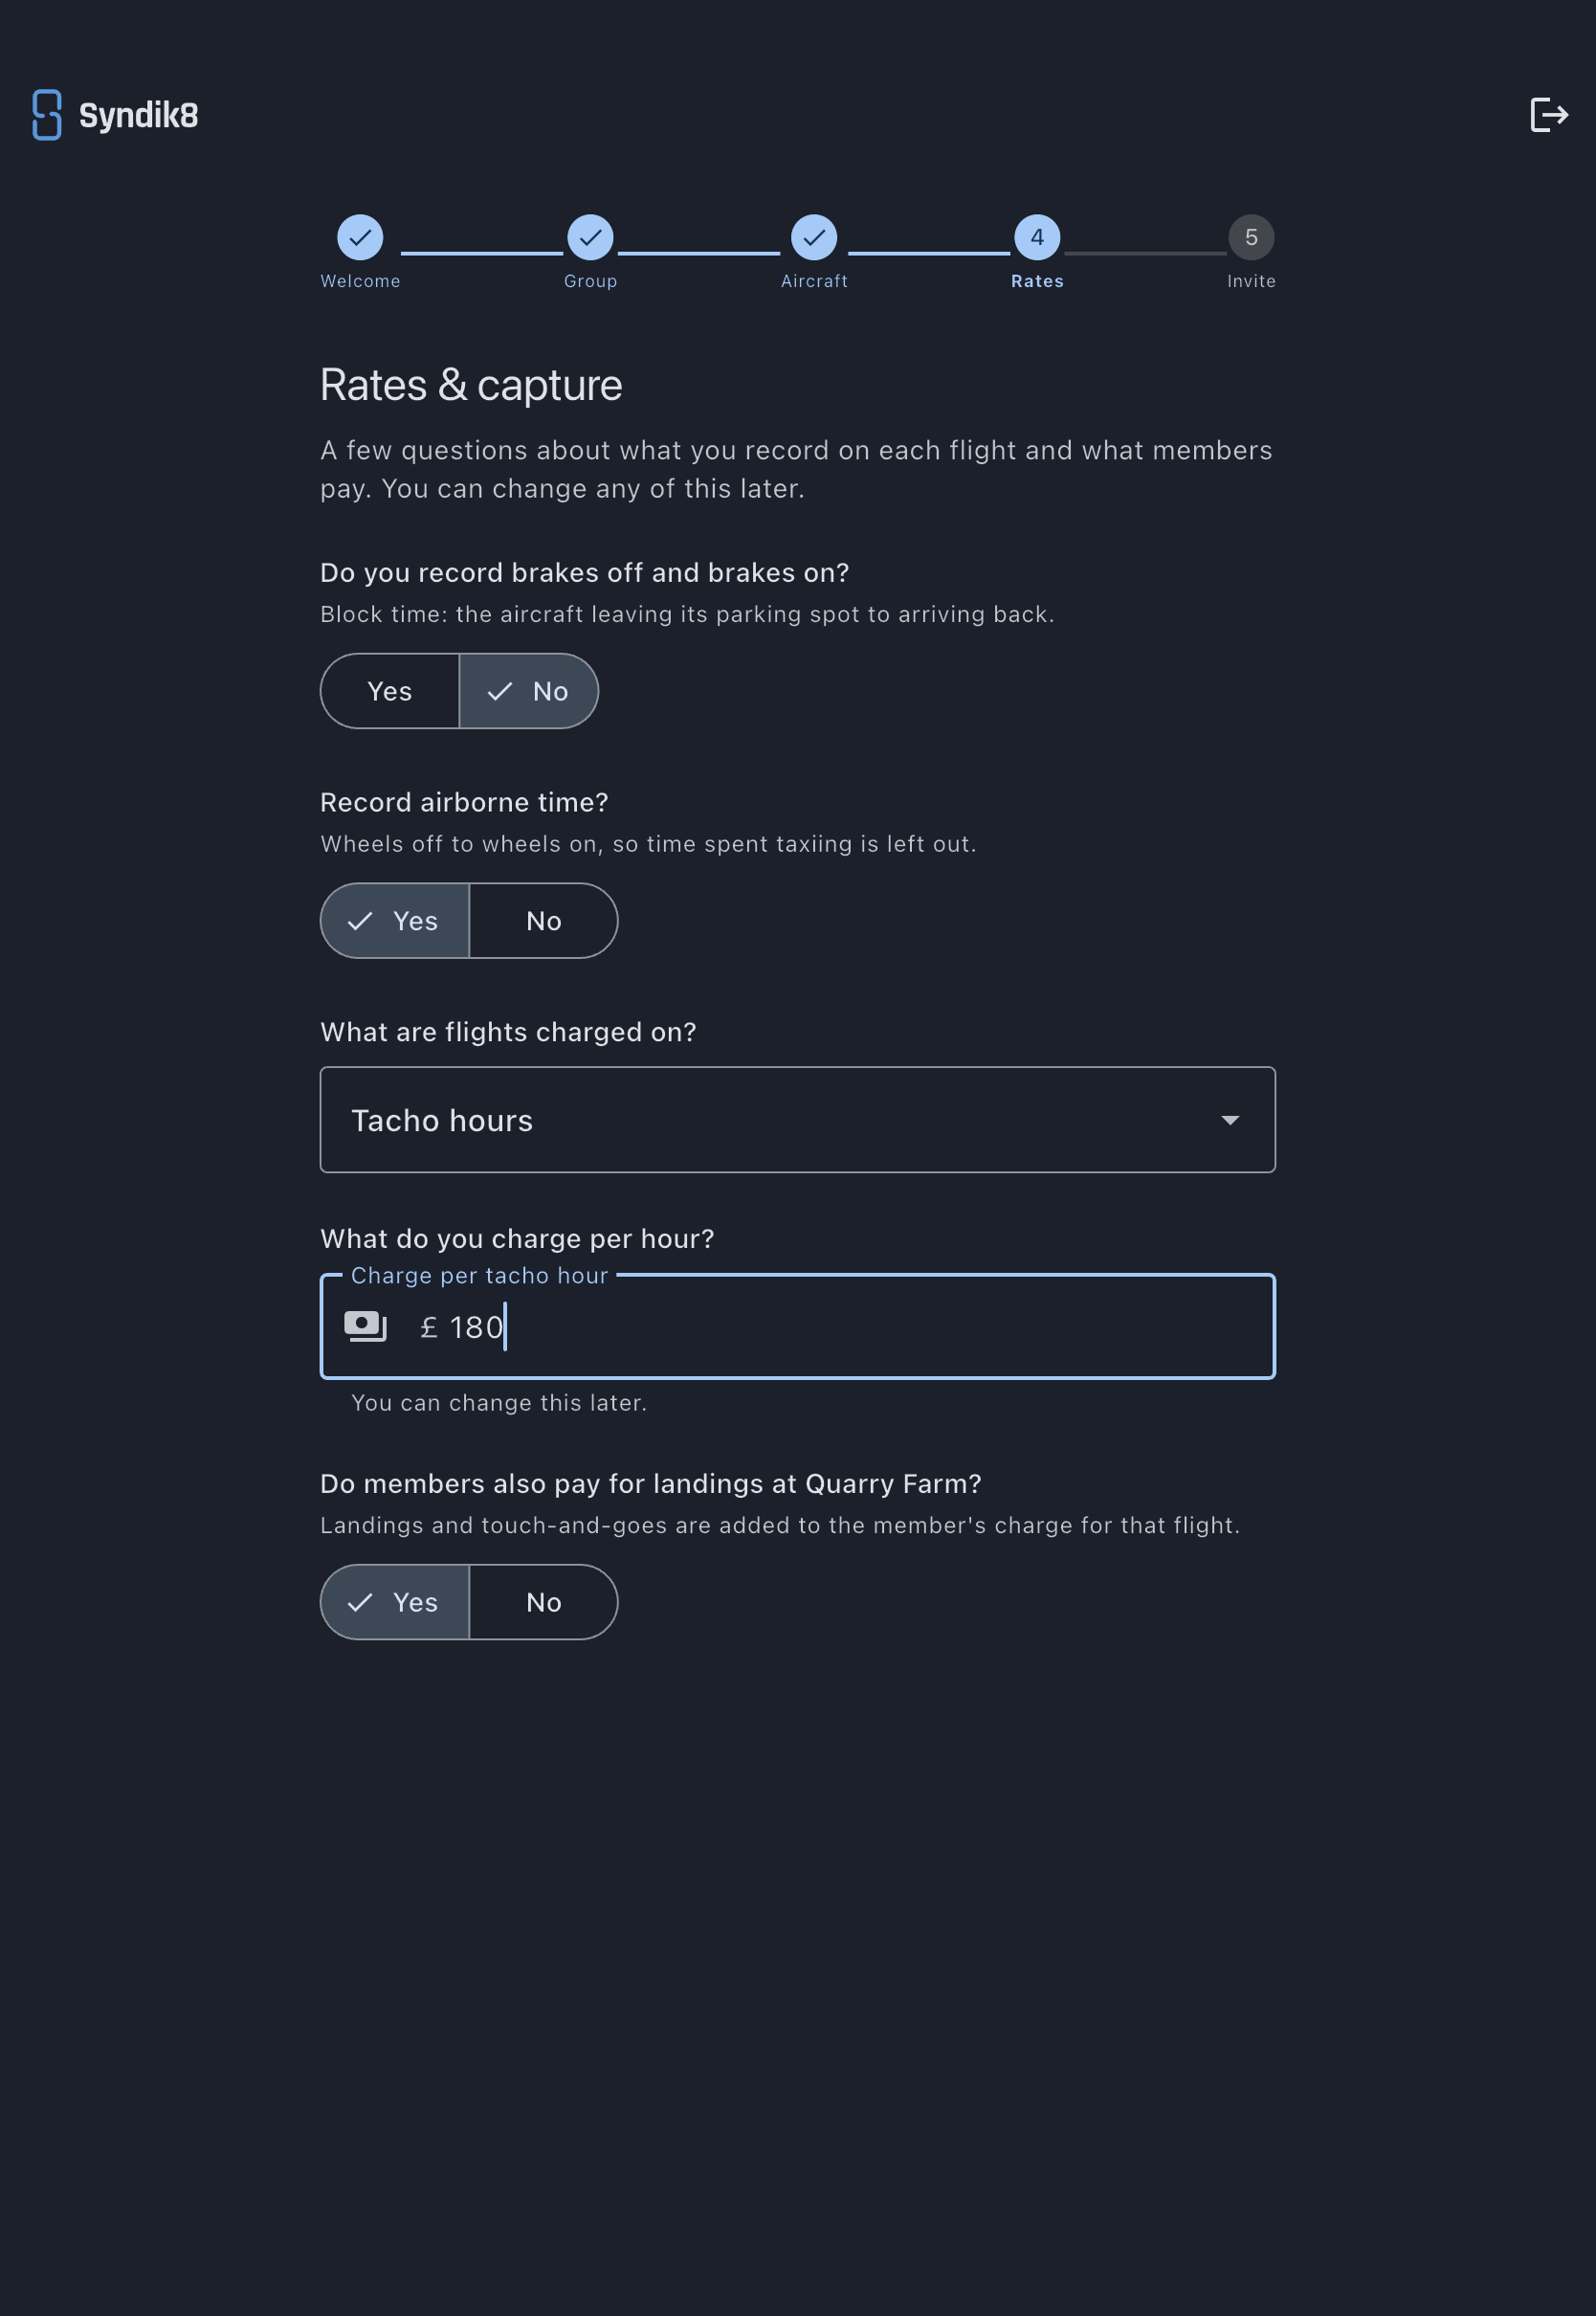
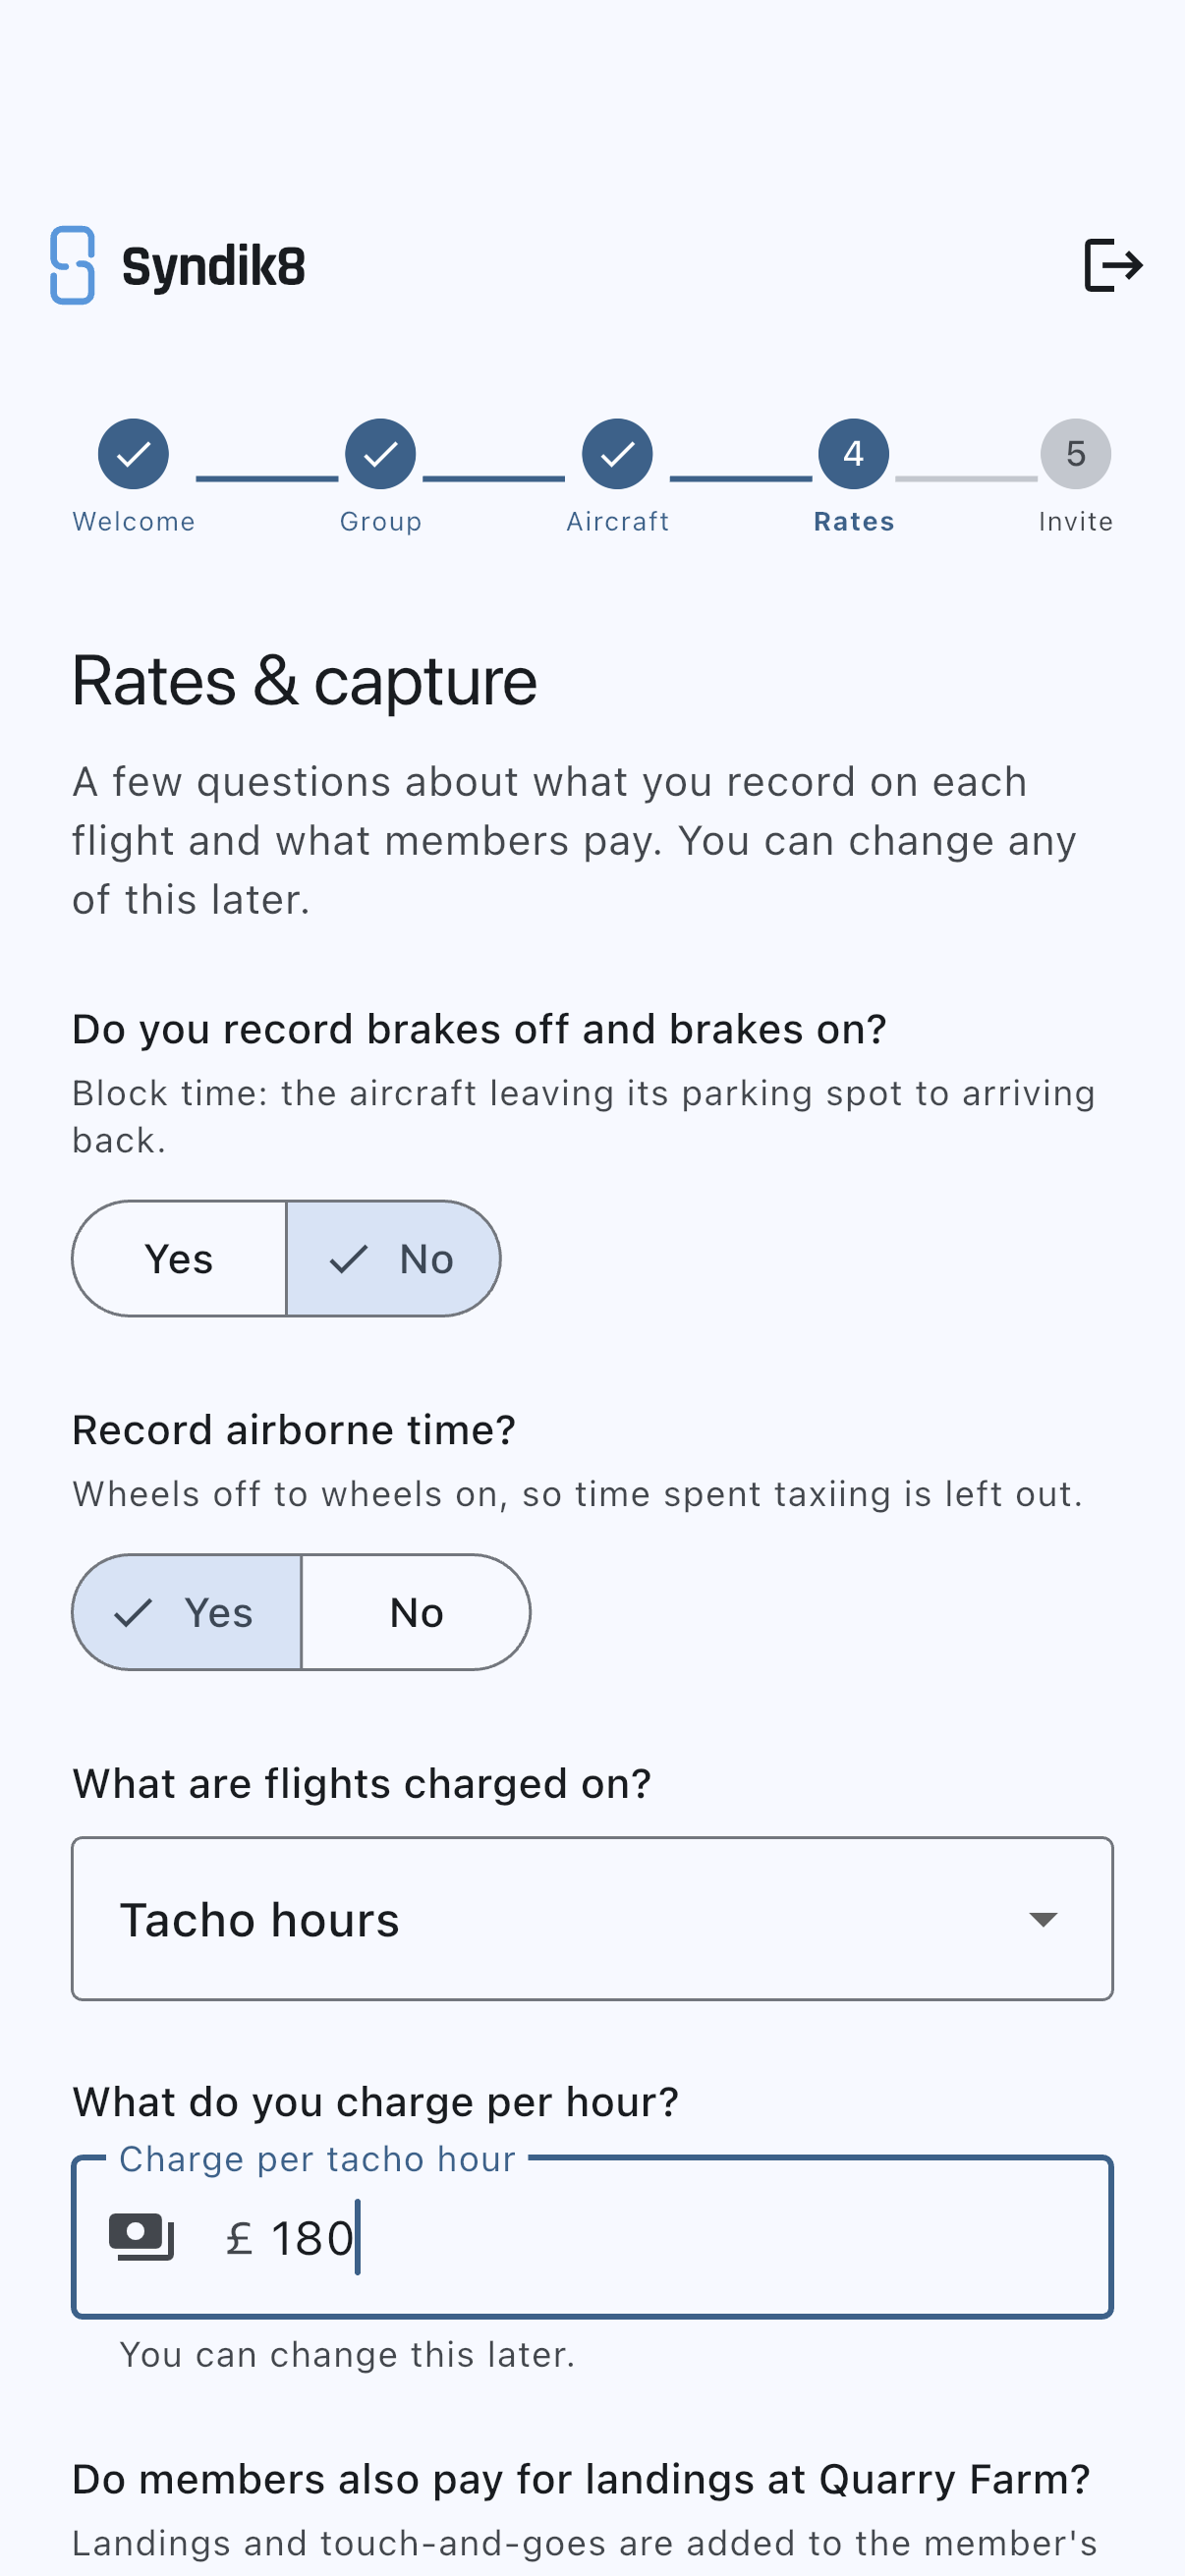
The group in the picture answered no to block times, which is why no Taxi allowance appears: with only one span recorded there’s nothing to derive the other from. Once the step opens up it runs taller than a phone screen, so scroll for the questions below the fold.
These answers become the syndicate’s defaults. Refine them any time from Admin, then Usage capture for what’s recorded, or Admin, then Asset rates for the money.
Step 5: Invite your first member
Section titled “Step 5: Invite your first member”The Invite Members step sends your first invitation.
- Email address: the address of the person you’re inviting.
- Role: Admin, Member, or Viewer. Admins can approve and configure; members book and log flights; viewers get read-only access. Most first invites are Member.
Tap Send Invite, the button sitting just under the role selector. A card confirms the invite went to that address. At its right-hand end is a copy icon — no label, but its tooltip reads Copy link — which puts the join link on your clipboard so you can share it another way. Invite as many people as you like, one at a time.
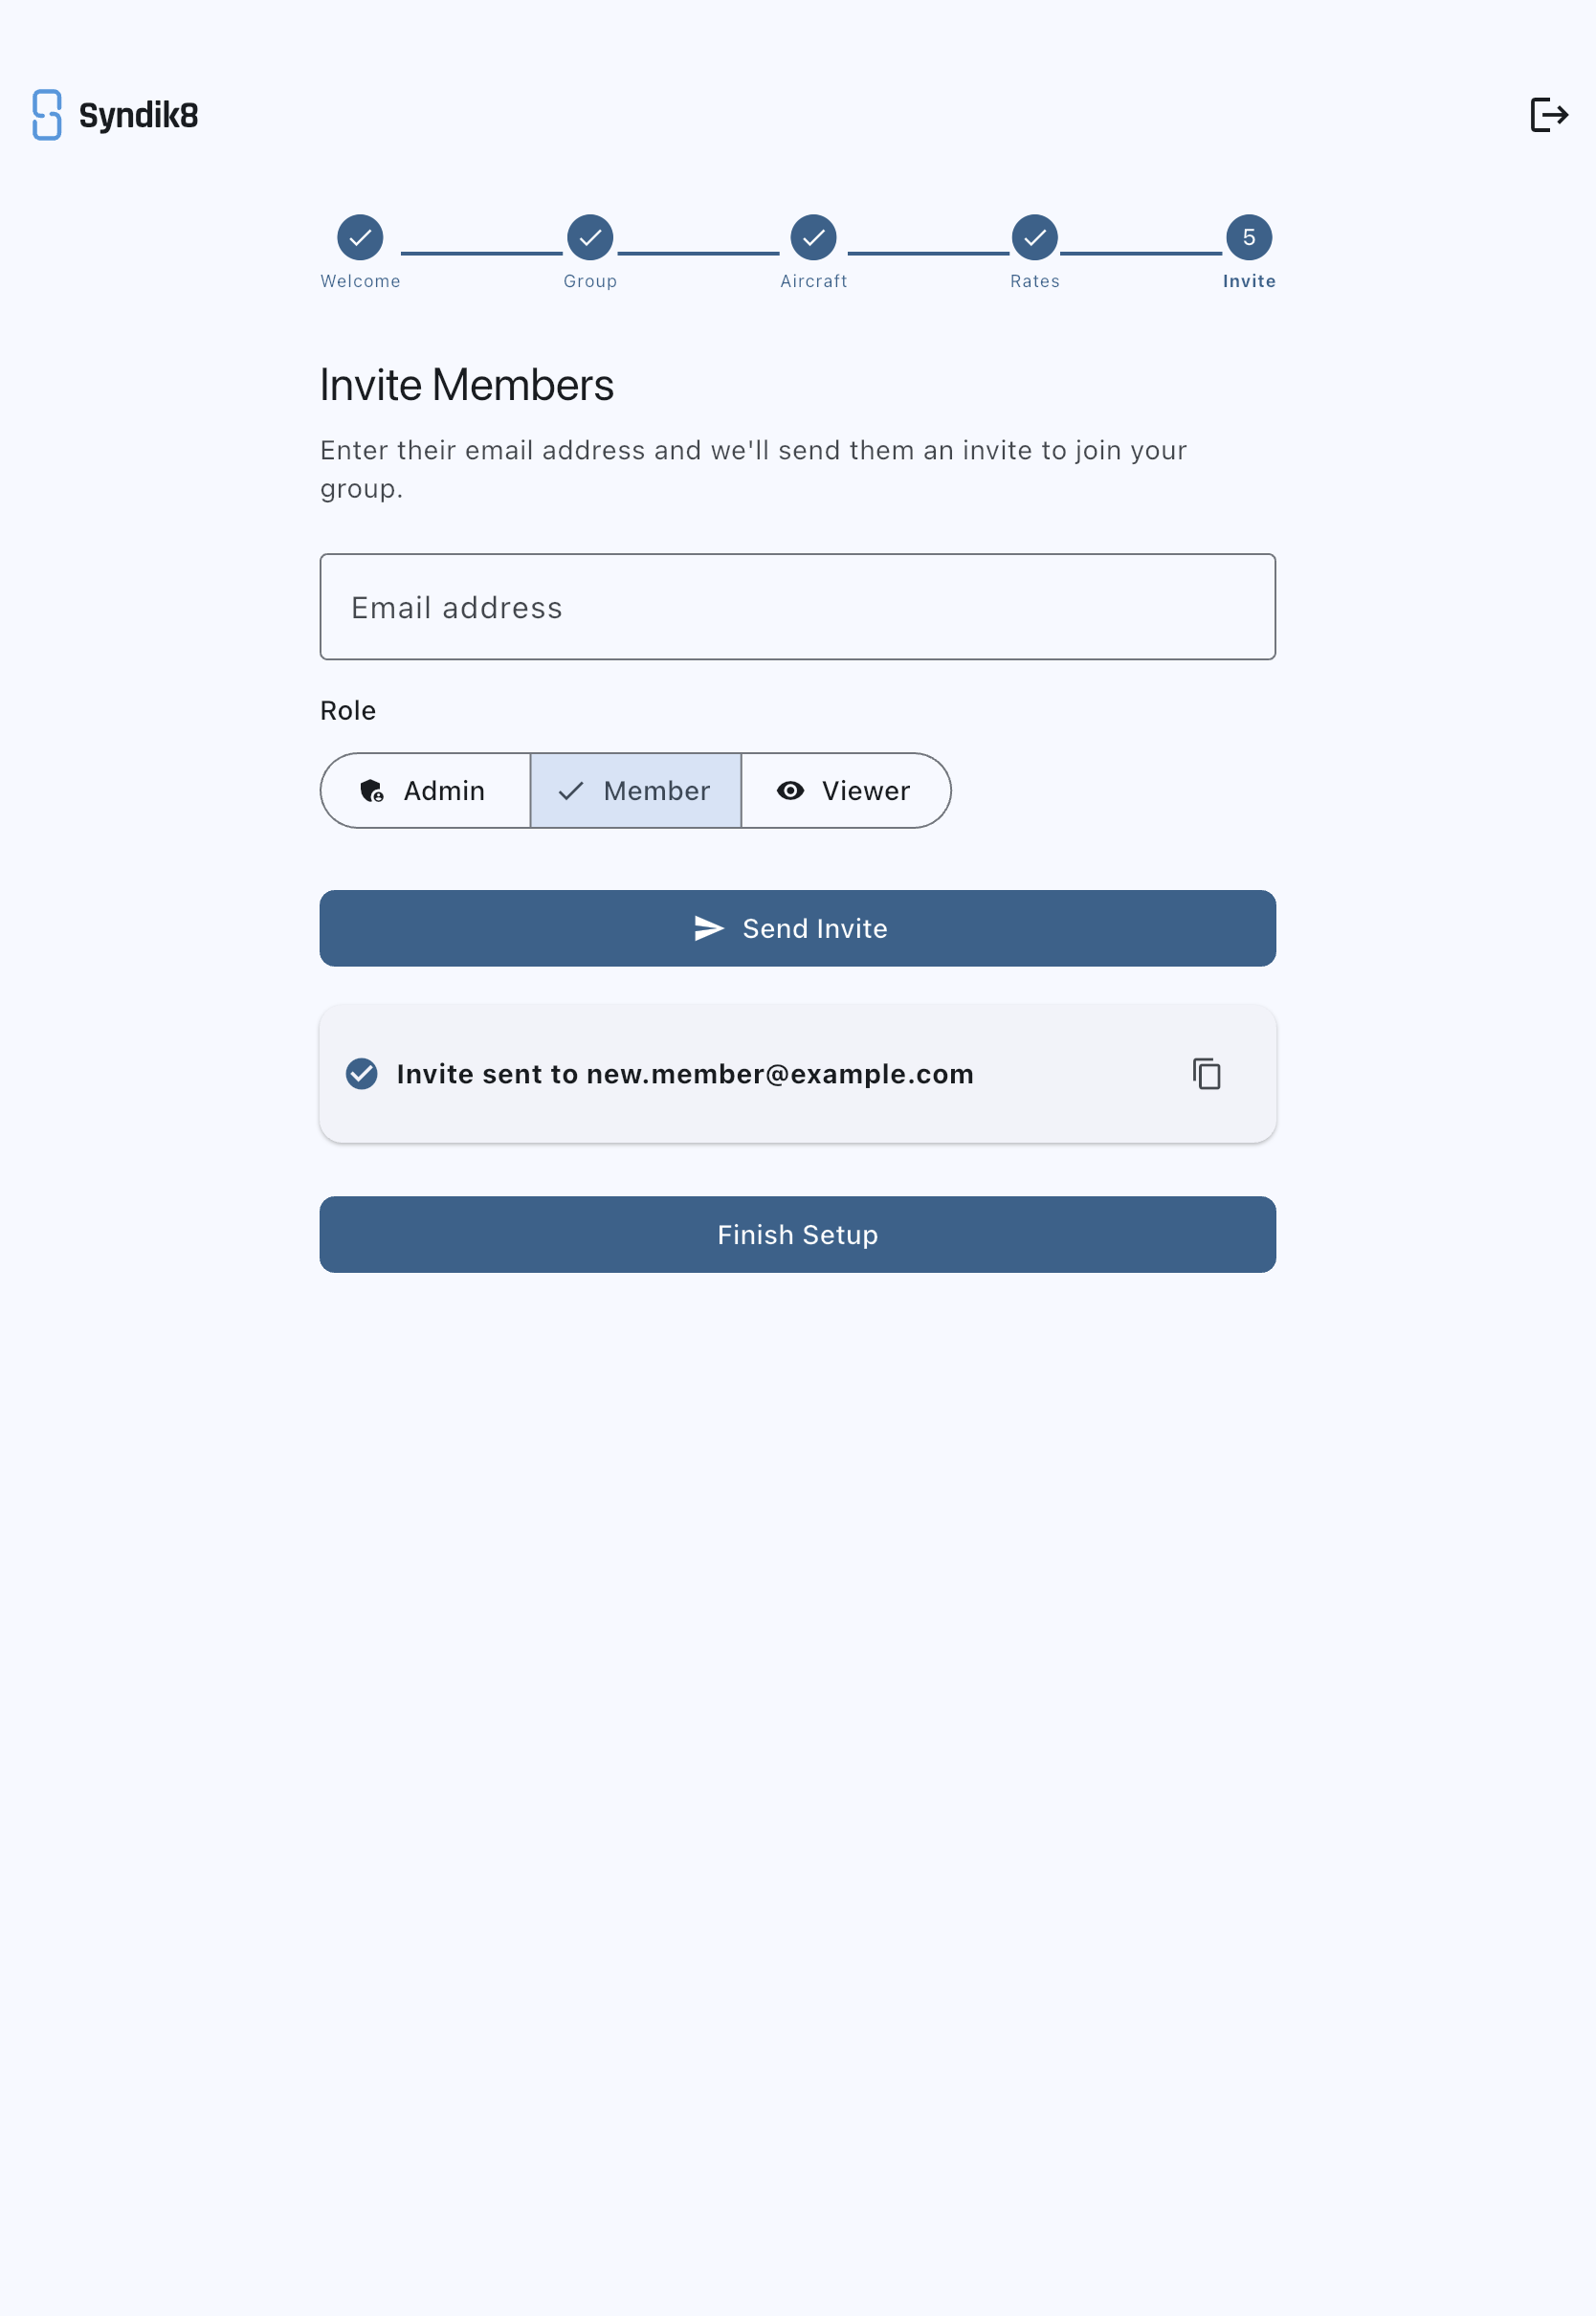
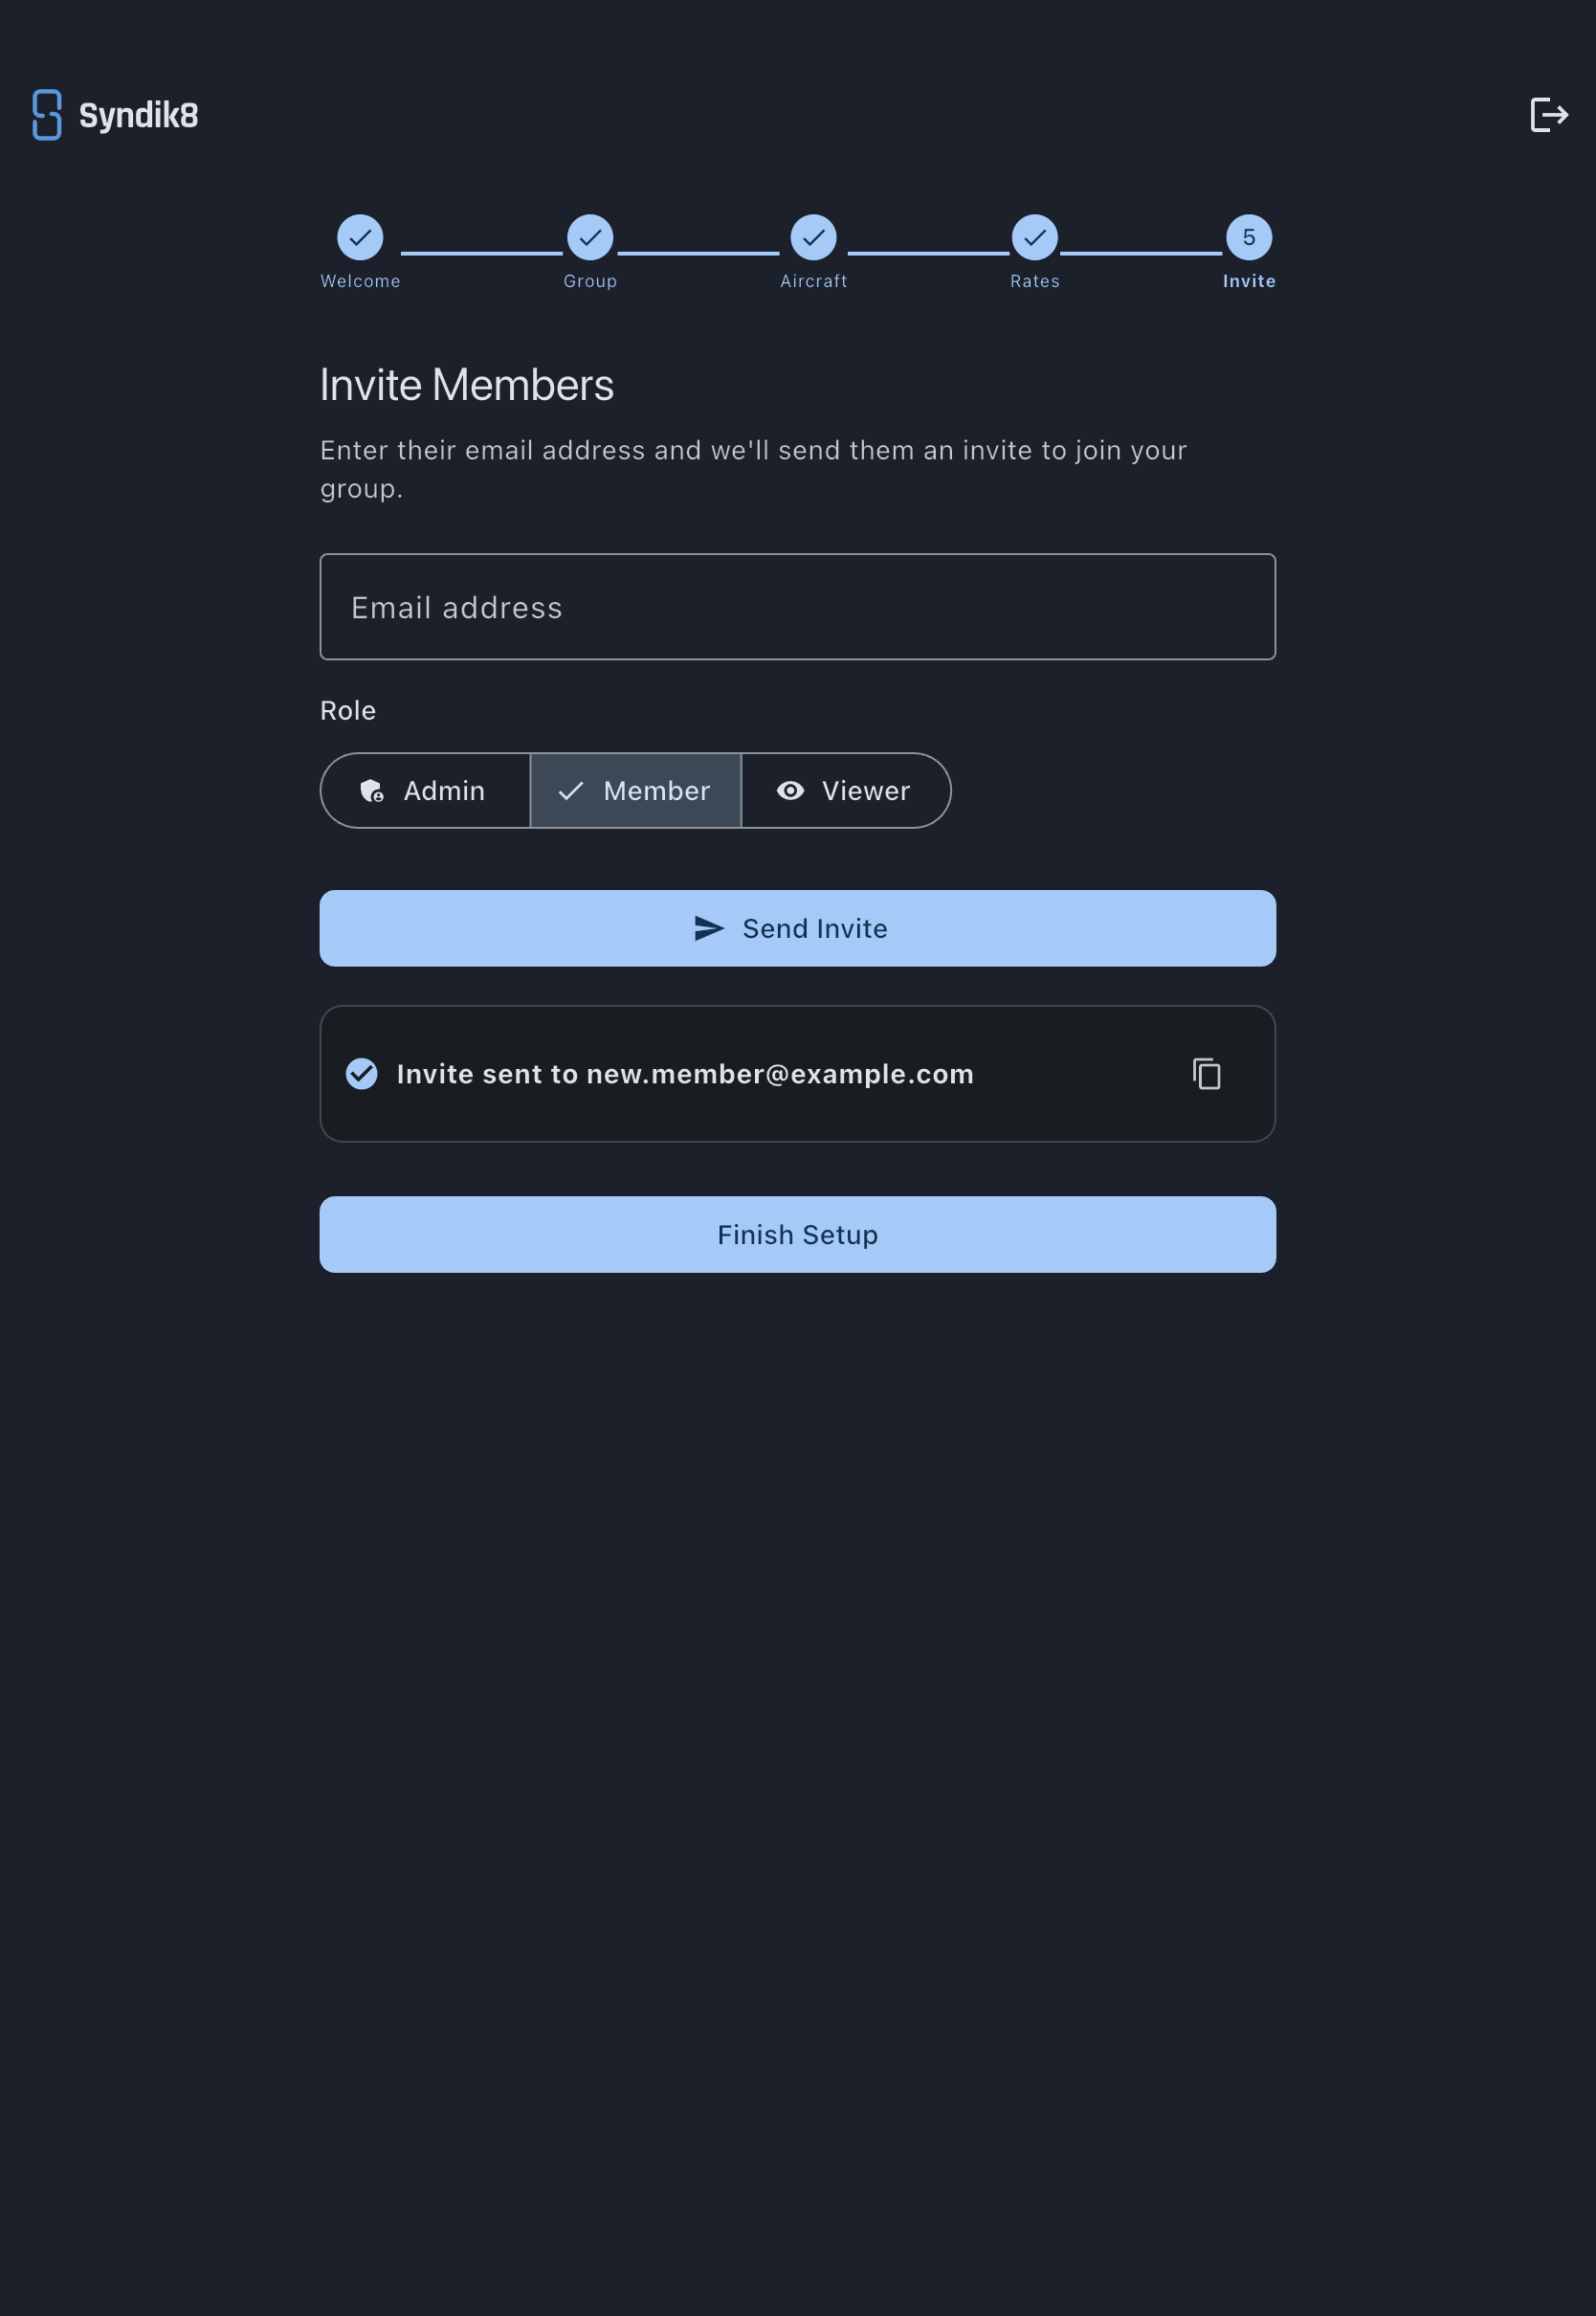
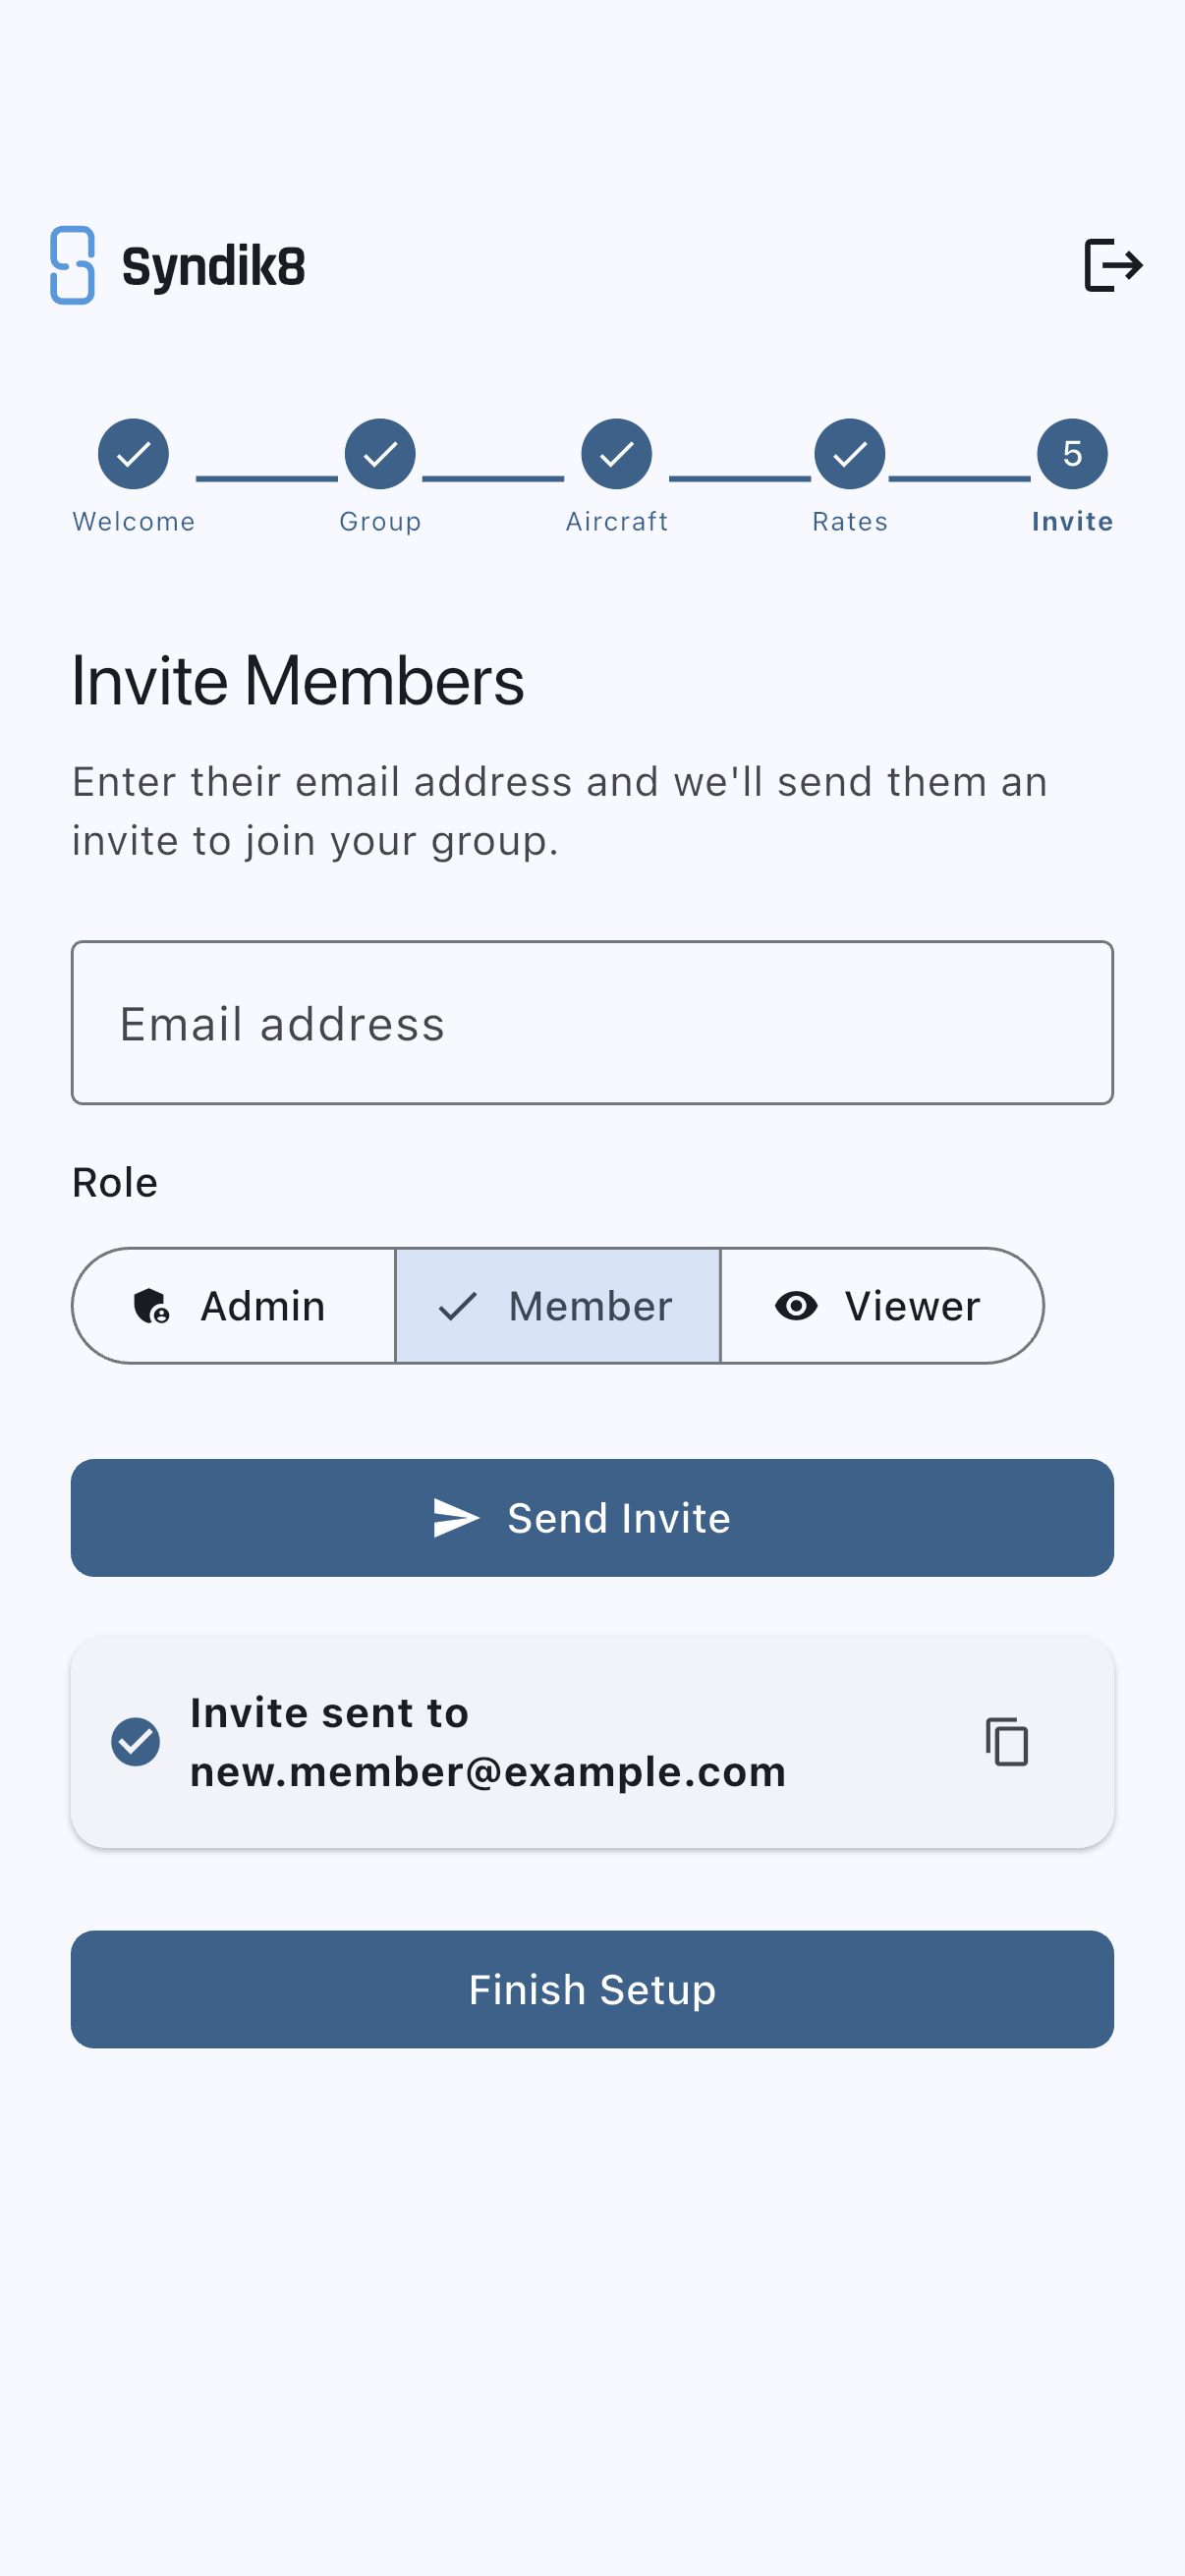
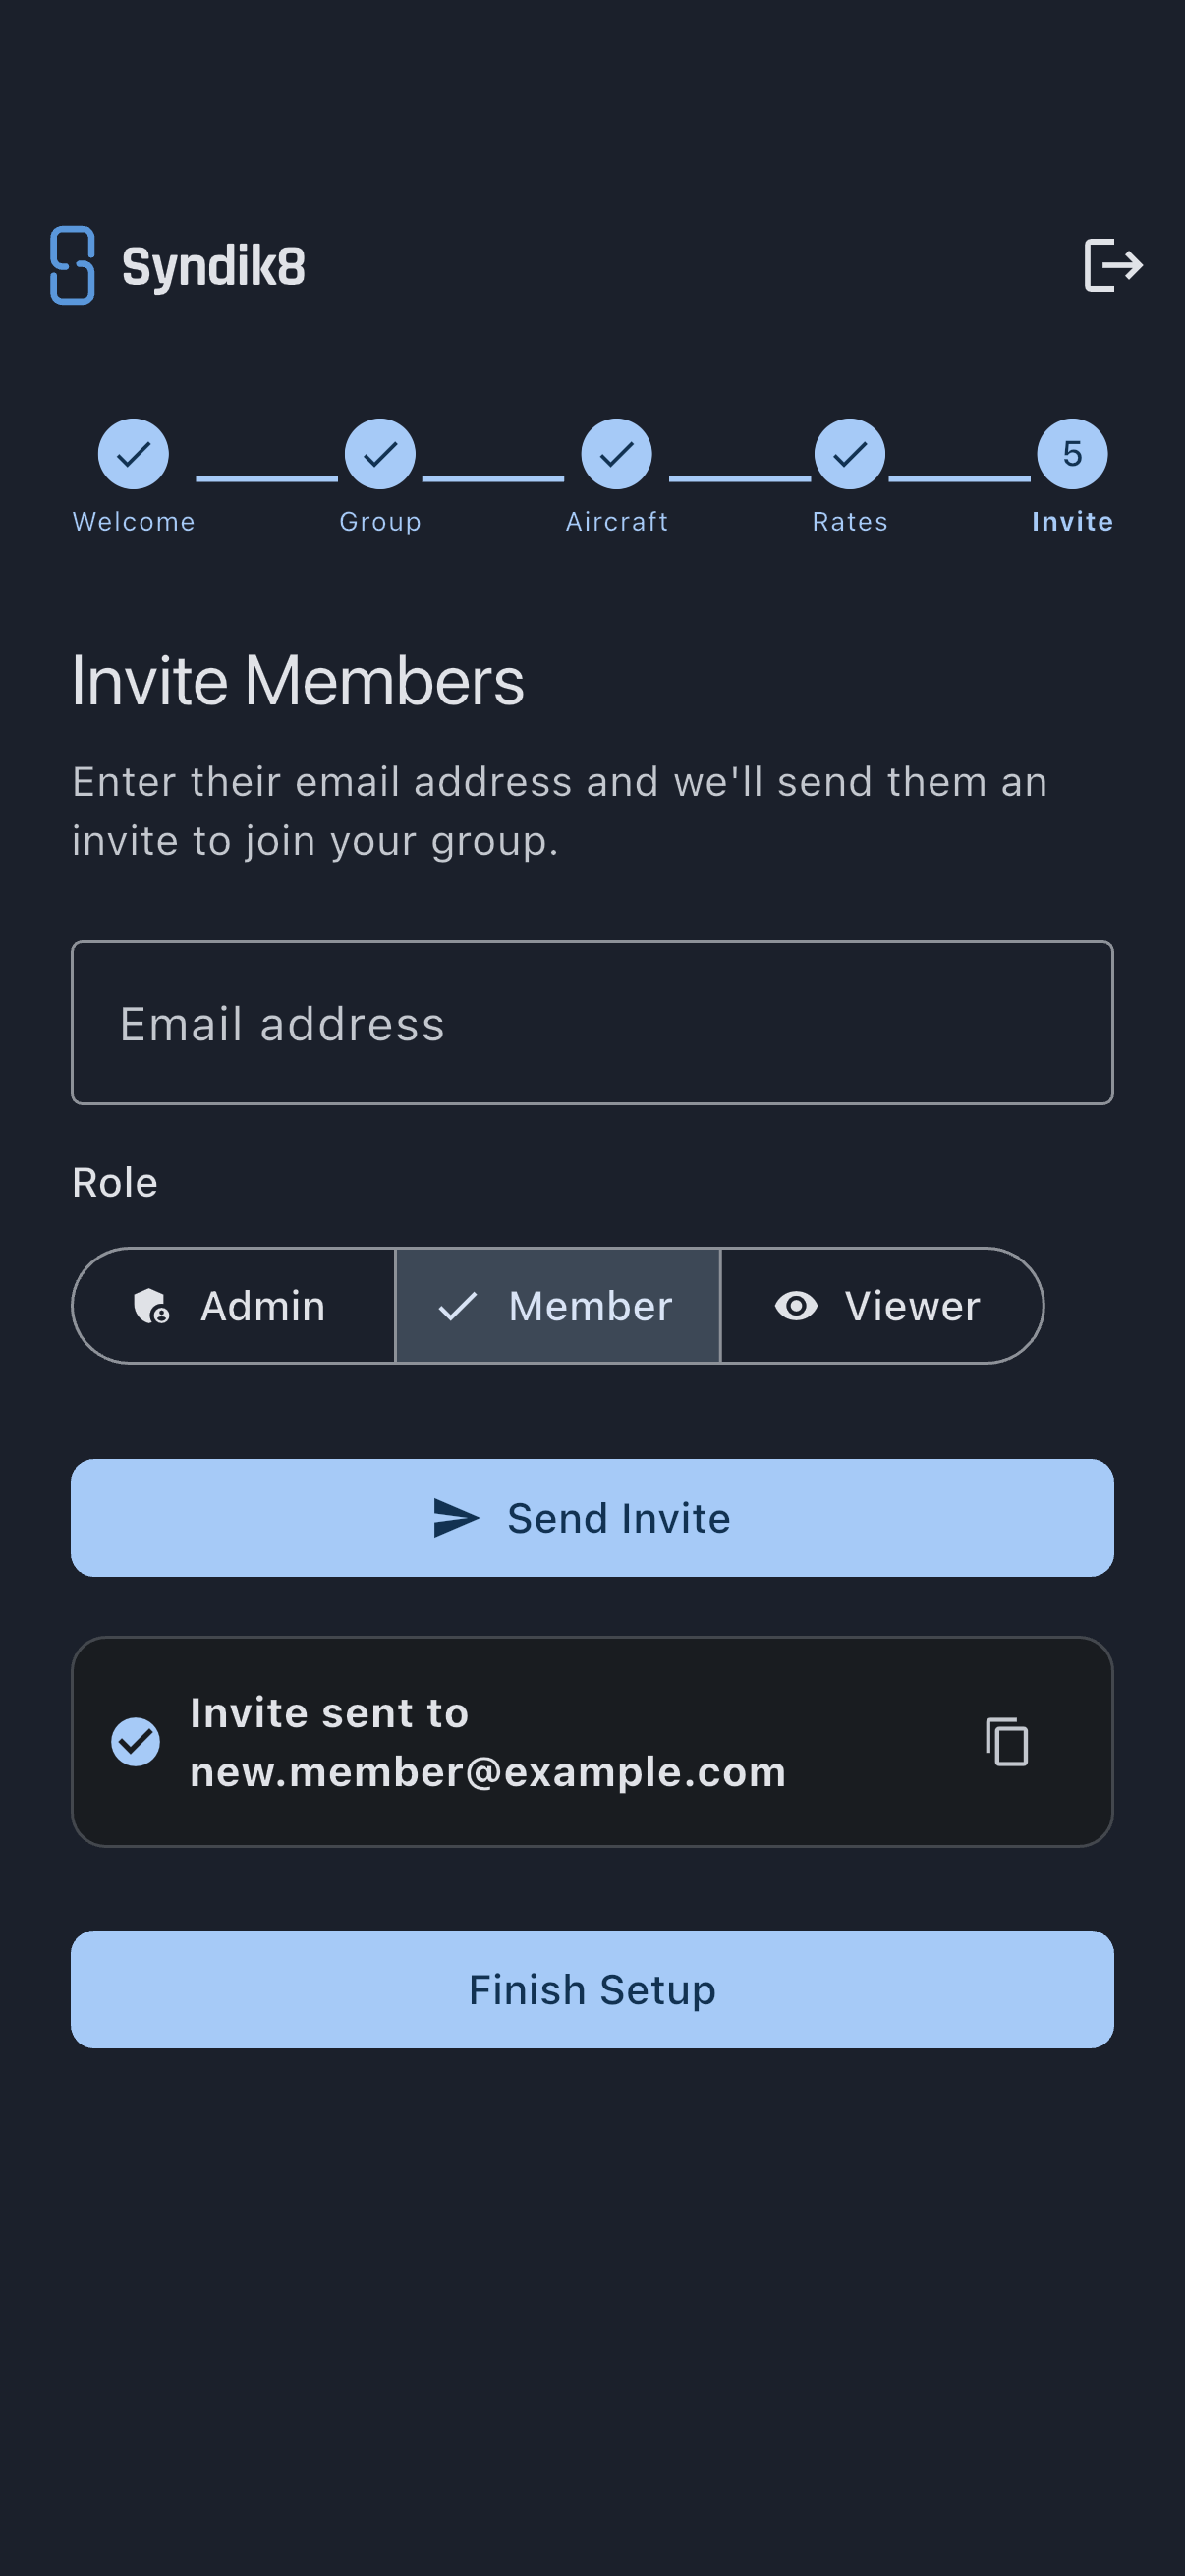
When you’re done, tap Finish Setup at the bottom of the step to land on your new syndicate’s dashboard. Not inviting anyone yet? Tap it without sending anything — finishing with nobody invited is how you skip this step, and you can invite people whenever you like from the syndicate itself.
The wizard keeps invites simple, just an email and a role. To set someone up as an equity member with a share count, or to put them on a different rate band, invite them later from the fuller Invite Member screen. See Invite members.
What about collecting the money?
Section titled “What about collecting the money?”Setting up payment collection isn’t part of the wizard, and deliberately so. You don’t need a payment provider to fly, log usage, charge for it or watch balances build; you need one only when you want to collect. Everything above works without it.
When you’re ready, the dashboard’s Getting Started checklist carries a Start collecting payments from members item that takes you into it, and the same setup lives under Admin, then Payments. Card and Direct Debit collection are worth having, so don’t leave it forever, but there’s no reason to stop your first flight for it. The walkthrough is Set up payments and collect from your members.
What you just did
Section titled “What you just did”- Created a syndicate and became its first admin.
- Registered your first aircraft with its meter reading and its base.
- Settled what each flight records, what it’s charged on, and what that costs.
- Sent your first member an invitation.
Where to go next
Section titled “Where to go next”- Your invited member picks it up in Join a syndicate as a member, the other side of the invite you just sent.
- Landed in the demo instead of the wizard? Set up your syndicate after skipping onboarding.
- Ready to fly: Log your first flight.
- Ready to collect: Set up payments and collect from your members.
- The thinking behind rate bands: Member rates and billing schemes.
- Every rate field explained: Asset rates. Every capture field: Usage capture.
- When the first month closes: Finalise your first month.