
Upload an asset photo
Add or replace the photo shown on an asset.
Before you start
Section titled “Before you start”- Only admins can change the asset photo.
- The photo is shown on the asset card in the Assets tab and on the asset detail screen. It’s a single image per asset; uploading a new one replaces the previous one.
- The image is cropped to a 16:9 frame during upload. Anything outside that frame is discarded. The cropping screen belongs to your device rather than to Syndik8, so it is not pictured here.
- Open the asset and tap the Edit Asset pencil in the top bar.
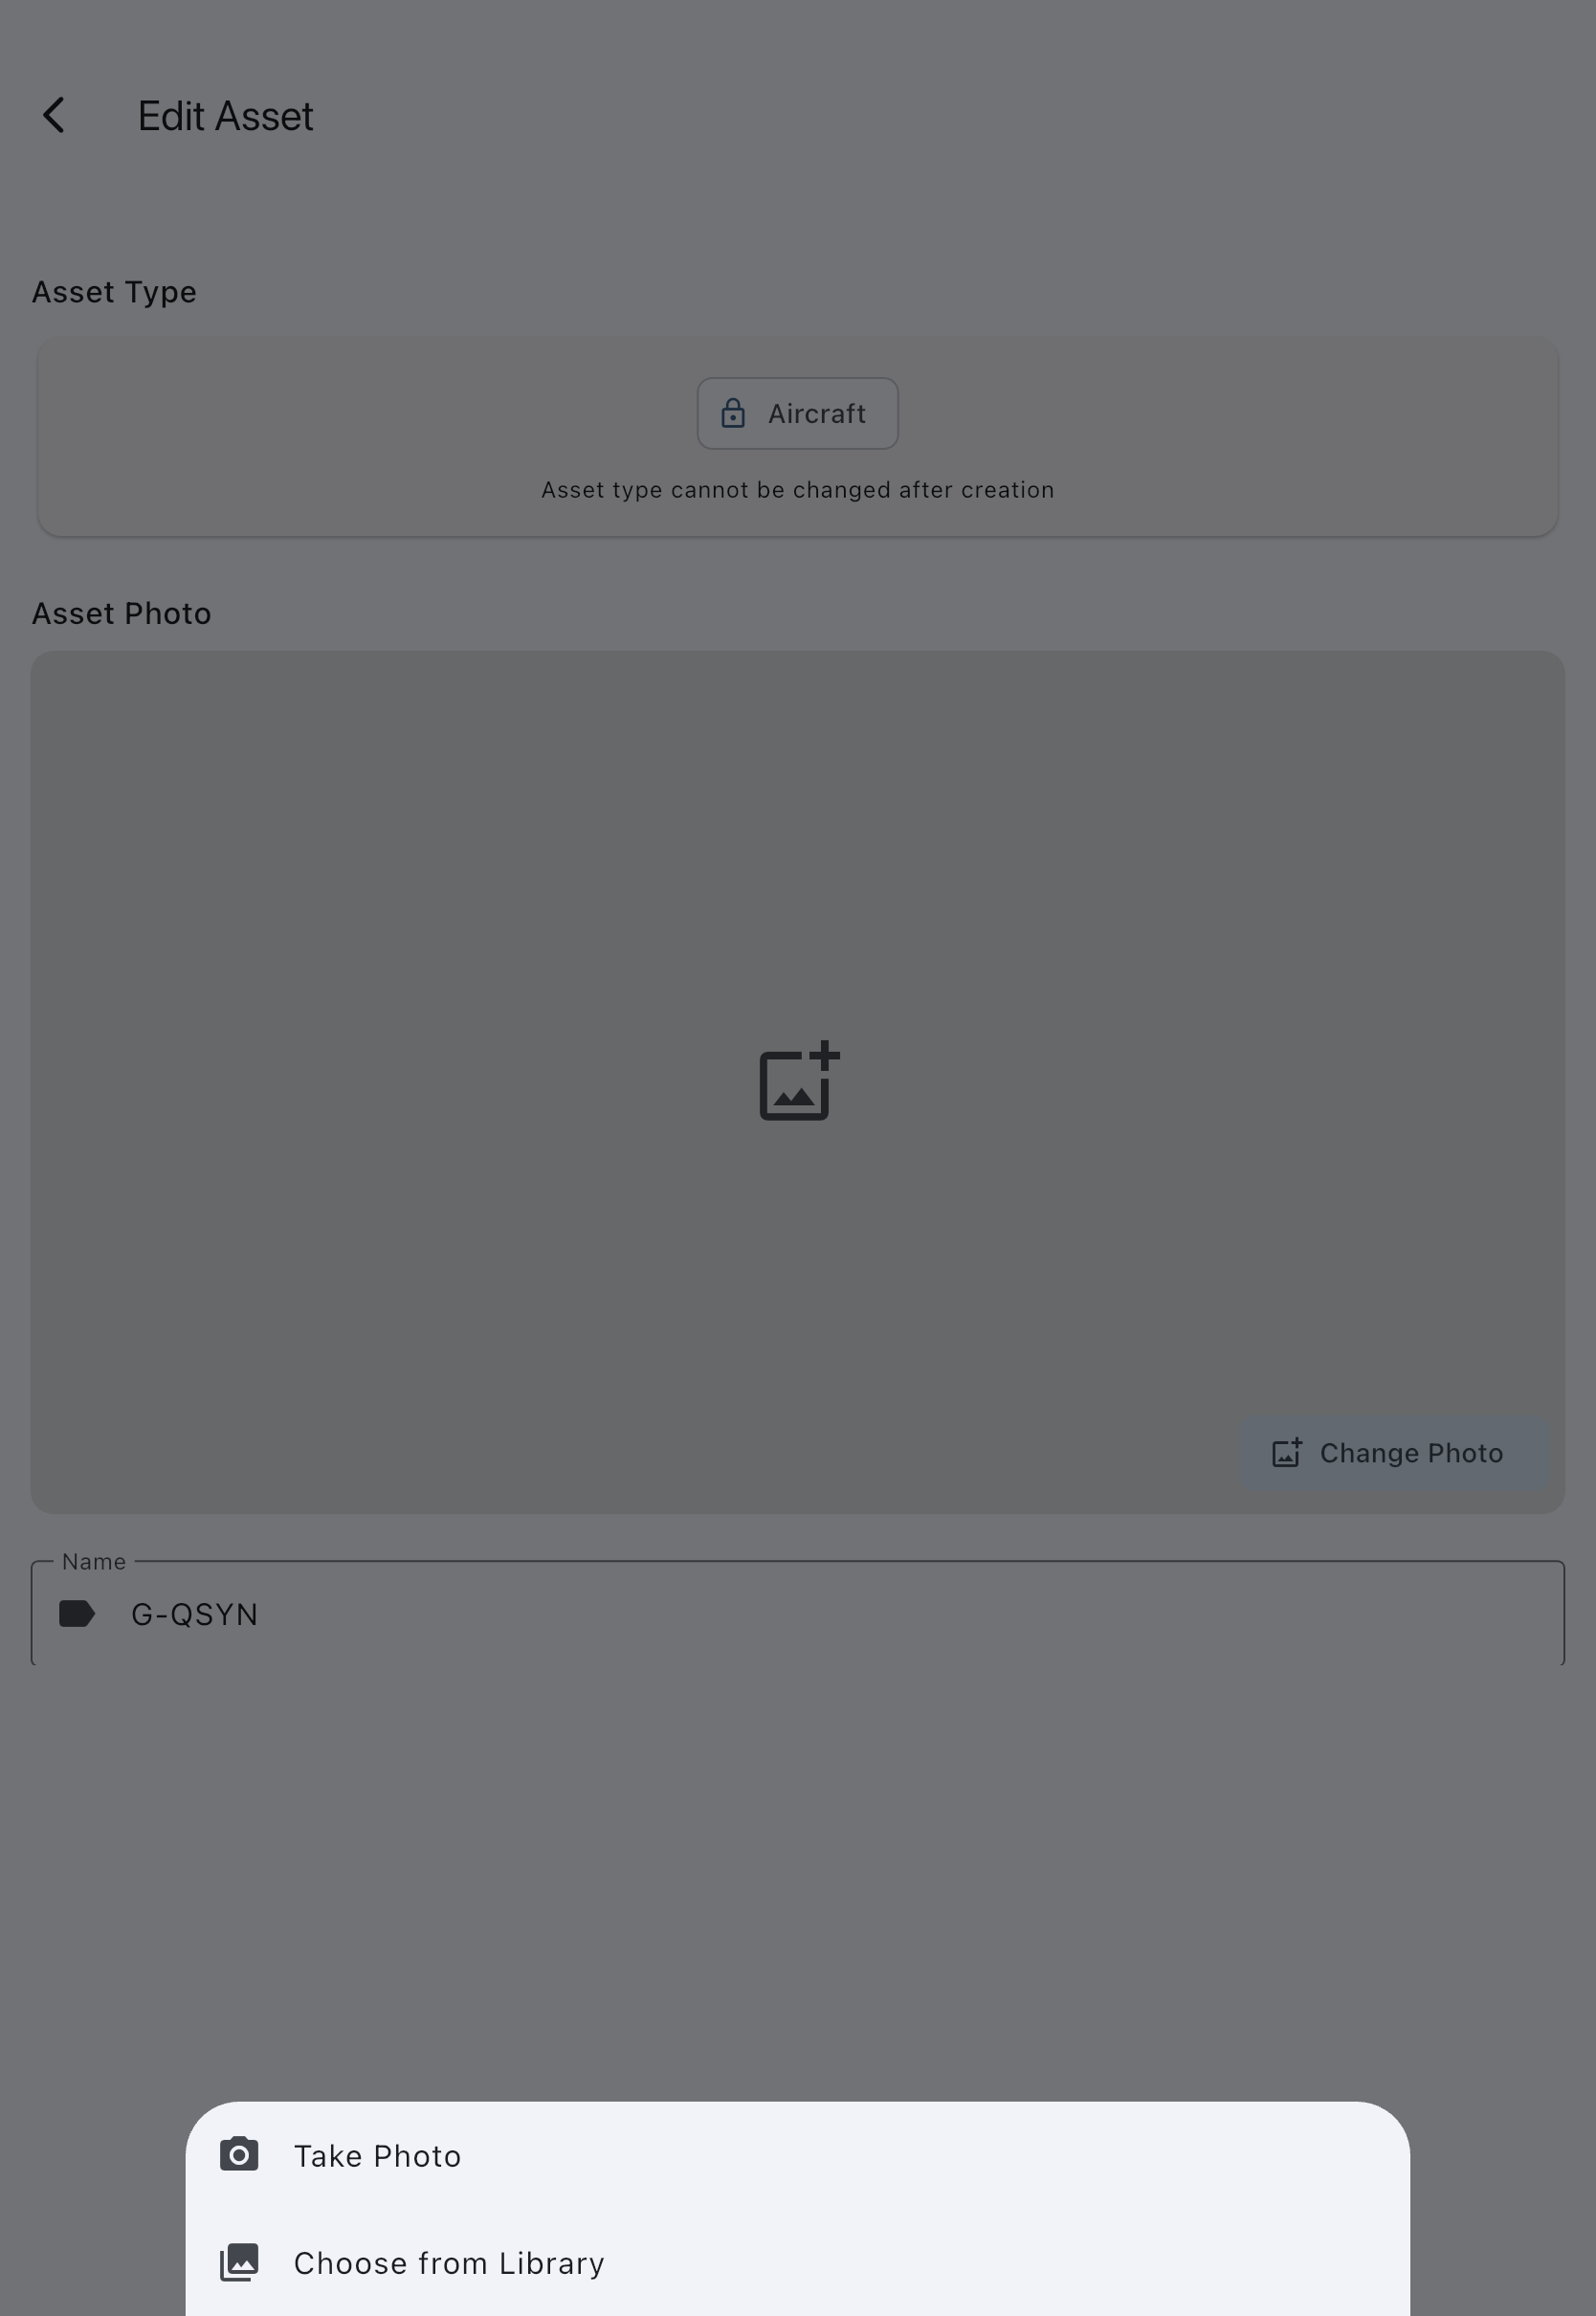
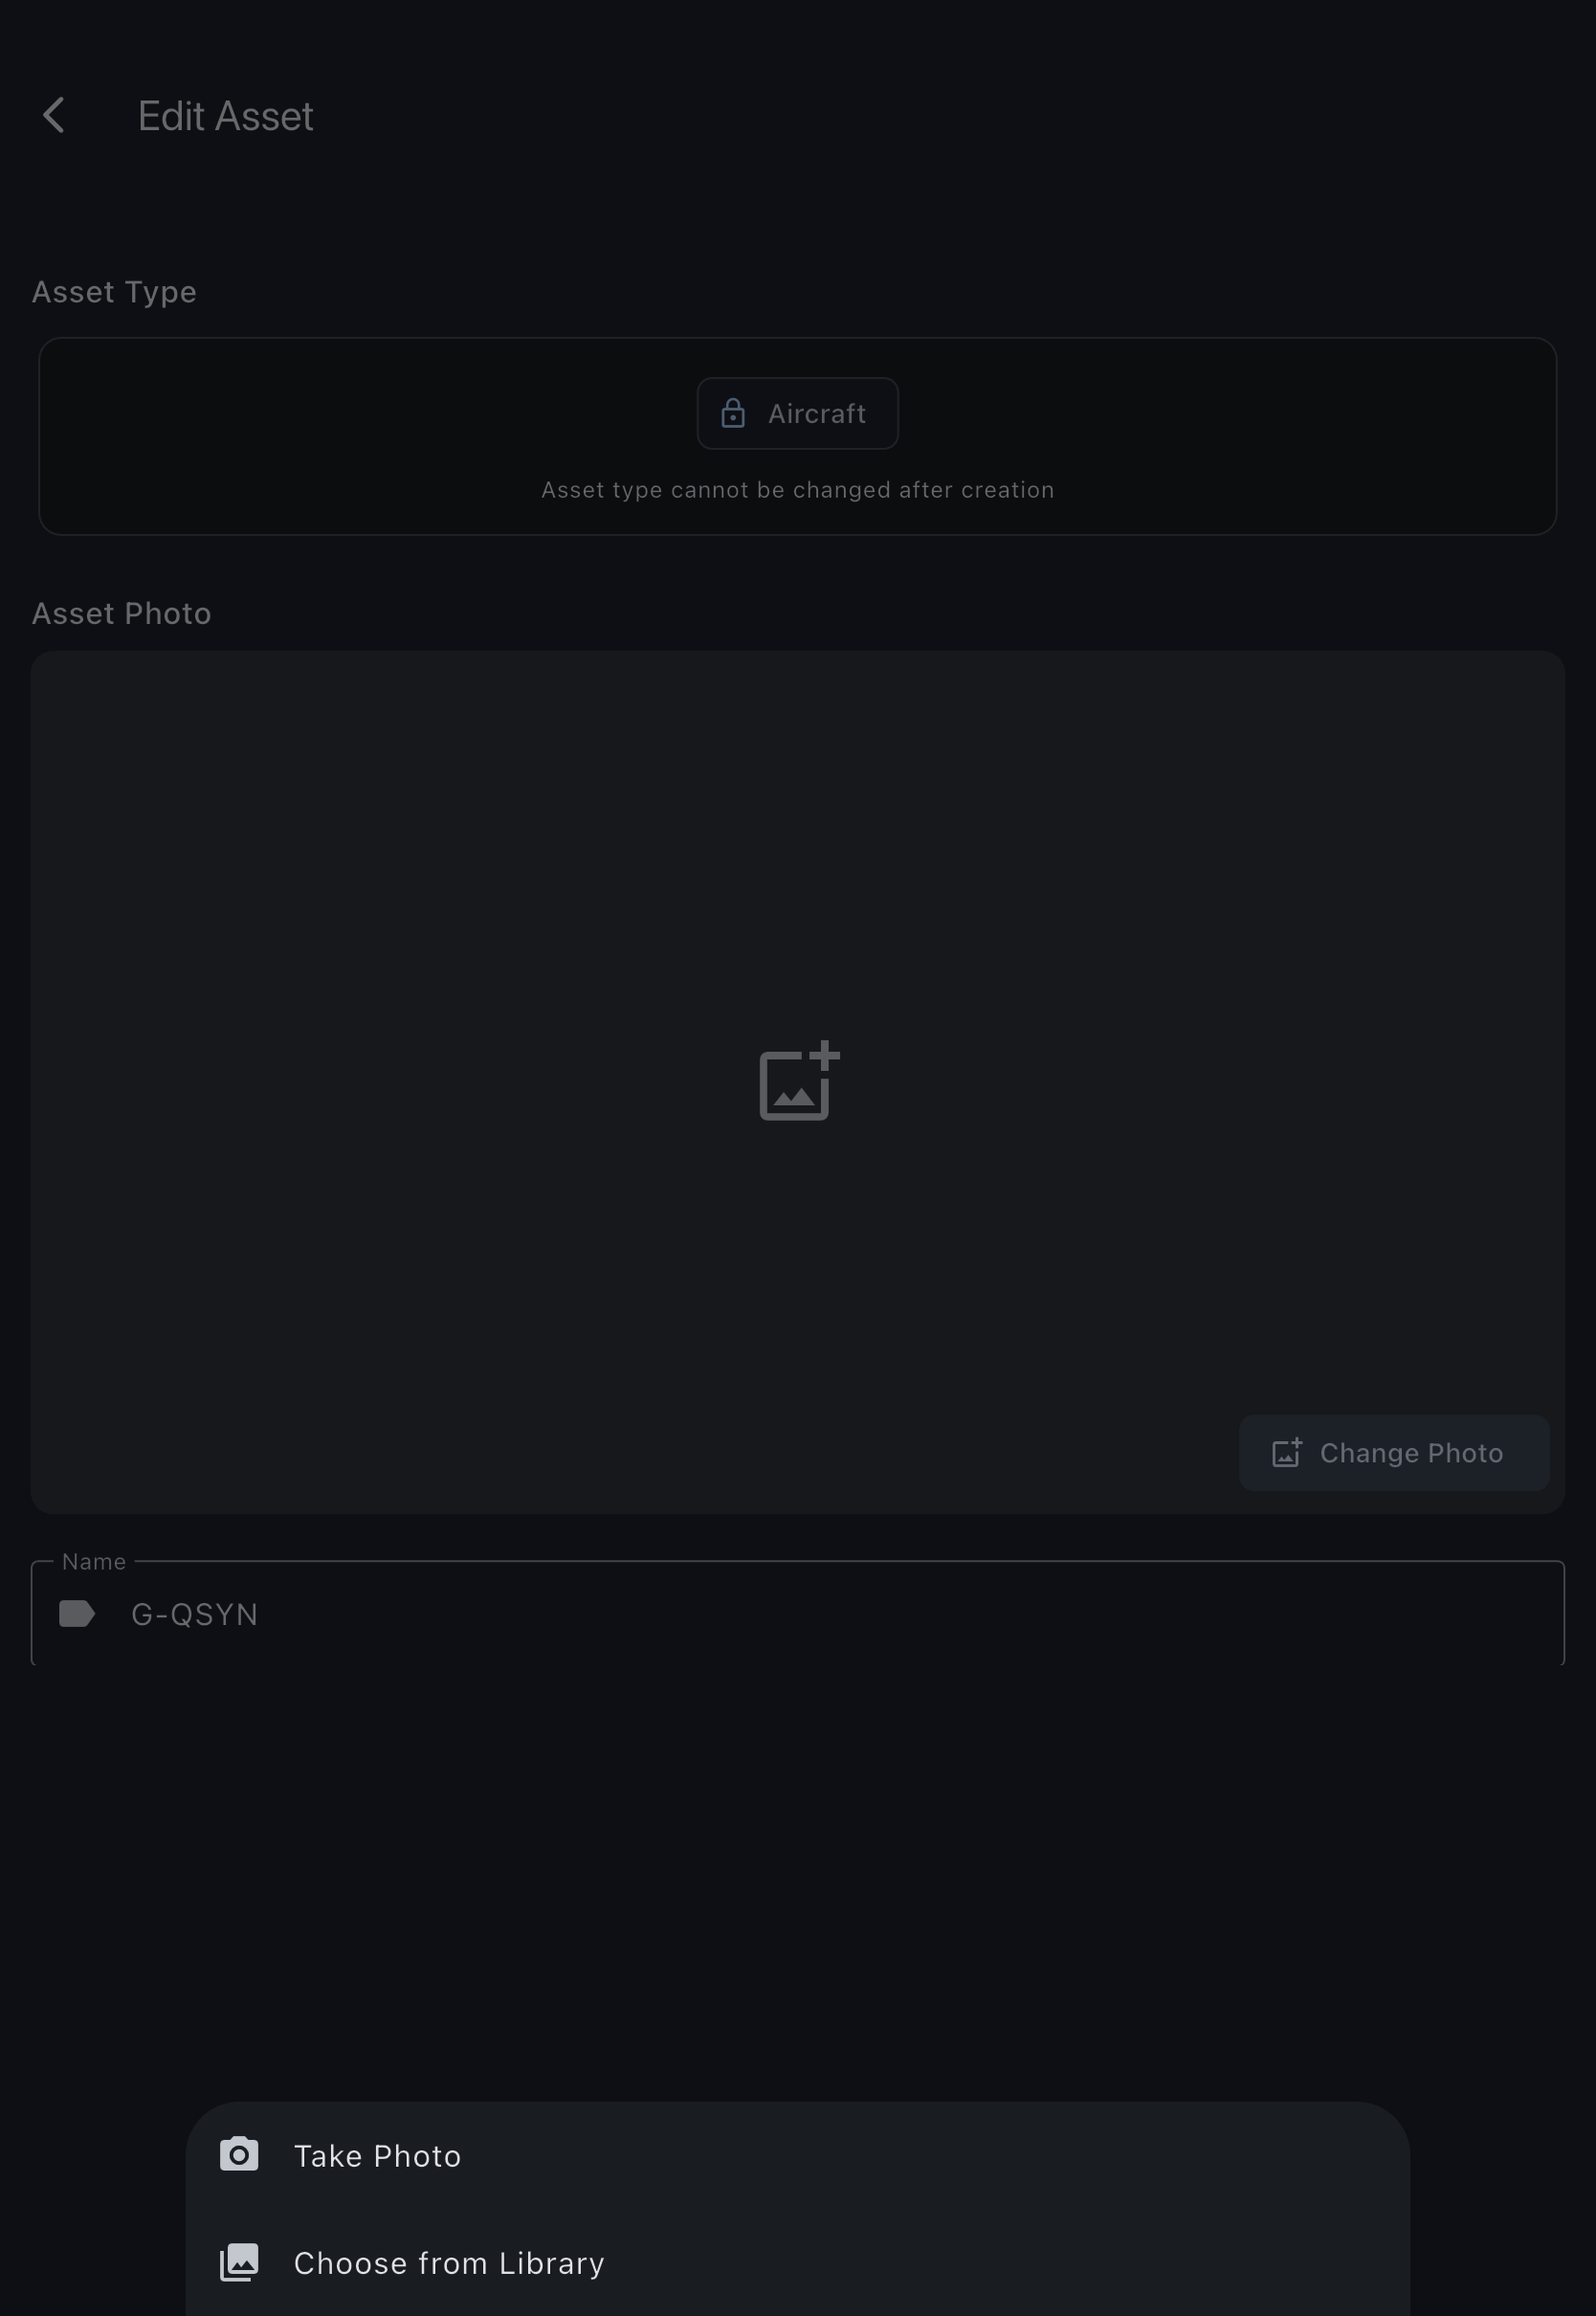
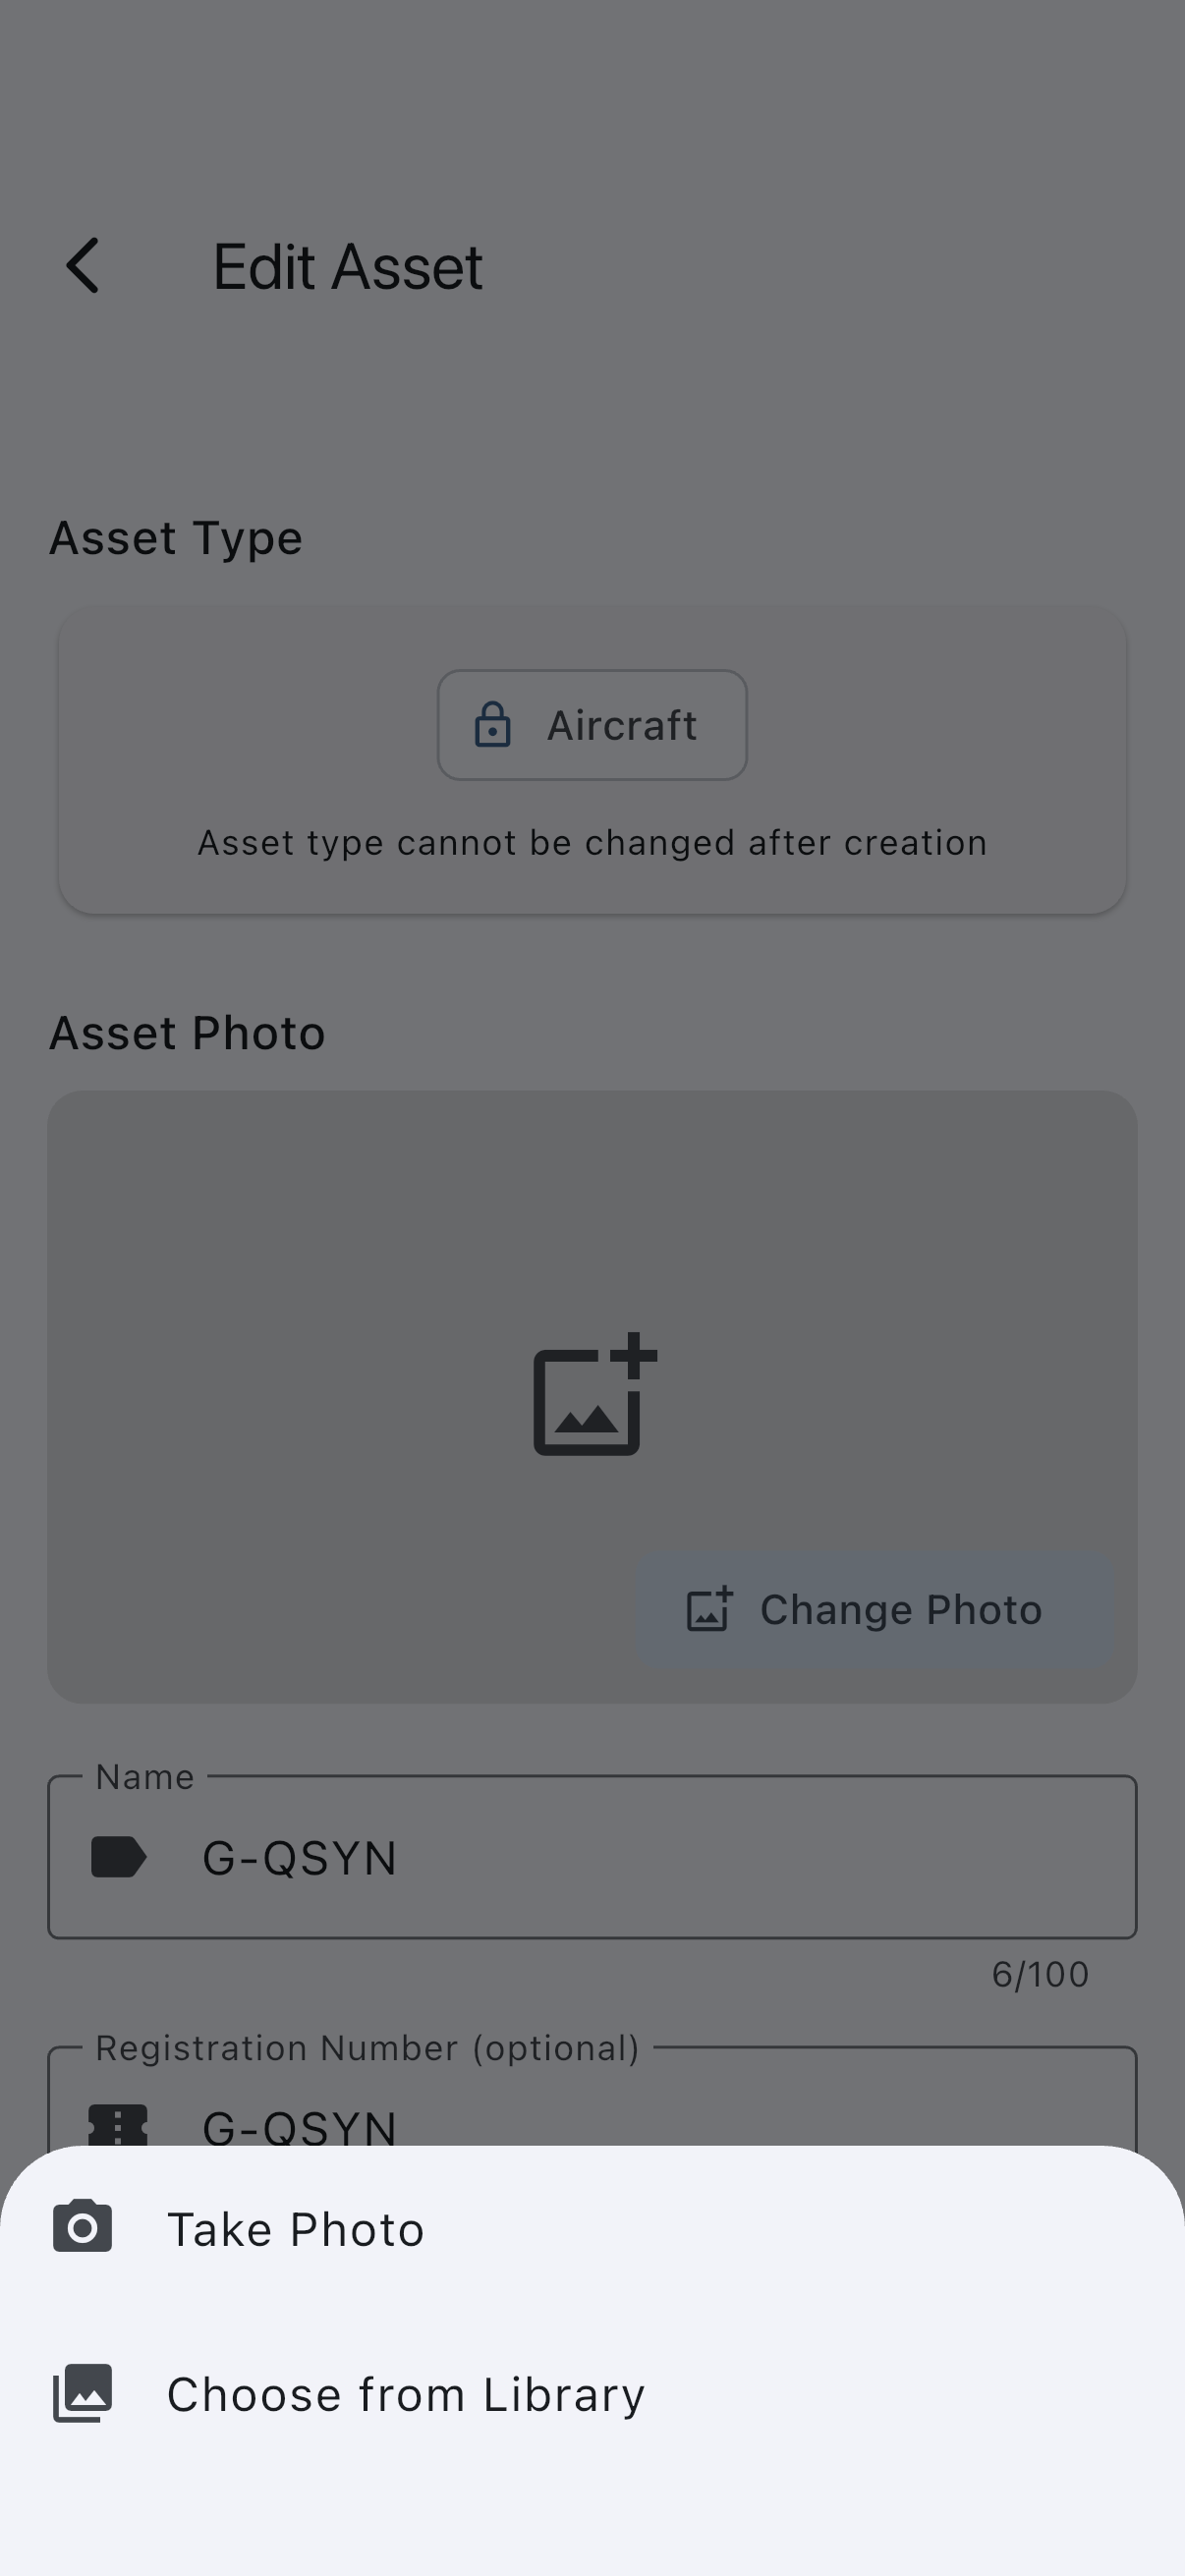
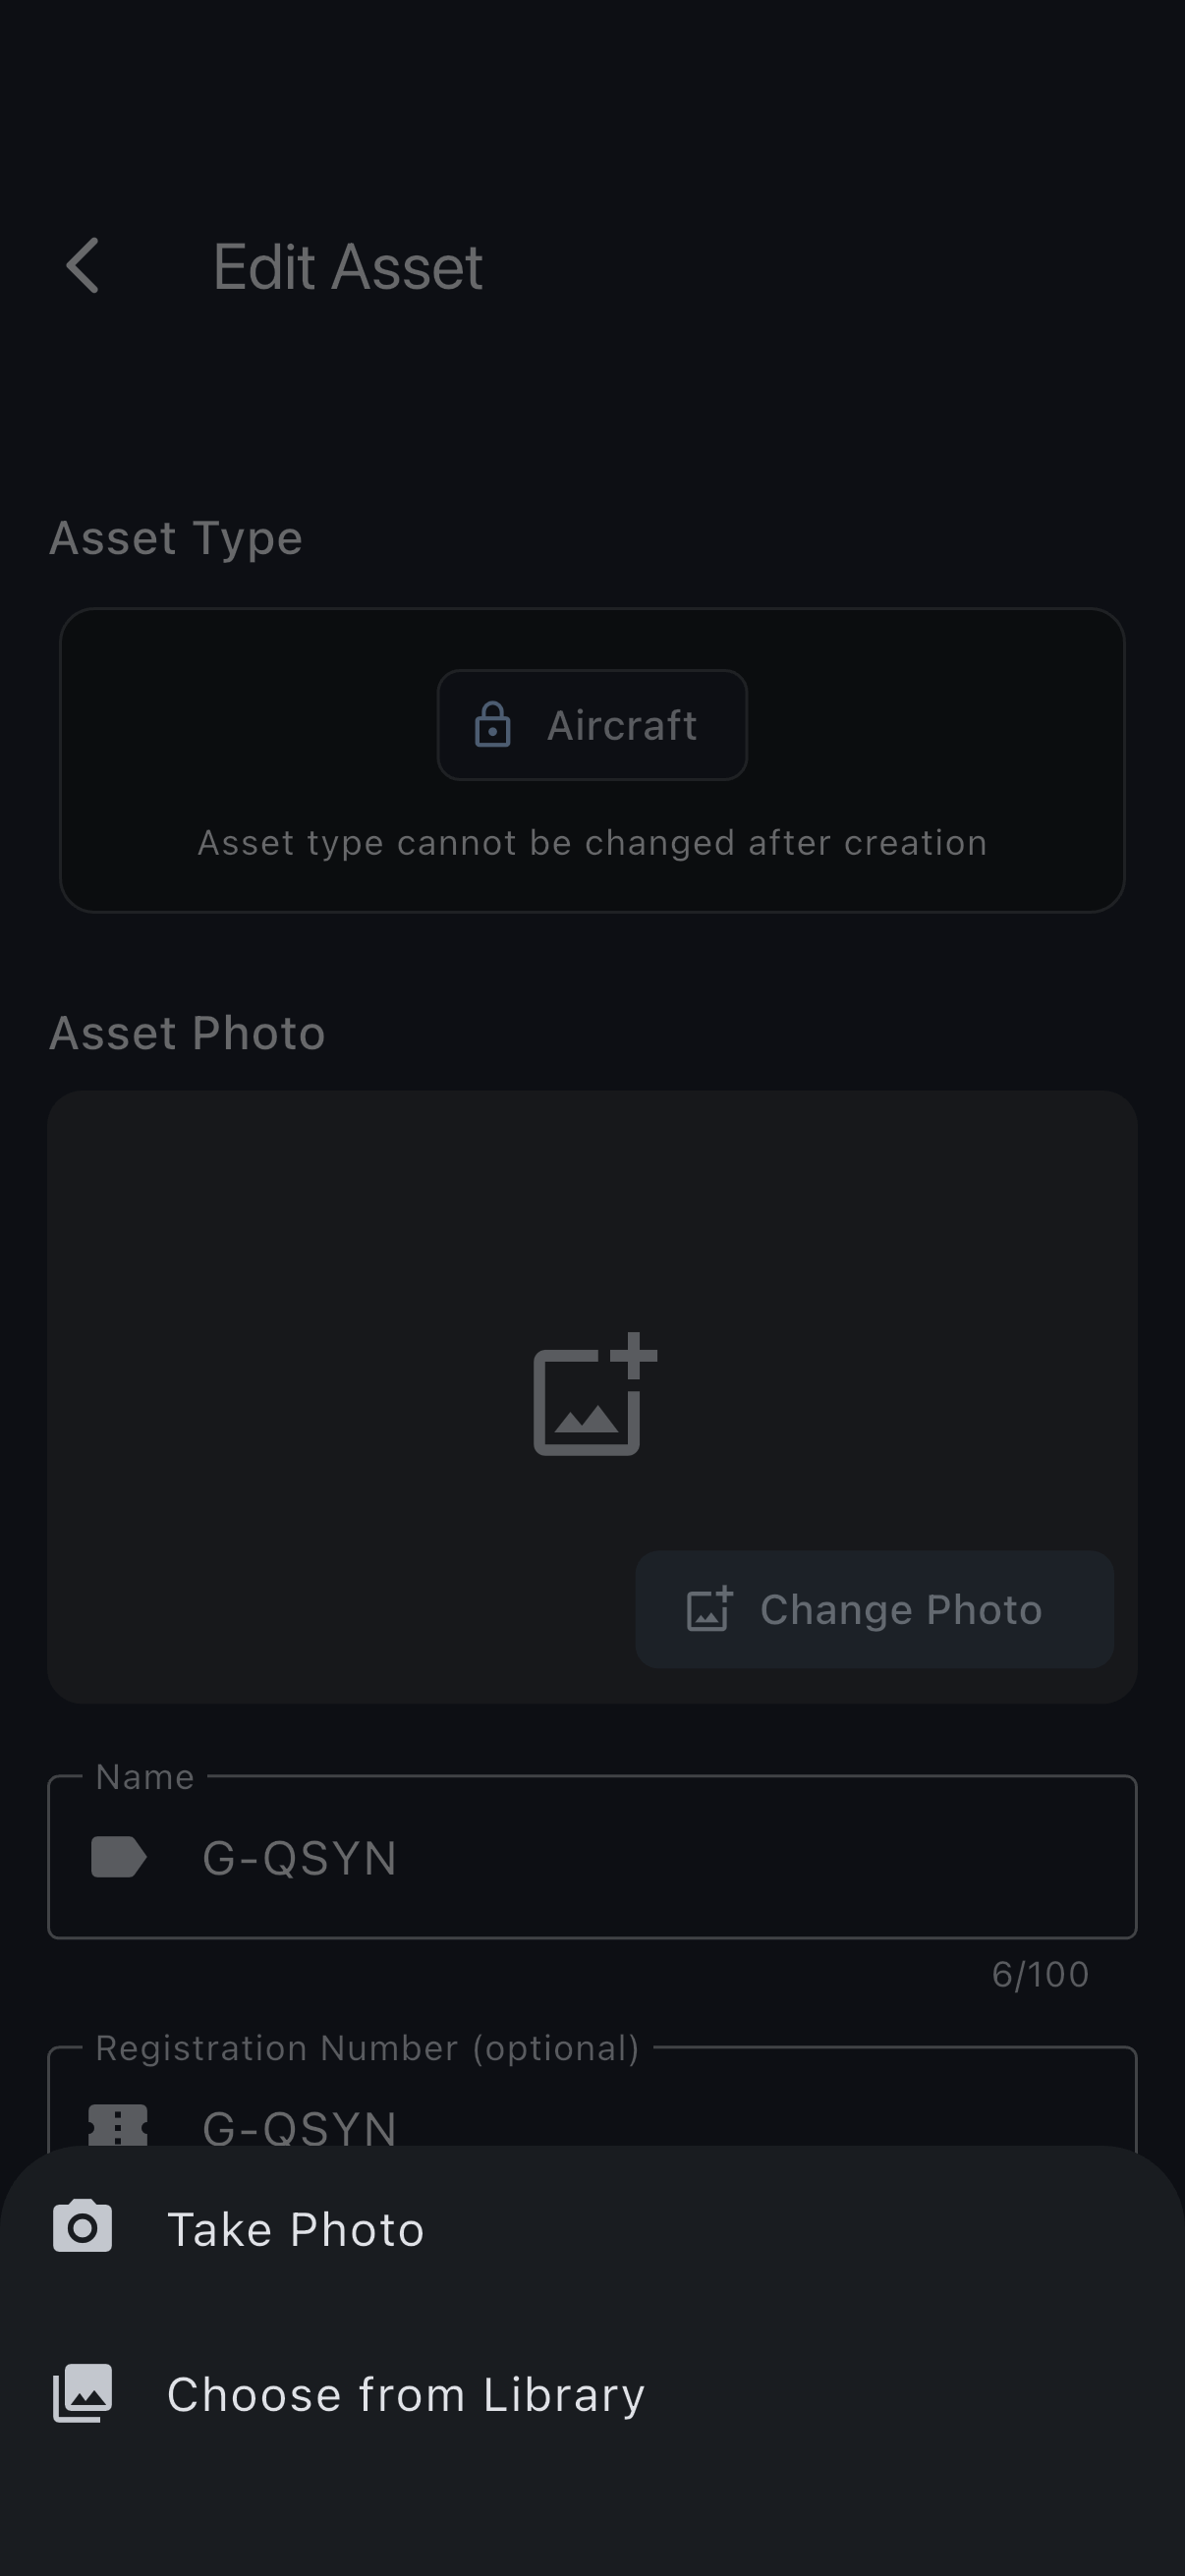
- Tap Asset Photo, near the top of the form just below the Asset Type card. If there is no photo yet, the button reads Add Photo; if there already is one, it reads Change Photo.
- Choose a source: camera or your photo library. On the web the browser file picker opens directly. On mobile you’re also prompted for permission the first time.
- Pick an image. Your device’s own crop editor opens — it is the phone or browser’s screen, not Syndik8’s, so it looks a little different on iOS, on Android and on the web.
- Drag and pinch until the part of the photo you want sits inside the 16:9 frame, then confirm. On iOS and Android the confirm control is usually a tick or Done in a corner; on the web it is a button below the image.
- Scroll to the bottom of the edit screen and tap Update Asset. The photo is uploaded and the new version appears on the asset card immediately.
If it goes wrong
Section titled “If it goes wrong”- Permission prompt fails. On mobile, the app needs camera or photo-library access. Open your device’s own settings, find Syndik8’s permissions, and grant Camera or Photos.
- Upload fails. A message appears at the top of the edit screen. The most common cause is a dropped connection, so try again. If it keeps failing, try a smaller image (most modern phone photos are fine; large DSLR originals occasionally aren’t).
- The old photo still shows after upload. Reopen the asset to refresh the card. The new photo appears once the updated asset reaches the device.