
Join a syndicate as a member
This tutorial takes you from “an admin sent me a link” to “I am a member of the syndicate and can see the calendar.” By the end, you’ll have an account, be part of the syndicate, and know the shape of your membership, your role and which rate band you’re on. Plan on about five minutes; most of it is you choosing a password.
The only thing you need to start is the invite link an admin of the syndicate sent you, usually arriving by email.
Step 1: Open the invite link
Section titled “Step 1: Open the invite link”Tap the link in the email, or paste it into your browser if you received it another way. The Syndik8 Invitation screen opens with a friendly “You’re Invited!” heading and the syndicate’s name.


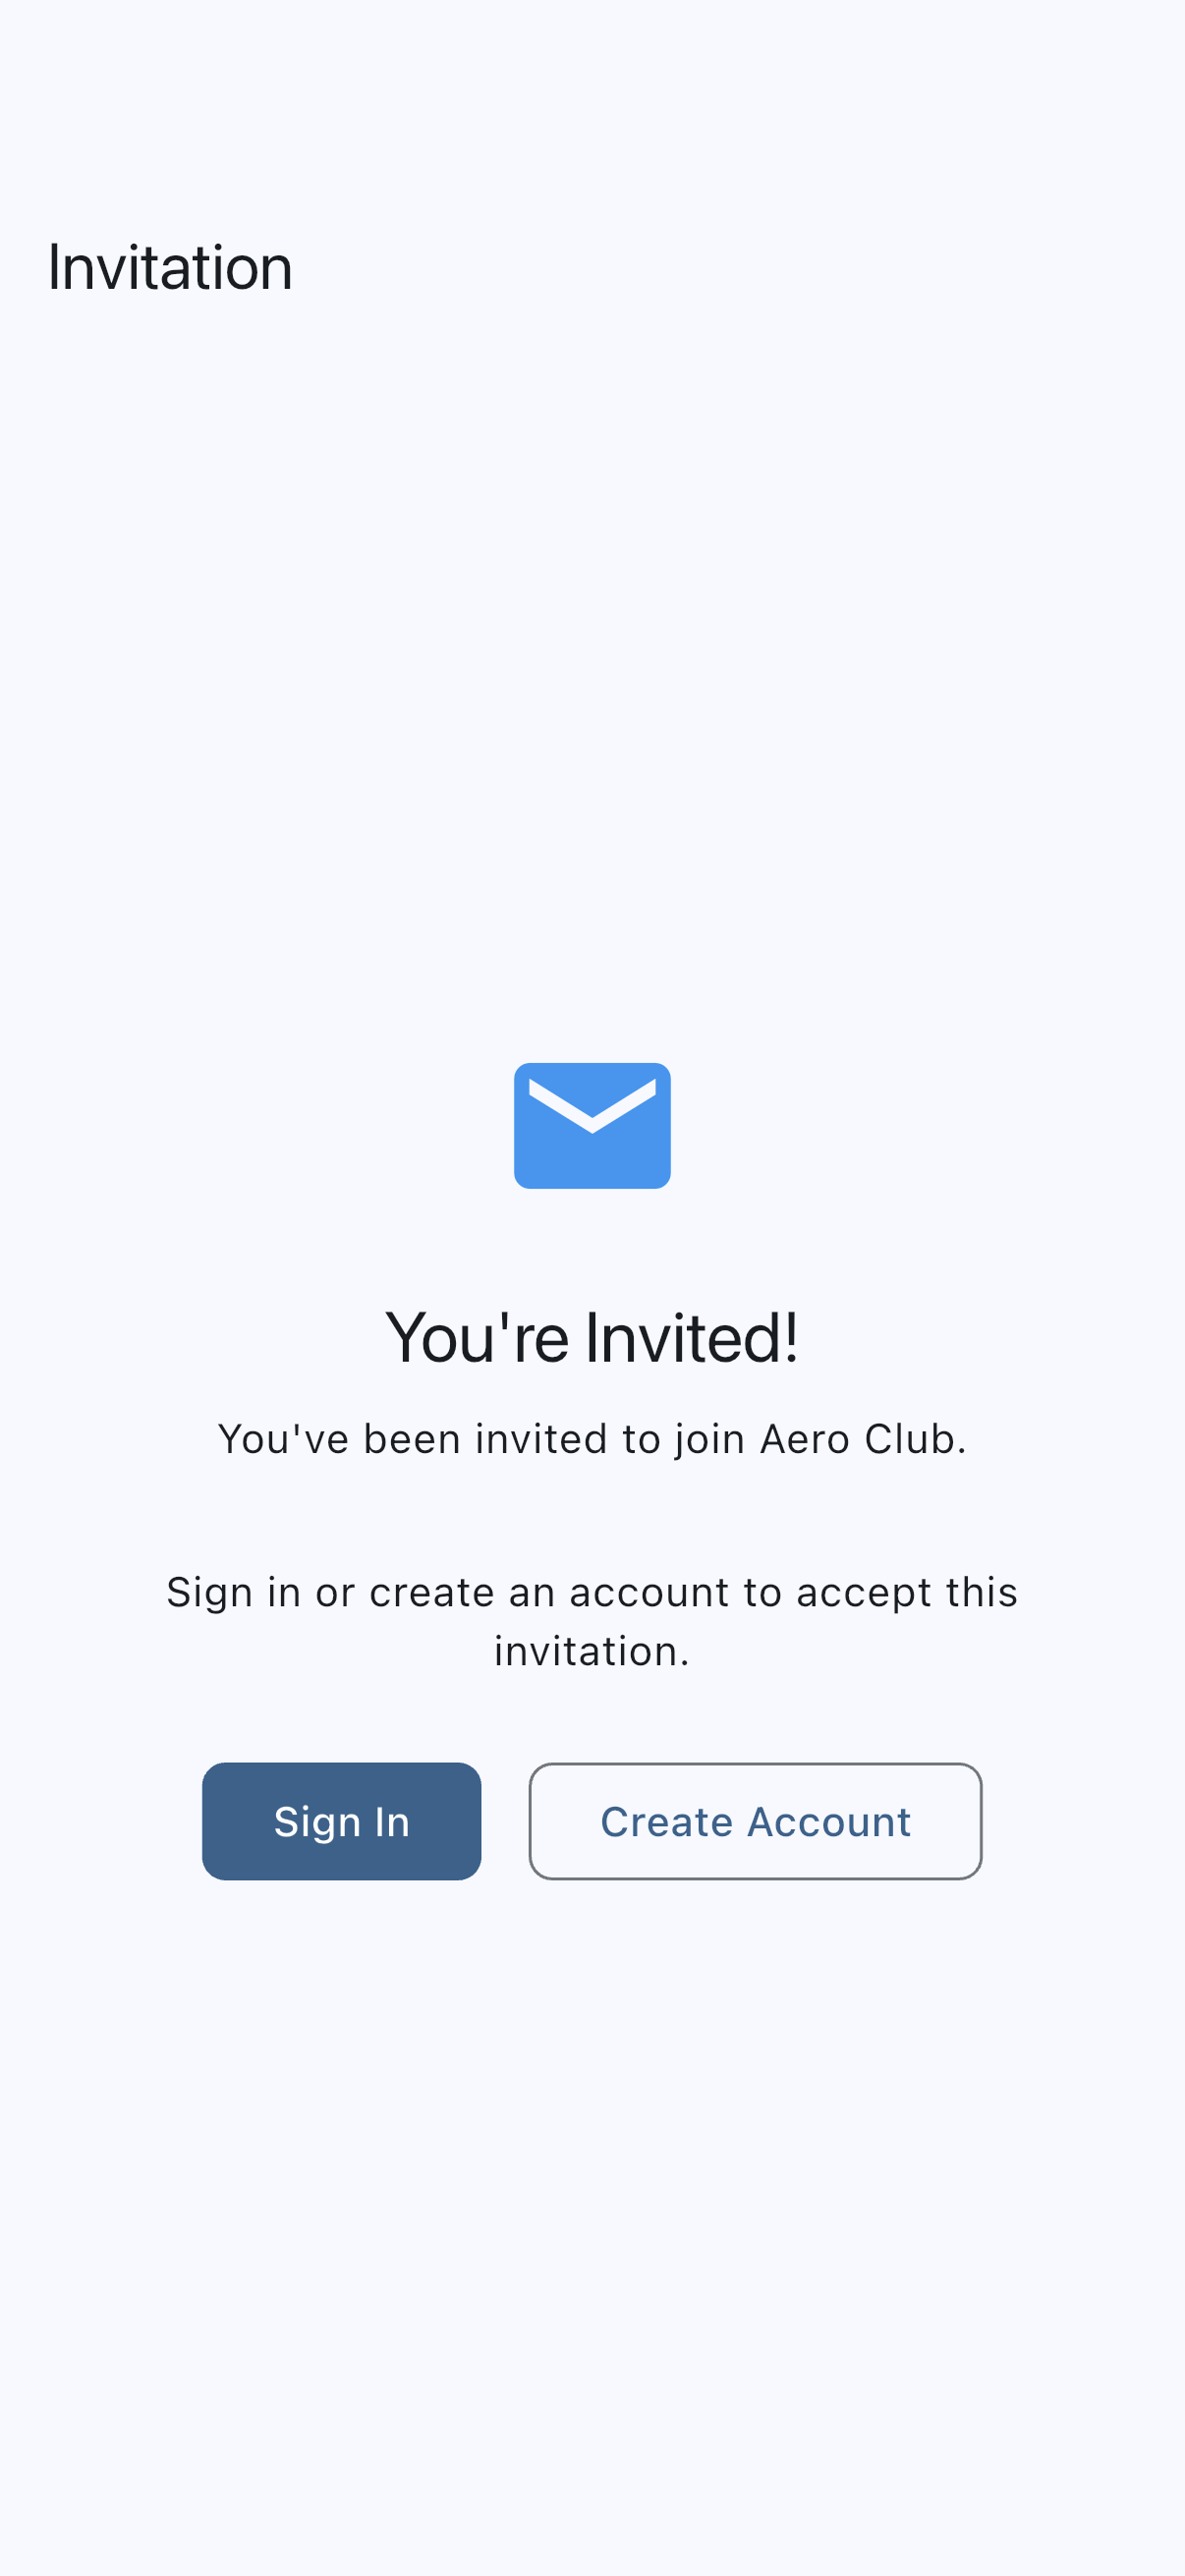
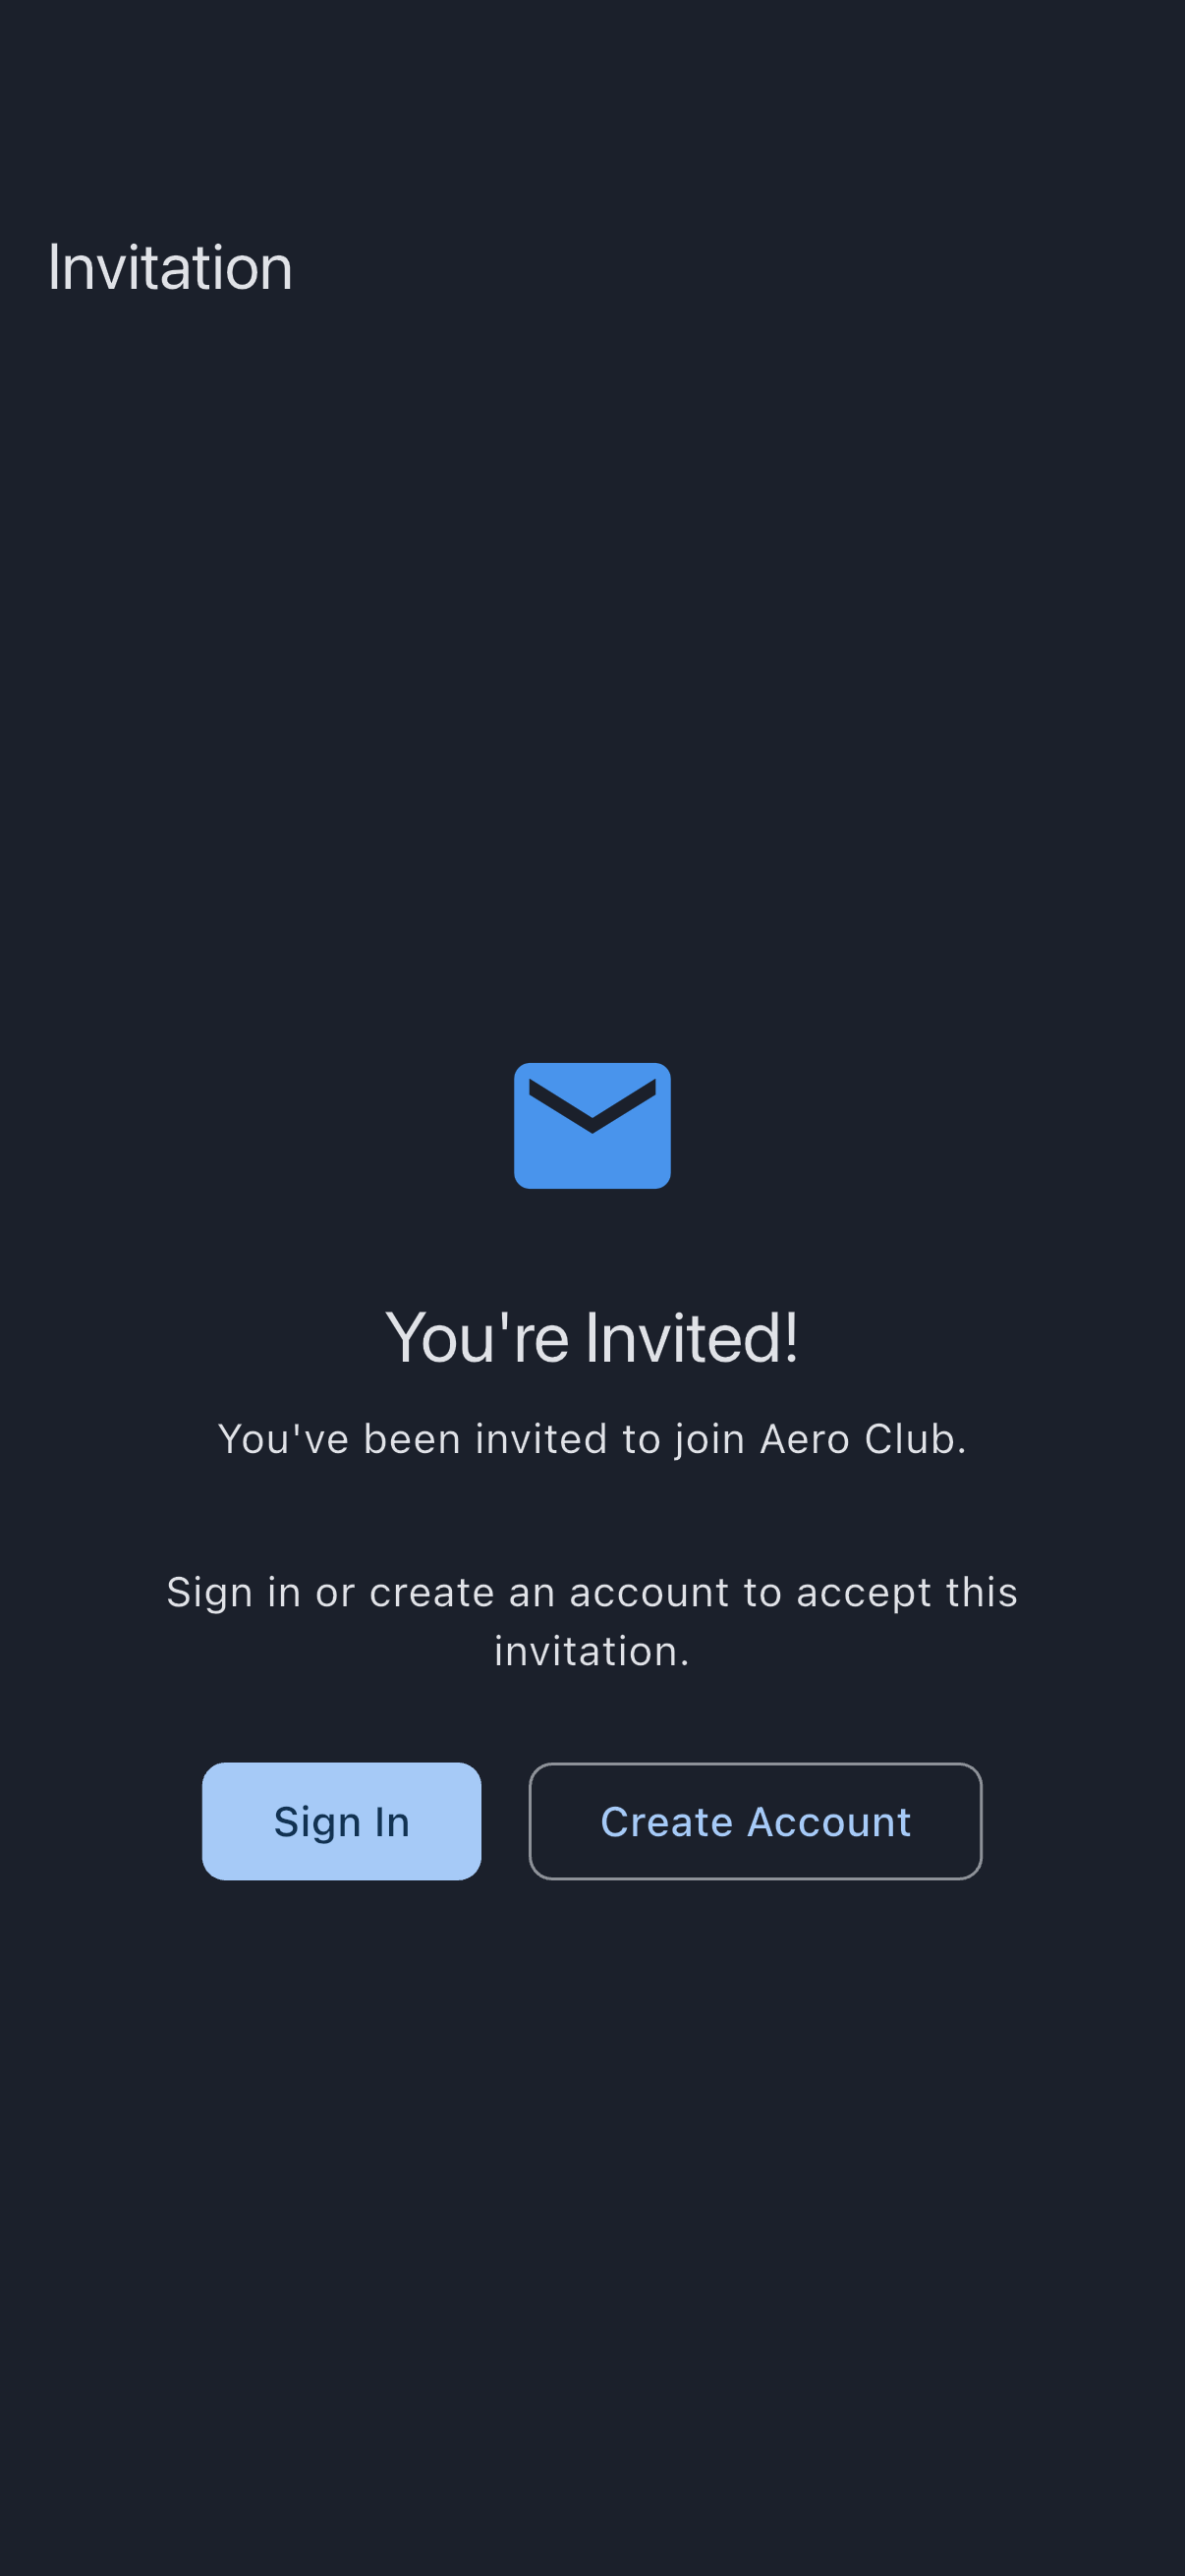
Signed out, that’s all the page shows: the “You’re Invited!” heading, the syndicate you’re being asked to join, and two buttons to sign in or create an account. The specifics of your membership (your role, and your equity share if the syndicate splits ownership that way) appear once you’ve signed in, at Step 3, so there’s nothing to check here yet.
Step 2: Sign in or create an account
Section titled “Step 2: Sign in or create an account”Syndik8 needs to know who you are before it can attach you to the syndicate. Below the invitation, two buttons sit side by side:
- Sign In, if you already have a Syndik8 account, even one in a different syndicate.
- Create Account, if this is your first time.
For a first-time user, tap Create Account. Enter an email and a password (use the same email the invite was sent to, unless you have a reason to use another). Syndik8 emails you a confirmation link; click it, return to the invite (the link still works), and you’ll come back signed in.
Creating the account joins you to nothing by itself, even when the invite was sent to the email you signed up with: nobody becomes a member of a syndicate, with the share of its costs that brings, without saying so. If you sign up from the app’s own sign-up screen rather than from the link, you’re shown each invitation waiting for your email at your first sign-in, one at a time, with the same details and the same two buttons as Step 3. Accept the one you meant to and you land on your home screen with its card; set them all aside and, with no syndicate yet, you’re offered the wizard that creates one instead.
If you already had an account, Sign In lands you back on the invite page, now in “signed-in” mode, and the layout shifts to show the accept controls.
Step 3: Accept the invitation
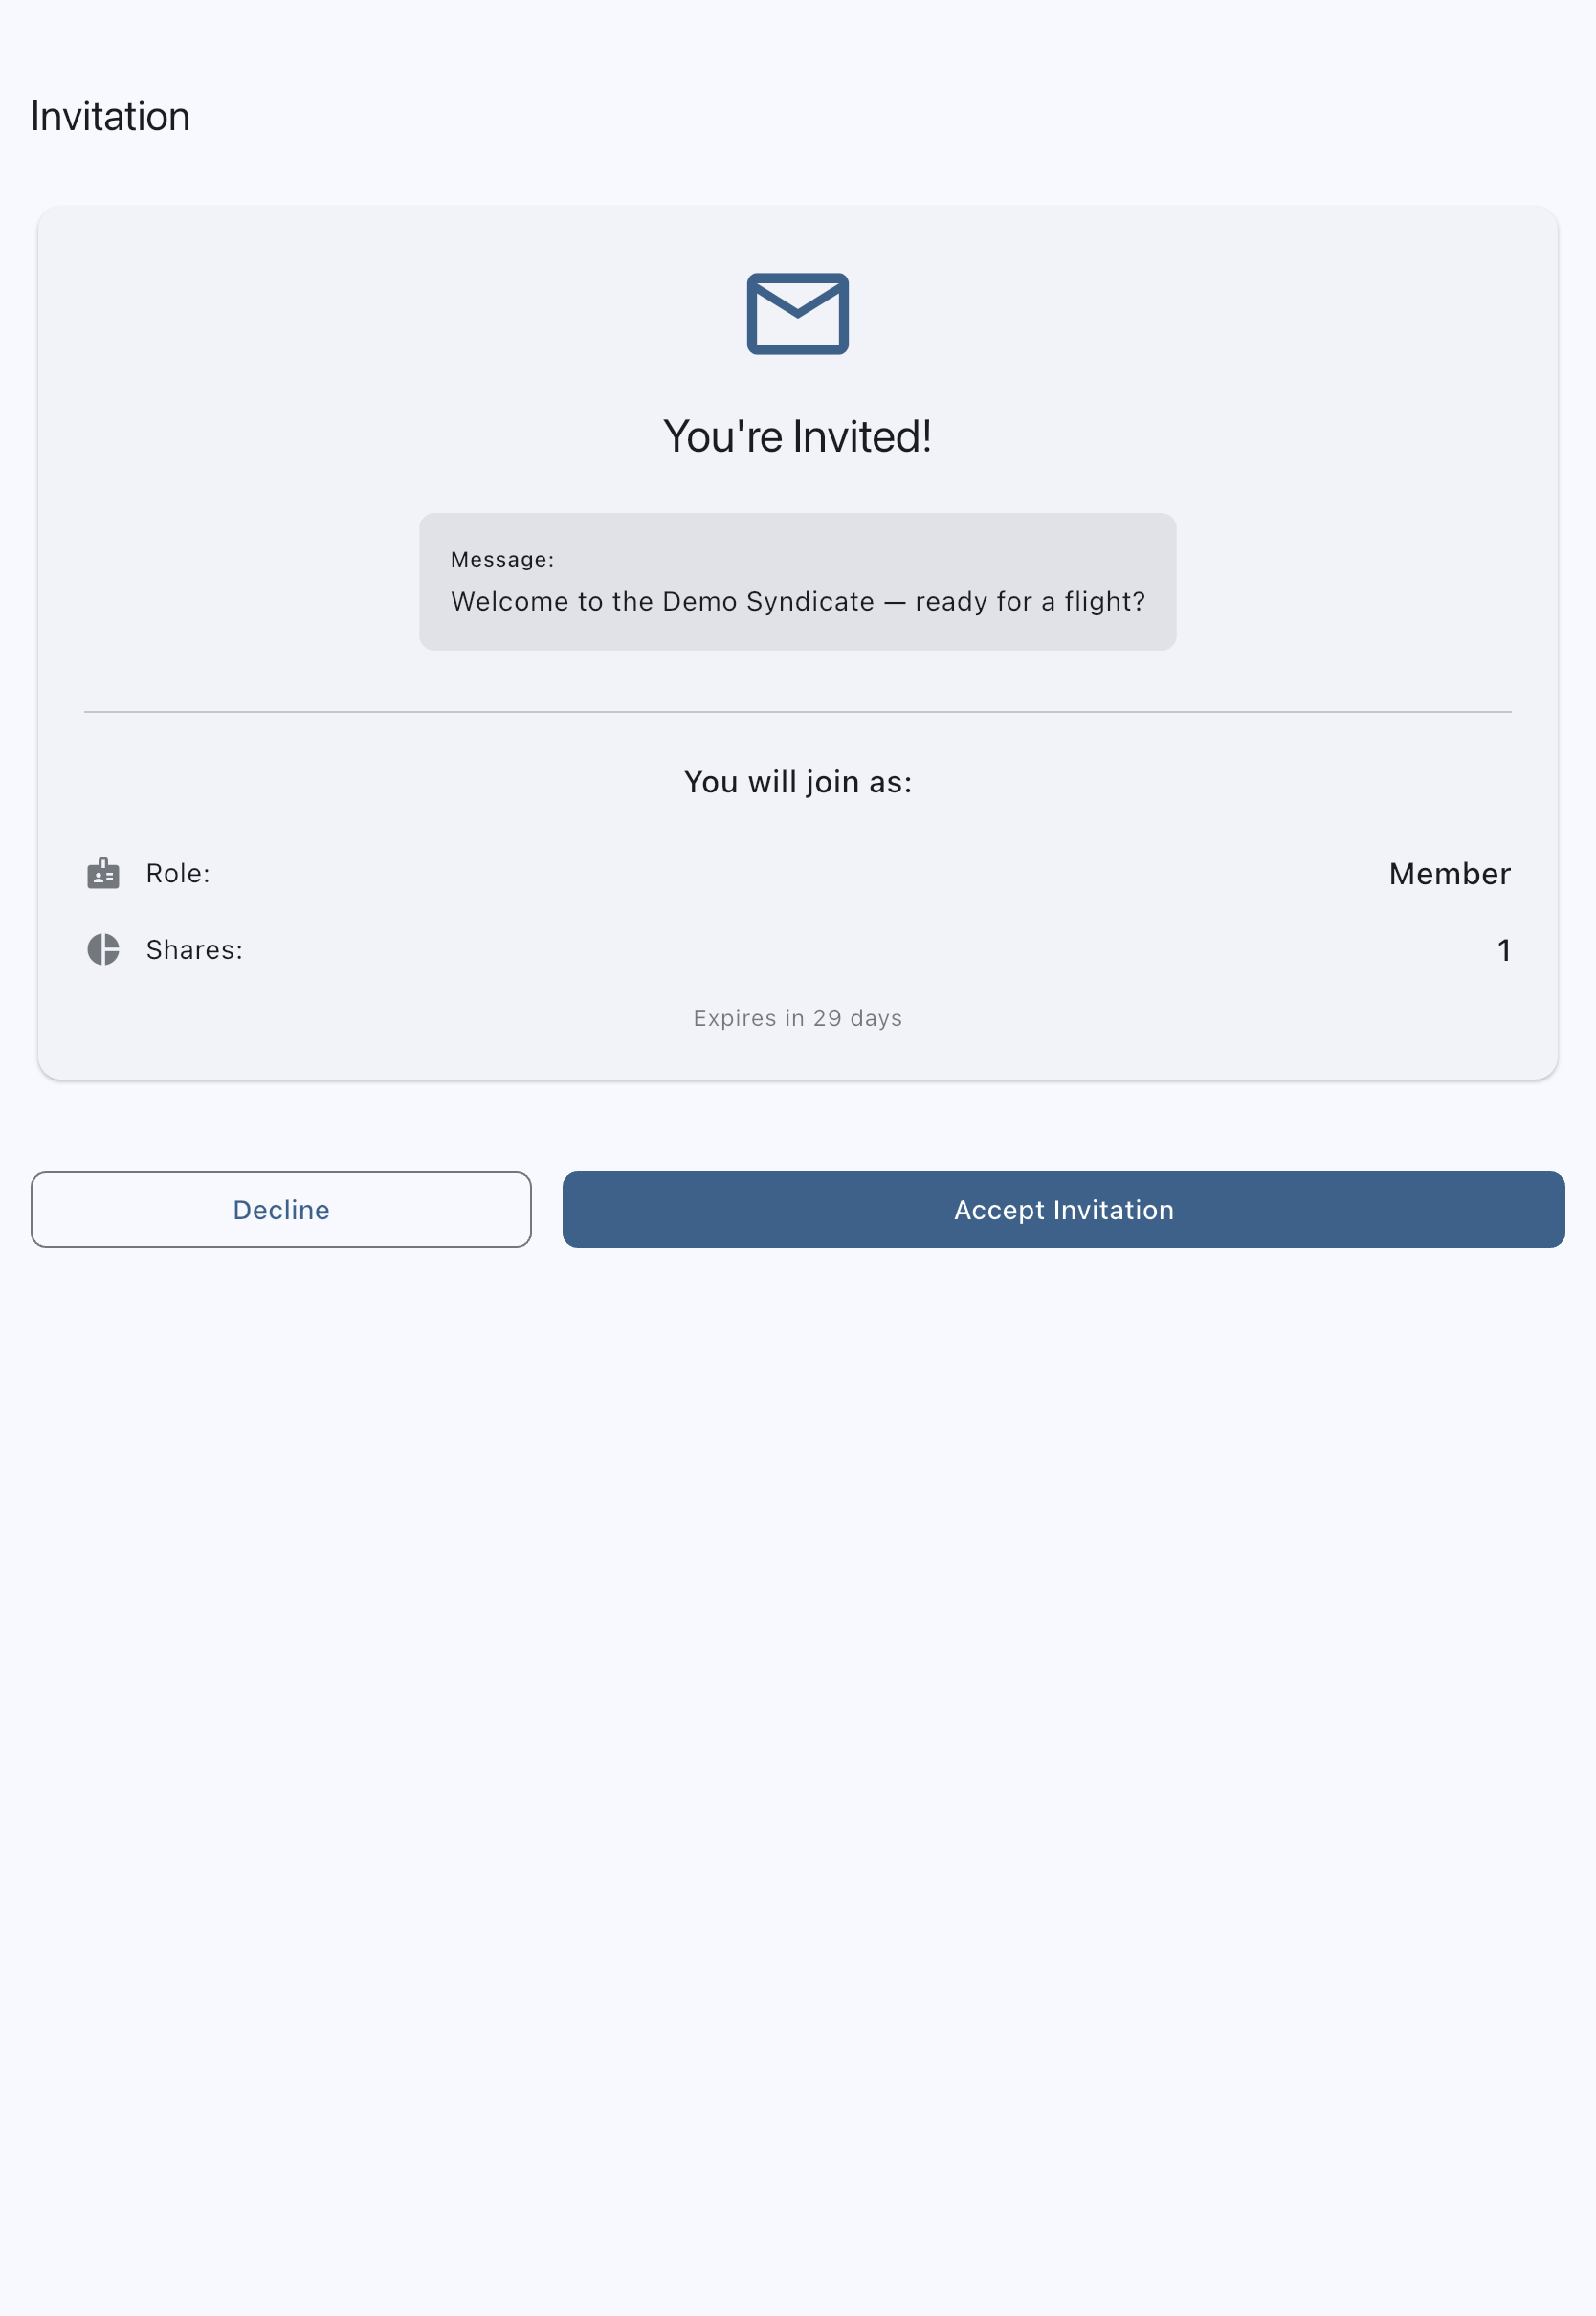
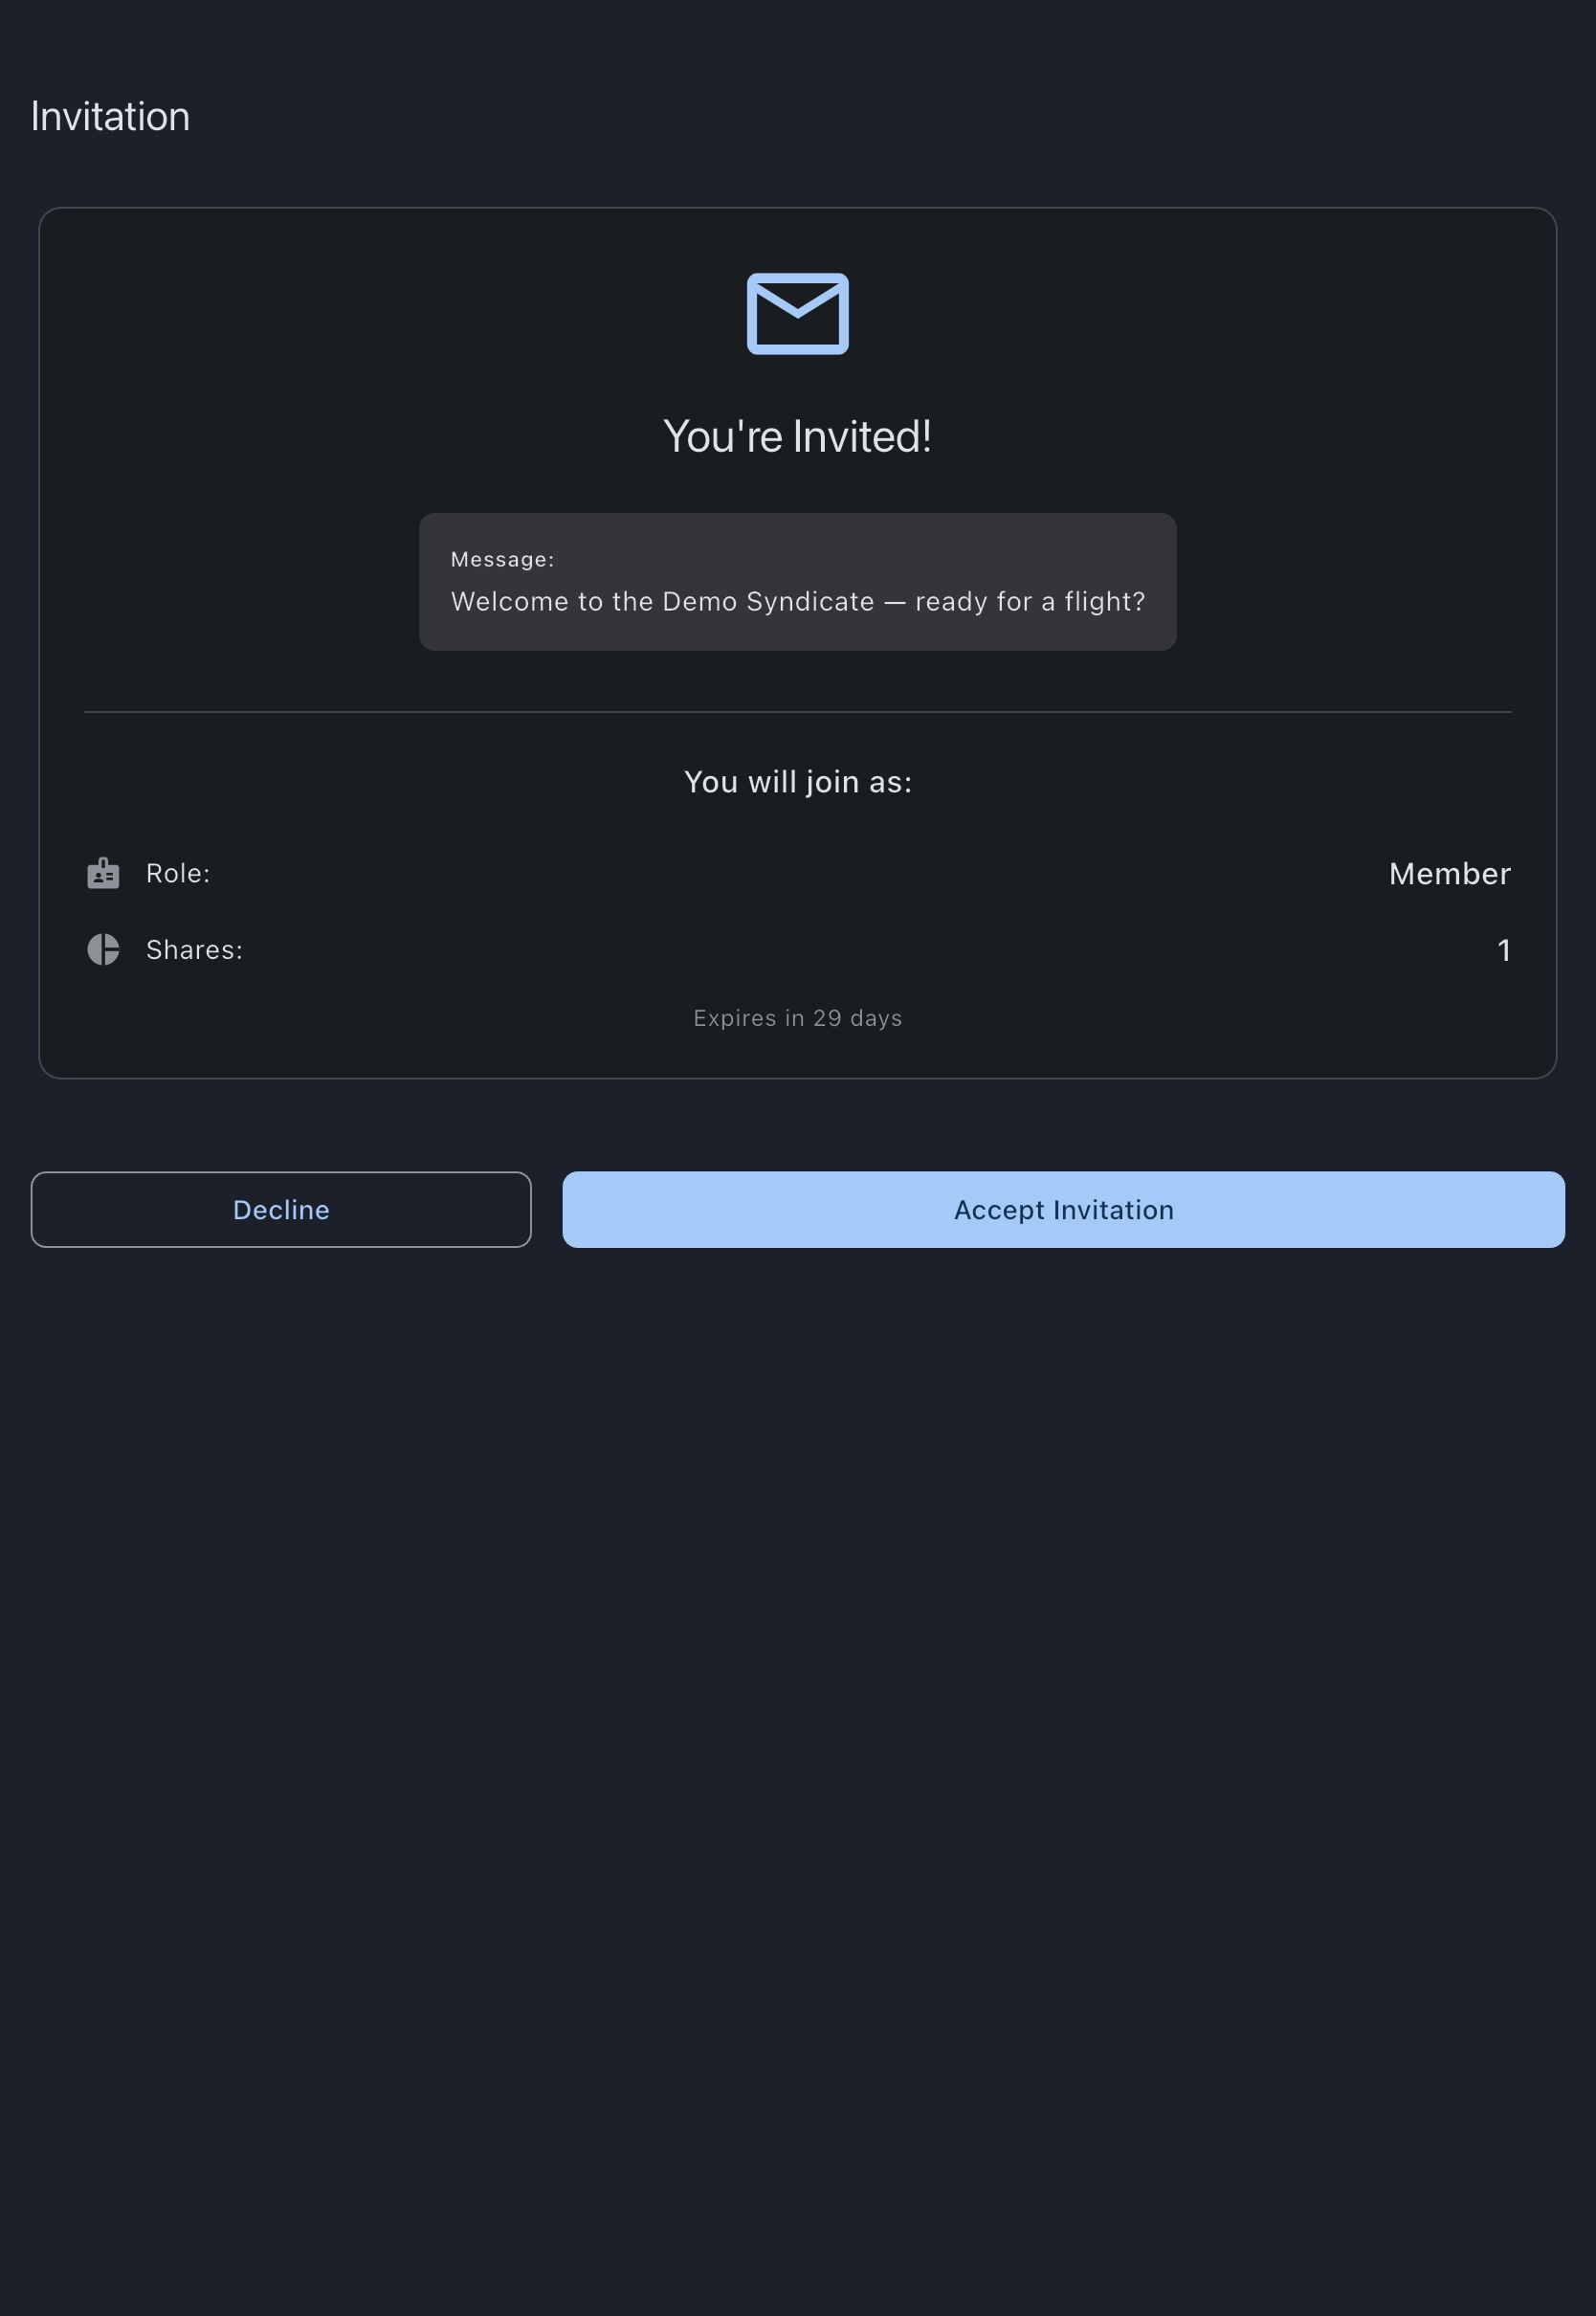
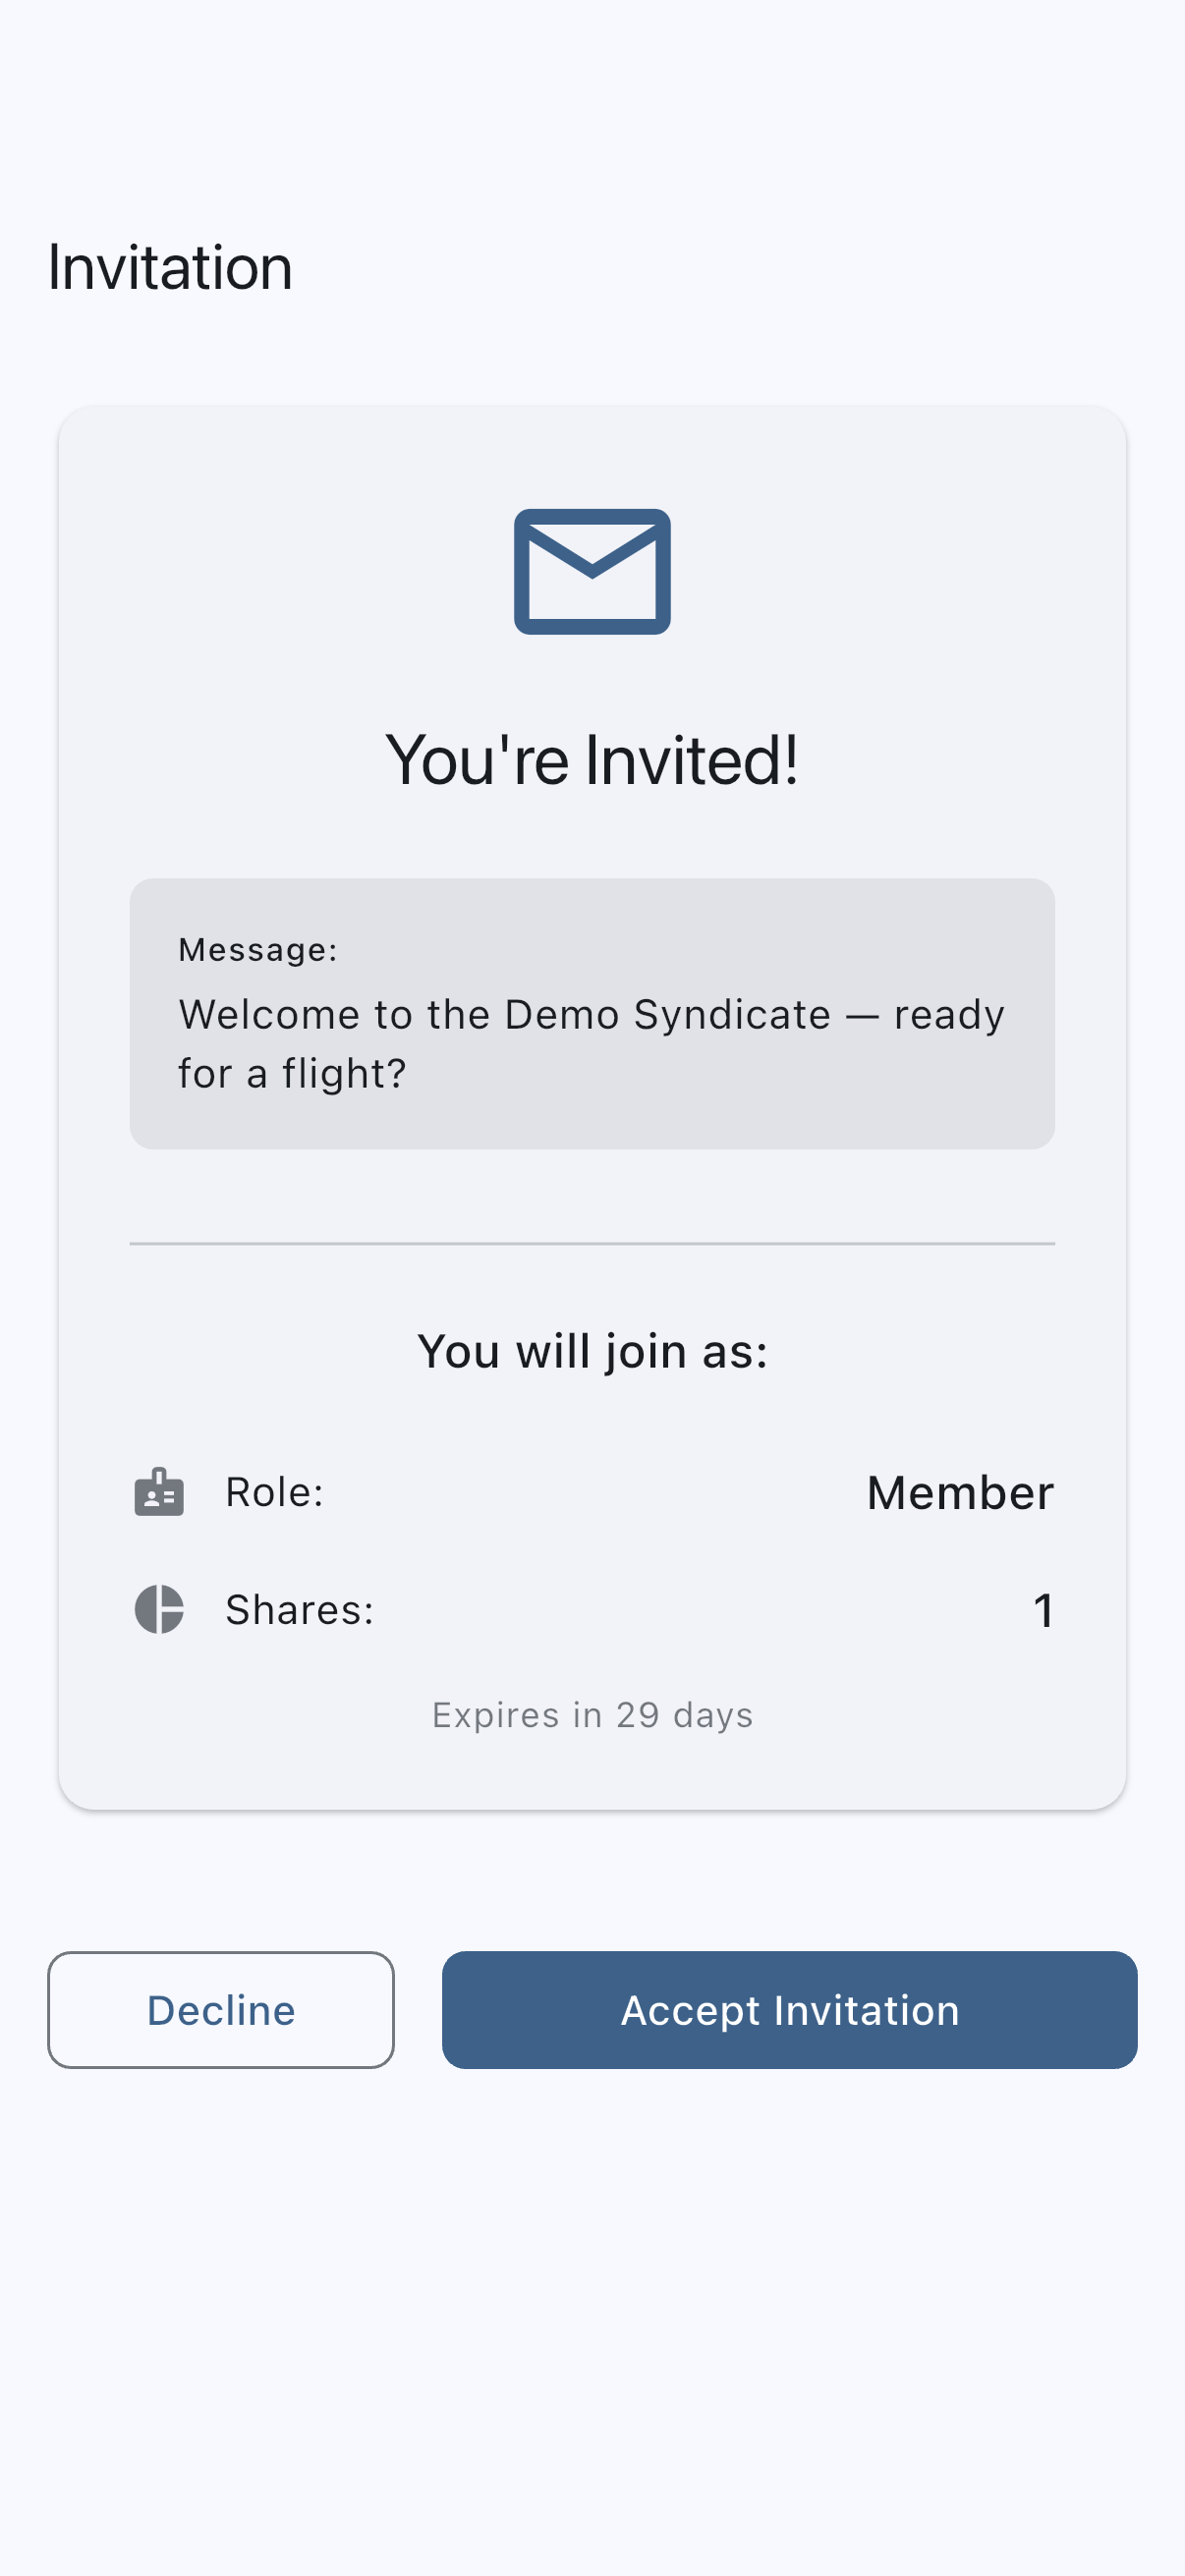
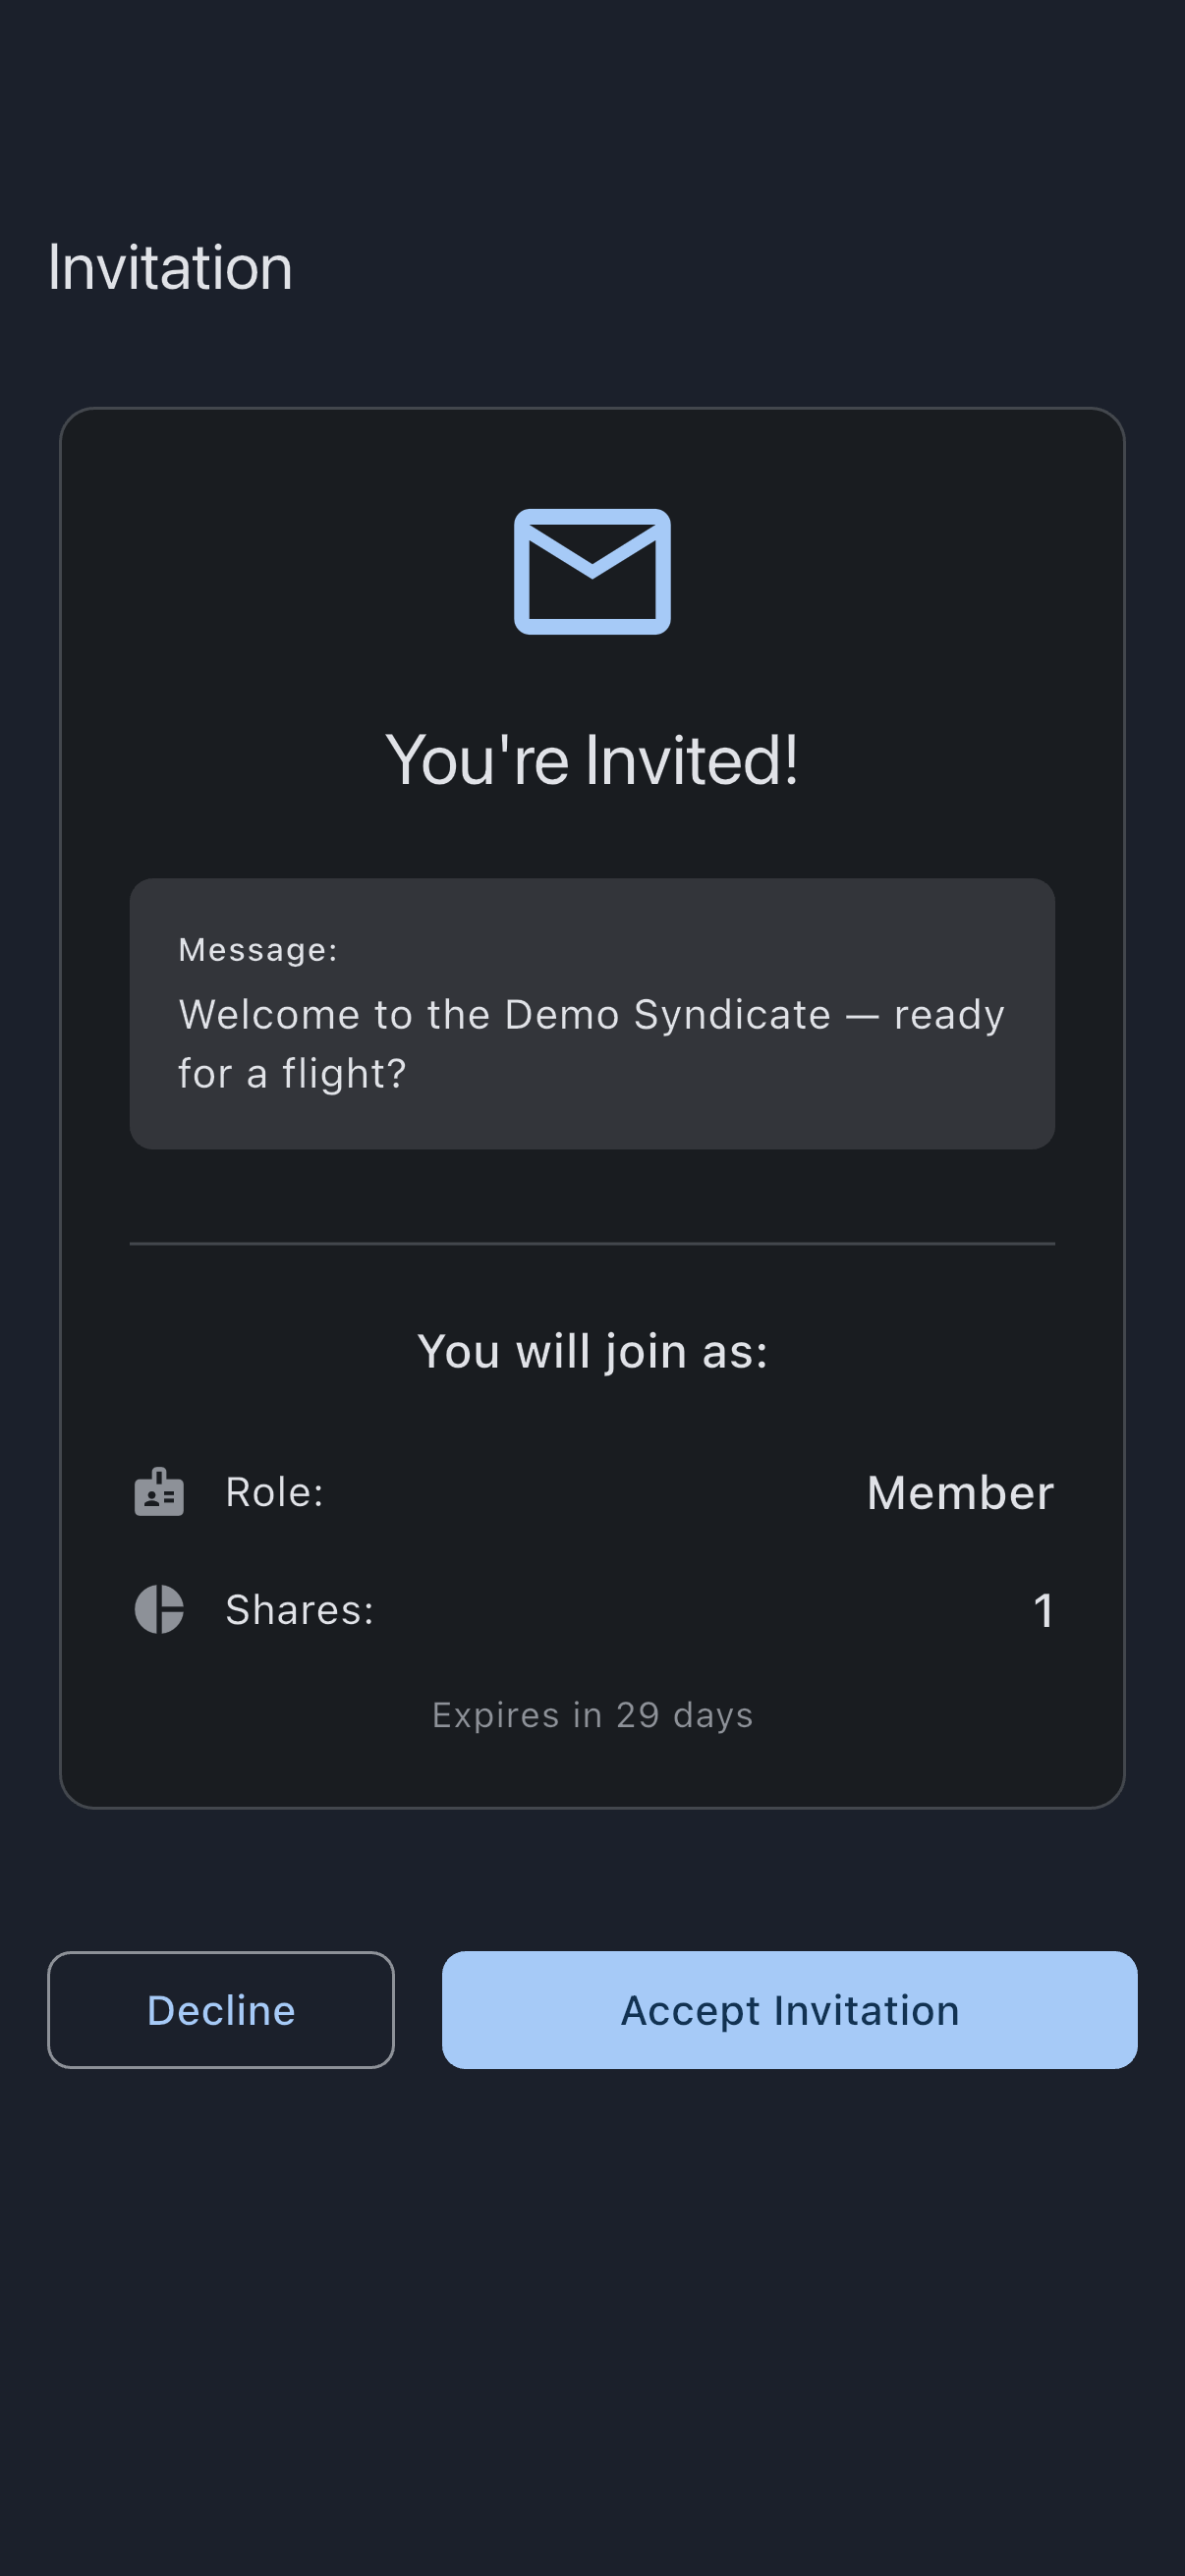
Section titled “Step 3: Accept the invitation”Signed in, the Invitation page changes. A “You will join as:” section now spells out your membership, so take a moment to check it:
- Your Role: member in the usual case (you can book, log flights, and take part), or admin if you’re being set up to approve and finalise as well. The third role, viewer, is read-only: it sees the calendar and the books but can’t book, log usage, or take part in finalisation, which suits an accountant, a prospective member, or a family member who needs visibility without the controls.
- Your Shares, if the syndicate splits ownership by equity. This shows as a share count, not a percentage.
- A Message from whoever invited you, if they left one.
Below that sit two buttons:
- Decline walks away. Use it if the invite arrived in error, or if a detail looks wrong (the wrong role, an unexpected or missing equity share); it’s easier to regenerate an invite than unpick an accepted one. Declining changes nothing on the admin’s side: the invite is left as it was, so they can withdraw it or send a corrected one, and its link still works if you change your mind.
- Accept Invitation joins you.
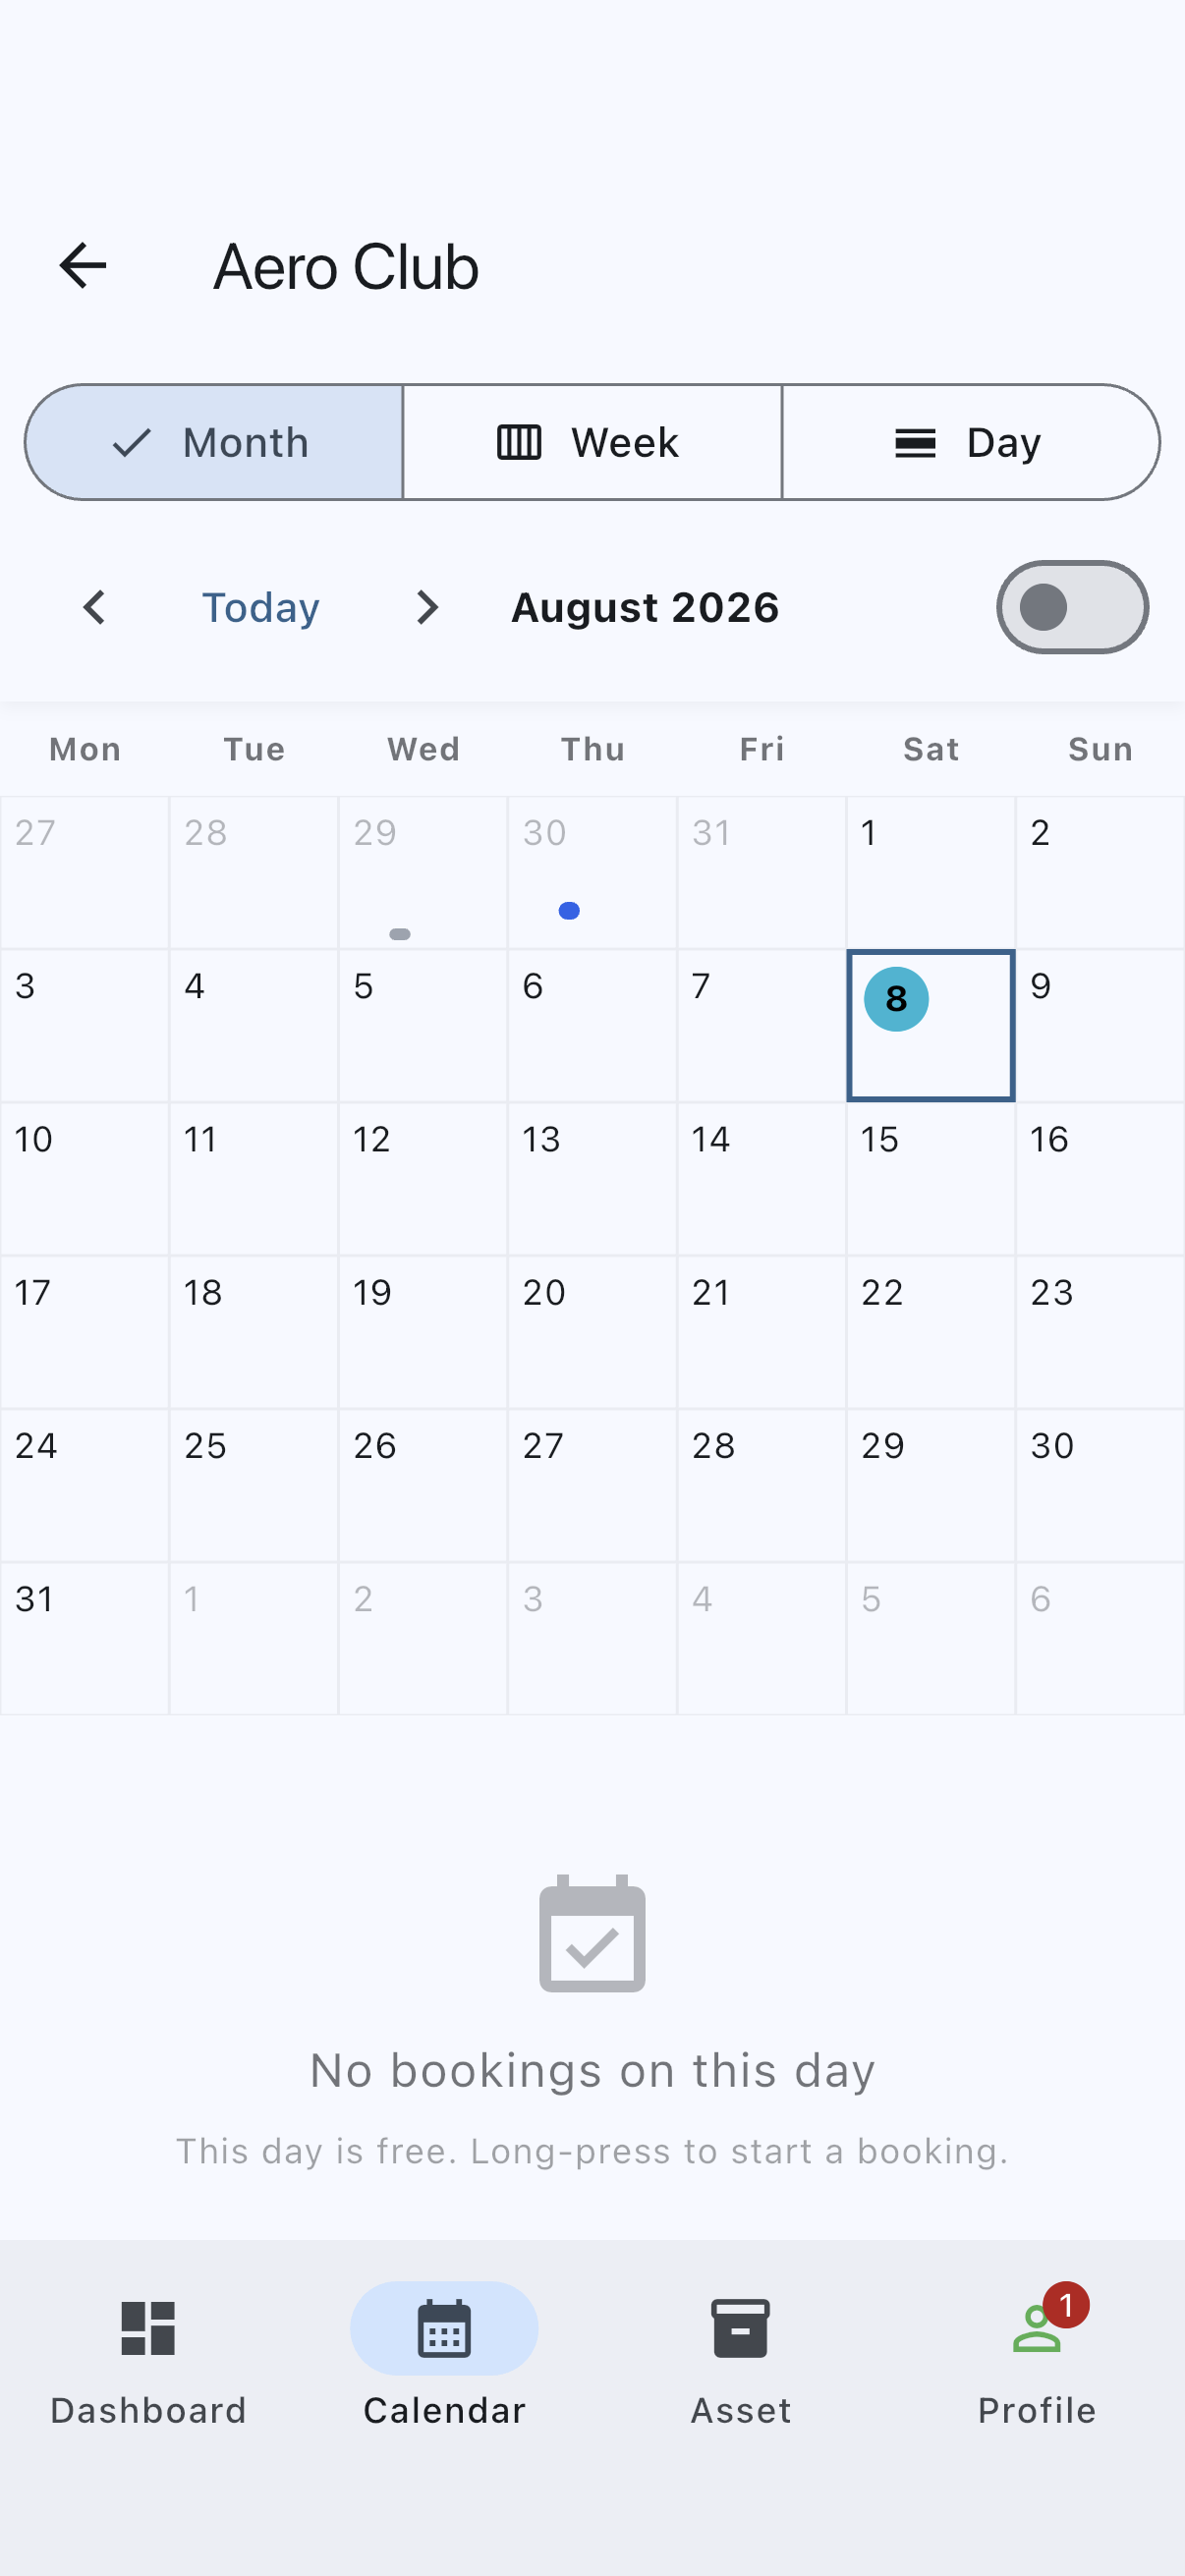
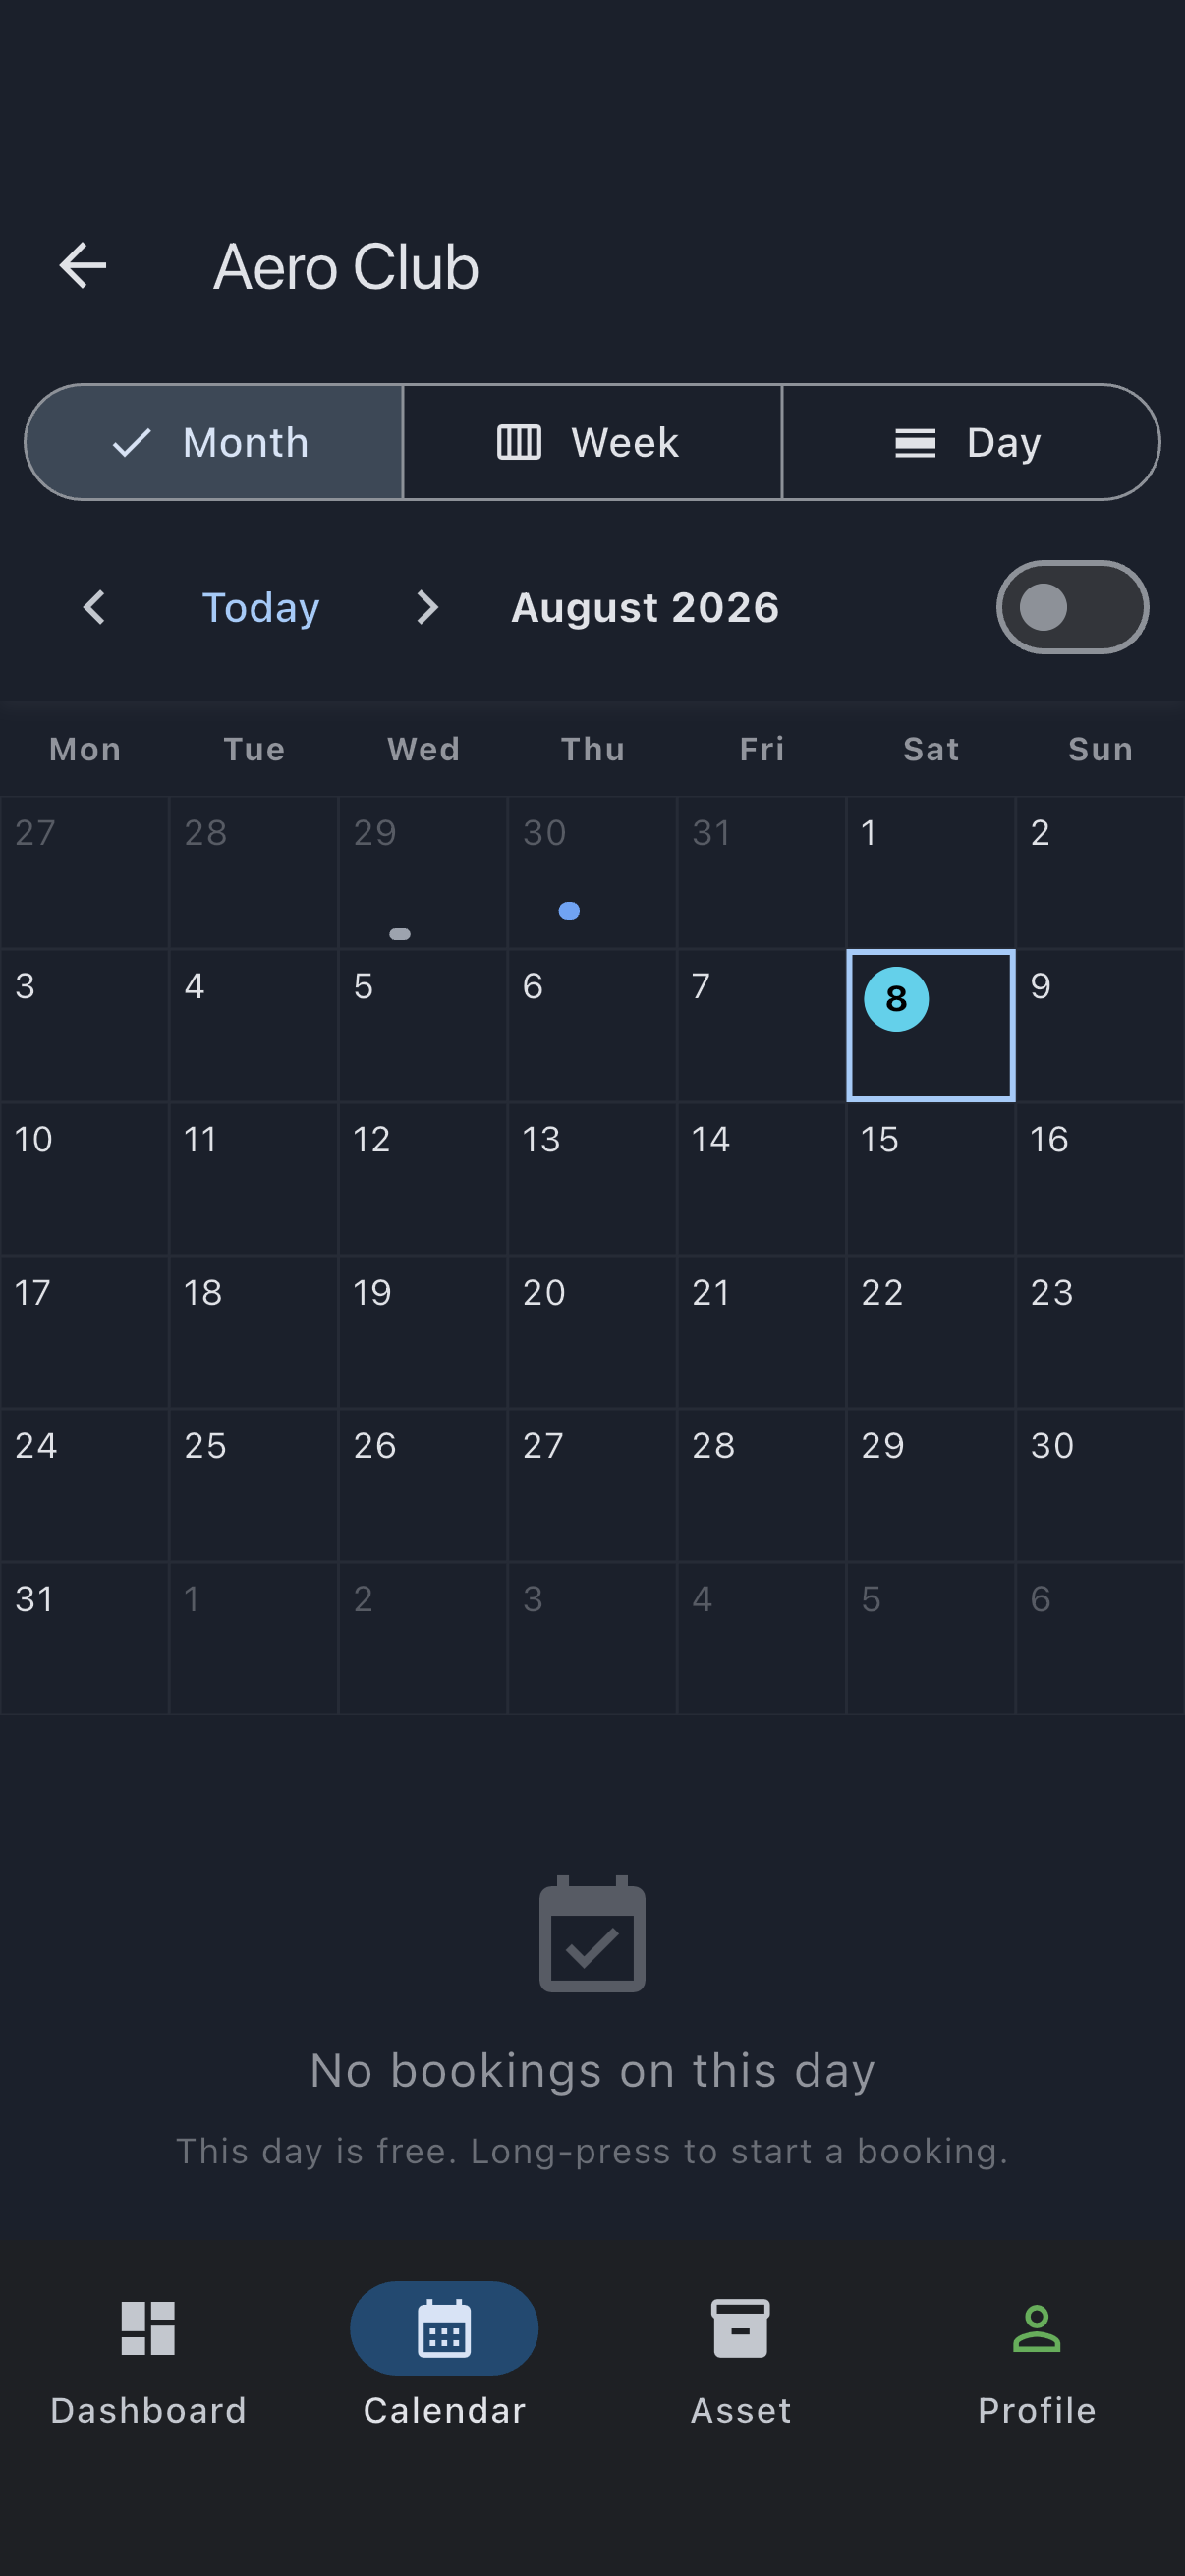
Tap Accept Invitation. The app closes the invite page and drops you back on your home screen with a fresh card for the syndicate you’ve just joined. The tab row you can see now — Home, Balances, Bookings, Profile on mobile — sits outside any syndicate and covers all of them at once. Tap the card to go into this one, and that row is replaced by the syndicate’s own tabs, where its aircraft and its calendar live.
Step 4: Look around
Section titled “Step 4: Look around”Before you go and book a flight, take thirty seconds to orient yourself. Back out to the home screen. On a phone, the bottom tabs there are:
- Home: your next booking, your current balance, and links into the syndicate’s assets and members.
- Balances: what you owe and what’s unpaid. On a fresh membership this is empty, and that’s the right answer.
- Bookings: a list of your upcoming and past bookings. Also empty for now.
- Profile: your account and settings.
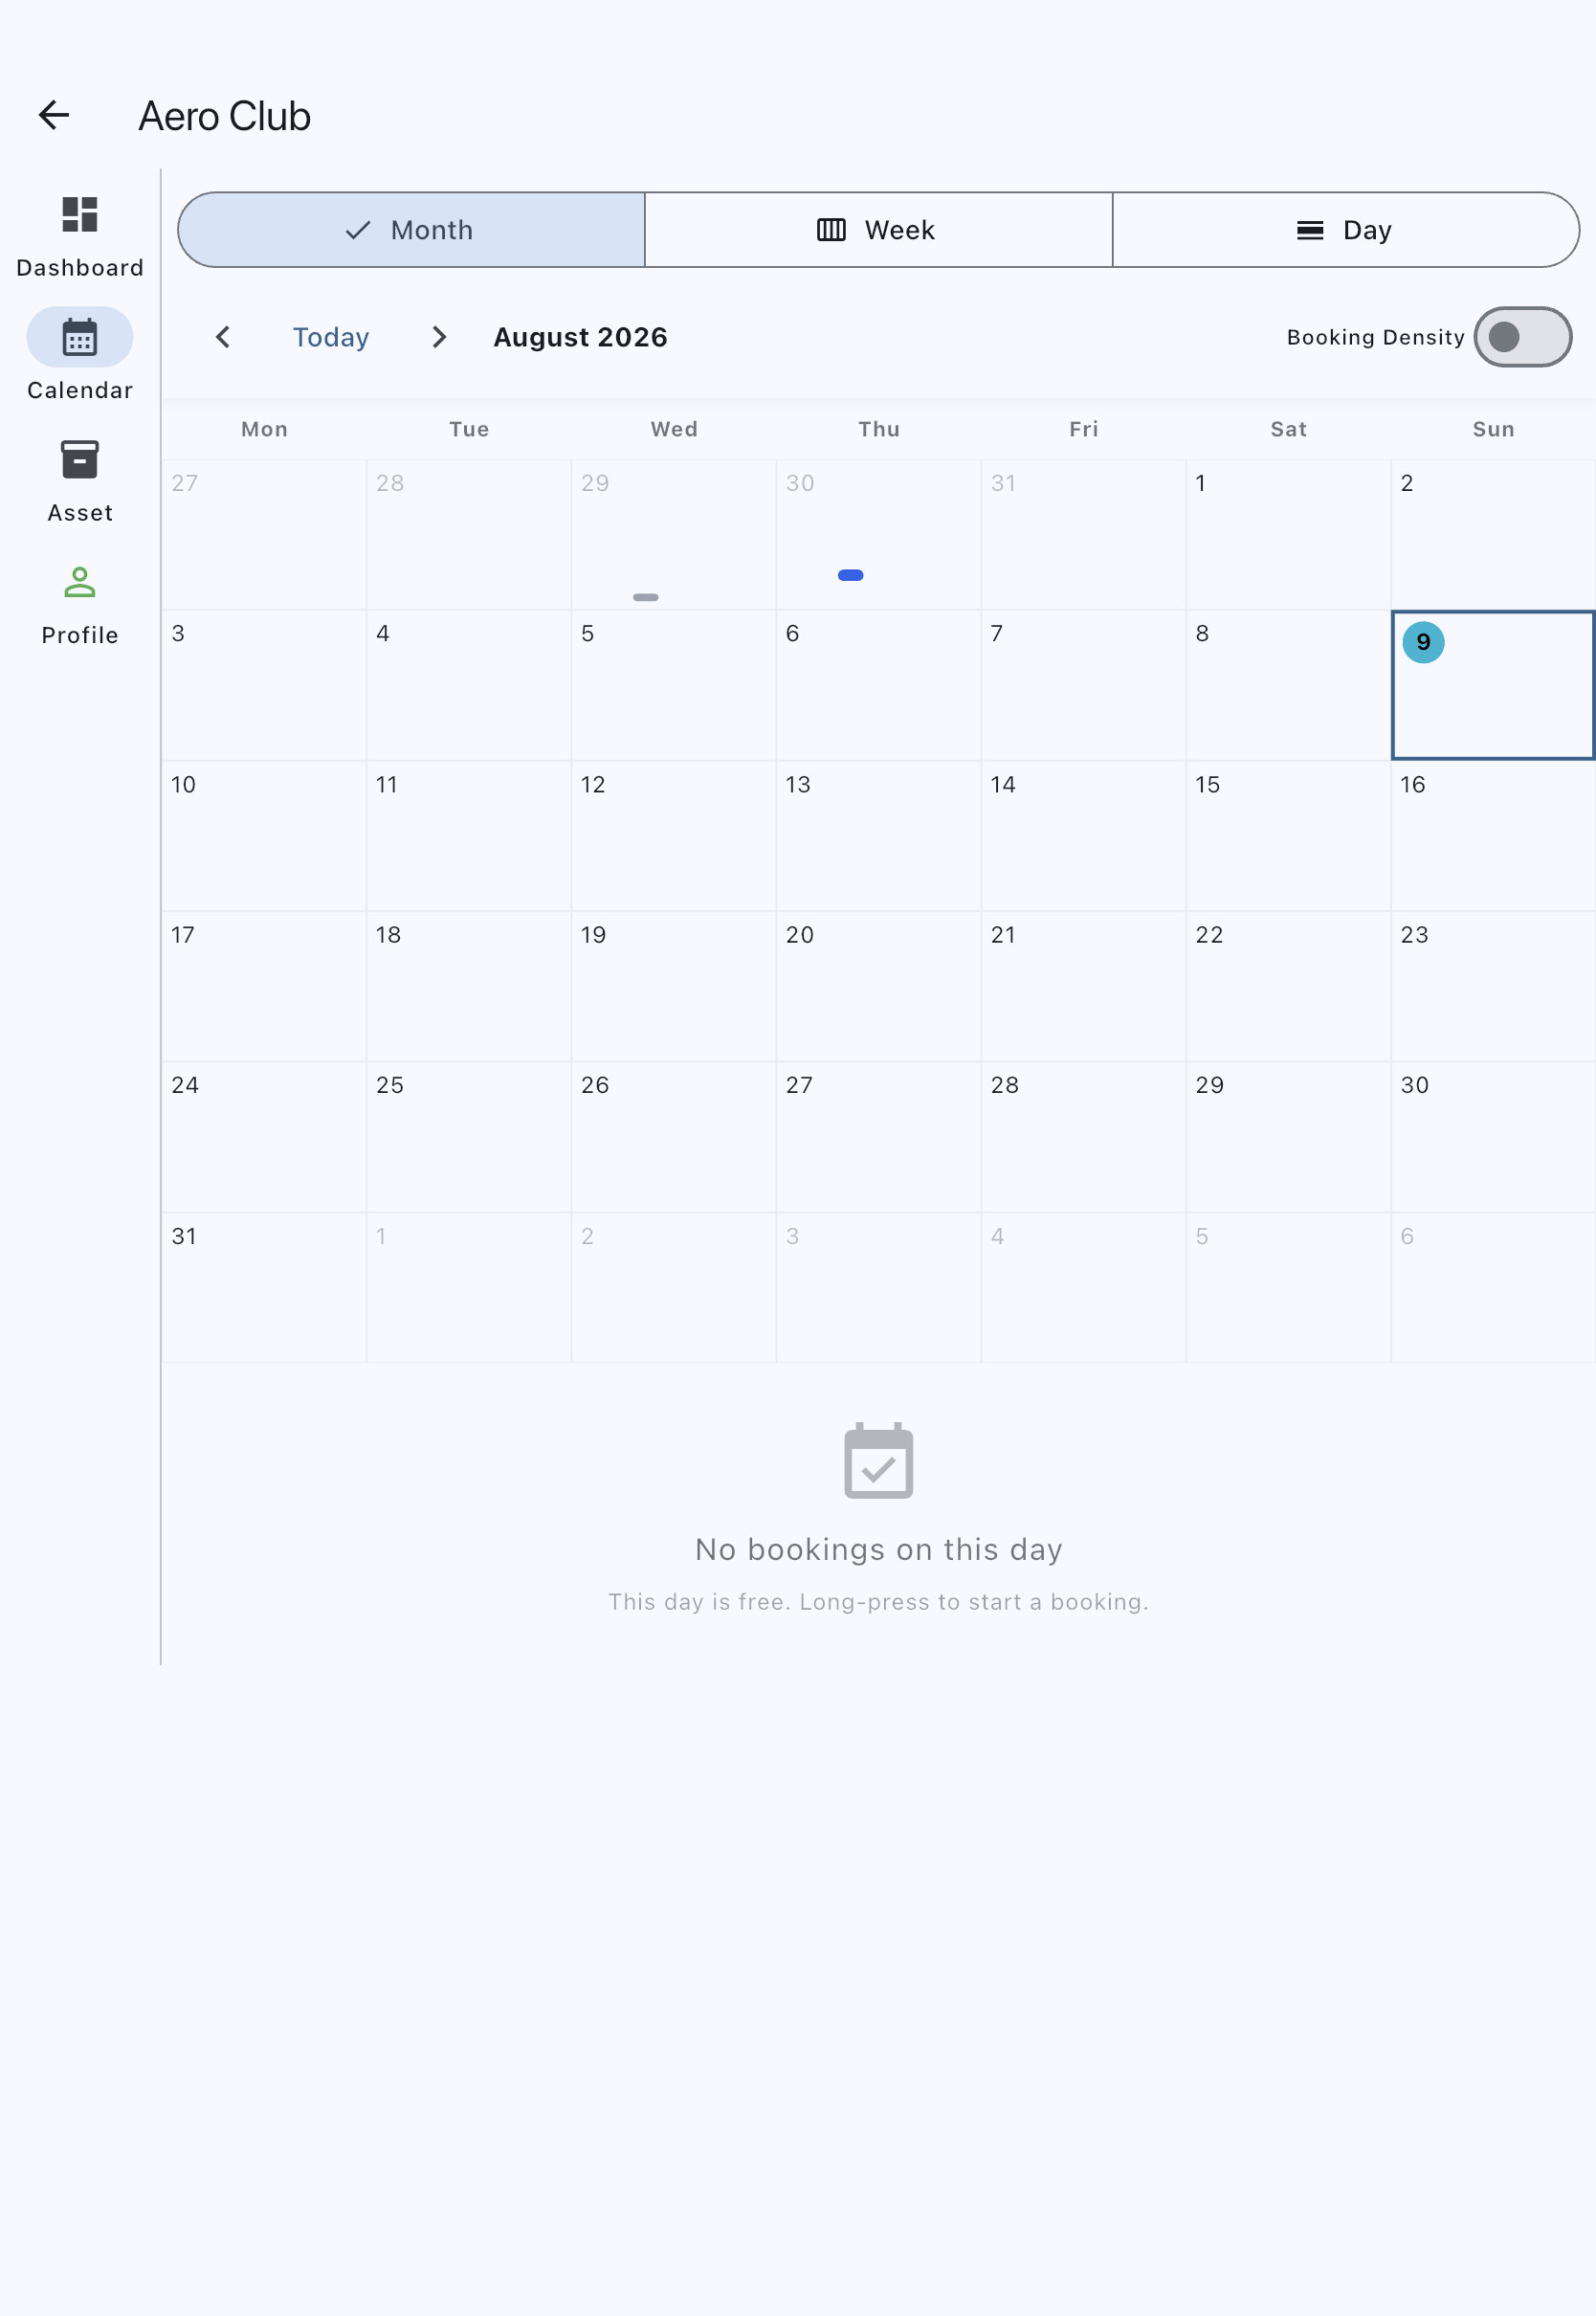
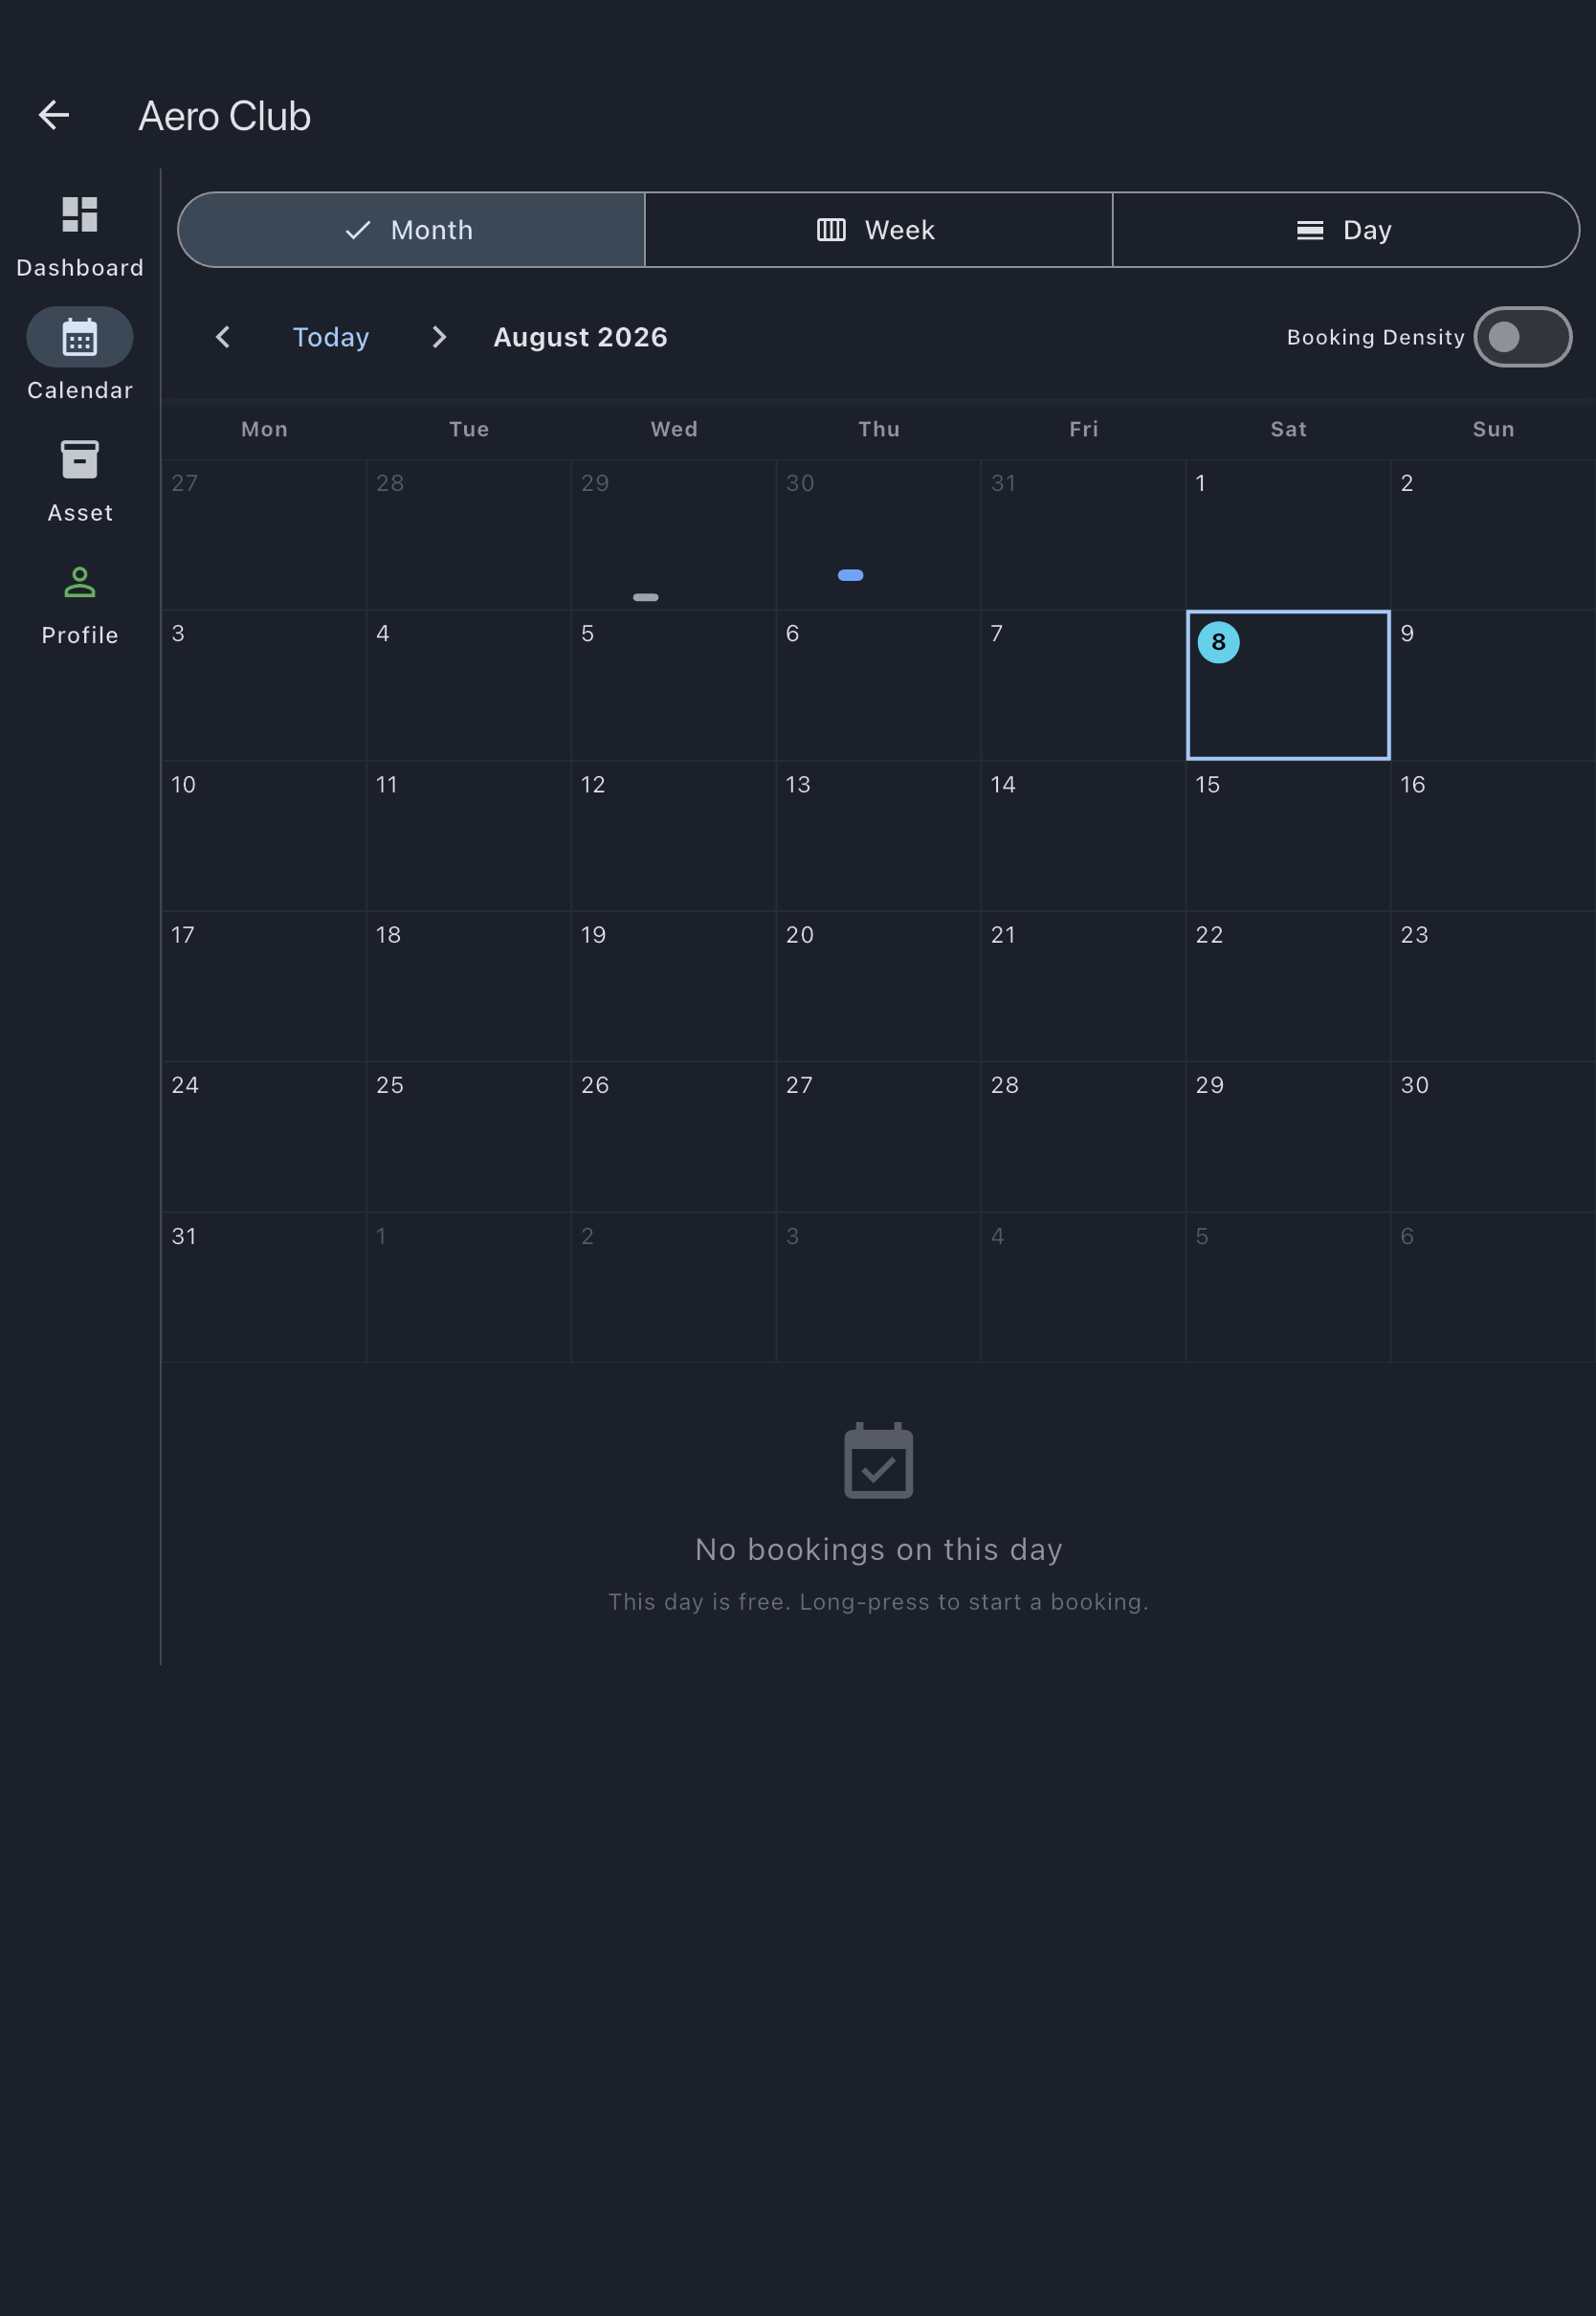
The Calendar, the one you’ll actually book from, lives inside the syndicate rather than on this row. Open the syndicate from your Home tab and this row is swapped for the syndicate’s own: Dashboard, Calendar, Asset (Assets, if the syndicate has more than one), and Profile — with an Admin tab in between for admins. A bottom tab row on a phone, a side rail on web and iPad, but in the same place on every device.
If you have been given access to more than one syndicate, each has its own card on the Home tab. Go back there and tap another card to move between them — there’s no picker anywhere else in the app.
What you just did
Section titled “What you just did”- Opened an invite link and, once signed in, checked your membership (your role, and any equity share) before accepting.
- Created a Syndik8 account (or signed in with an existing one).
- Joined the syndicate; you’re now a member who can book, log flights, and see the syndicate calendar.
Where to go next
Section titled “Where to go next”- The obvious next thing: Log your first flight.
- If you need to adjust your login credentials, see Reset your password and Change your email.
- For what you can and can’t do as a member (vs admin), see the role capability matrix.
- For the rate you’re being charged and why, see Roles and member rates.