
Log your first flight
This tutorial walks you through logging your first flight. By the end, you’ll have a confirmed booking on the calendar, a usage log tied to that booking, and a photo of the meter saved as evidence: a proper record the treasurer can finalise when the month closes. Plan on around ten minutes, give or take, depending on how long you spend lingering on the calendar admiring your weekend.
The only thing you need before you start is to be signed in as a member of a syndicate with at least one aircraft and a confirmed rate. If you’re reading this fresh off Join a syndicate as a member, you’re good.
A note on words: this tutorial says “Hobbs” throughout because that’s the commonest engine meter on GA aircraft. If your syndicate’s admin has set the engine meter label to Tacho (or a custom word), you’ll see that word in the app wherever this tutorial says Hobbs; the flow is identical. The label is configurable on the syndicate’s Usage capture screen.
Two ways in, and when each appears
Section titled “Two ways in, and when each appears”There are two ways to log a flight, and both are meant. Which one the booking offers depends on when you open it:
- Before the booking starts, the booking screen offers I’m flying now. That opens Quick Capture: you enter the start reading on the ramp before departure, and the end reading after you land, and the app hands you the Log Flight form with both already filled in. This is the route for the flight itself — Step 2 below.
- Once the booking is under way or has passed, the booking screen shows Log Usage, which opens the Log Flight form directly. This is the route for logging after the fact — that evening on the sofa, or a flight you forgot to log at the time — and it is where Step 3 picks up. While the booking is under way you’ll see both buttons; either works.
If you open a booking that hasn’t started yet and go looking for Log Usage, it isn’t there yet. That’s by design: use I’m flying now, or come back once the booking has started.
Step 1: Book the aircraft
Section titled “Step 1: Book the aircraft”Every usage log lives inside a booking. You can’t log a flight that isn’t tied to a booking, so that’s where we start. Open the syndicate (your default one loads on launch) and tap the Calendar tab.
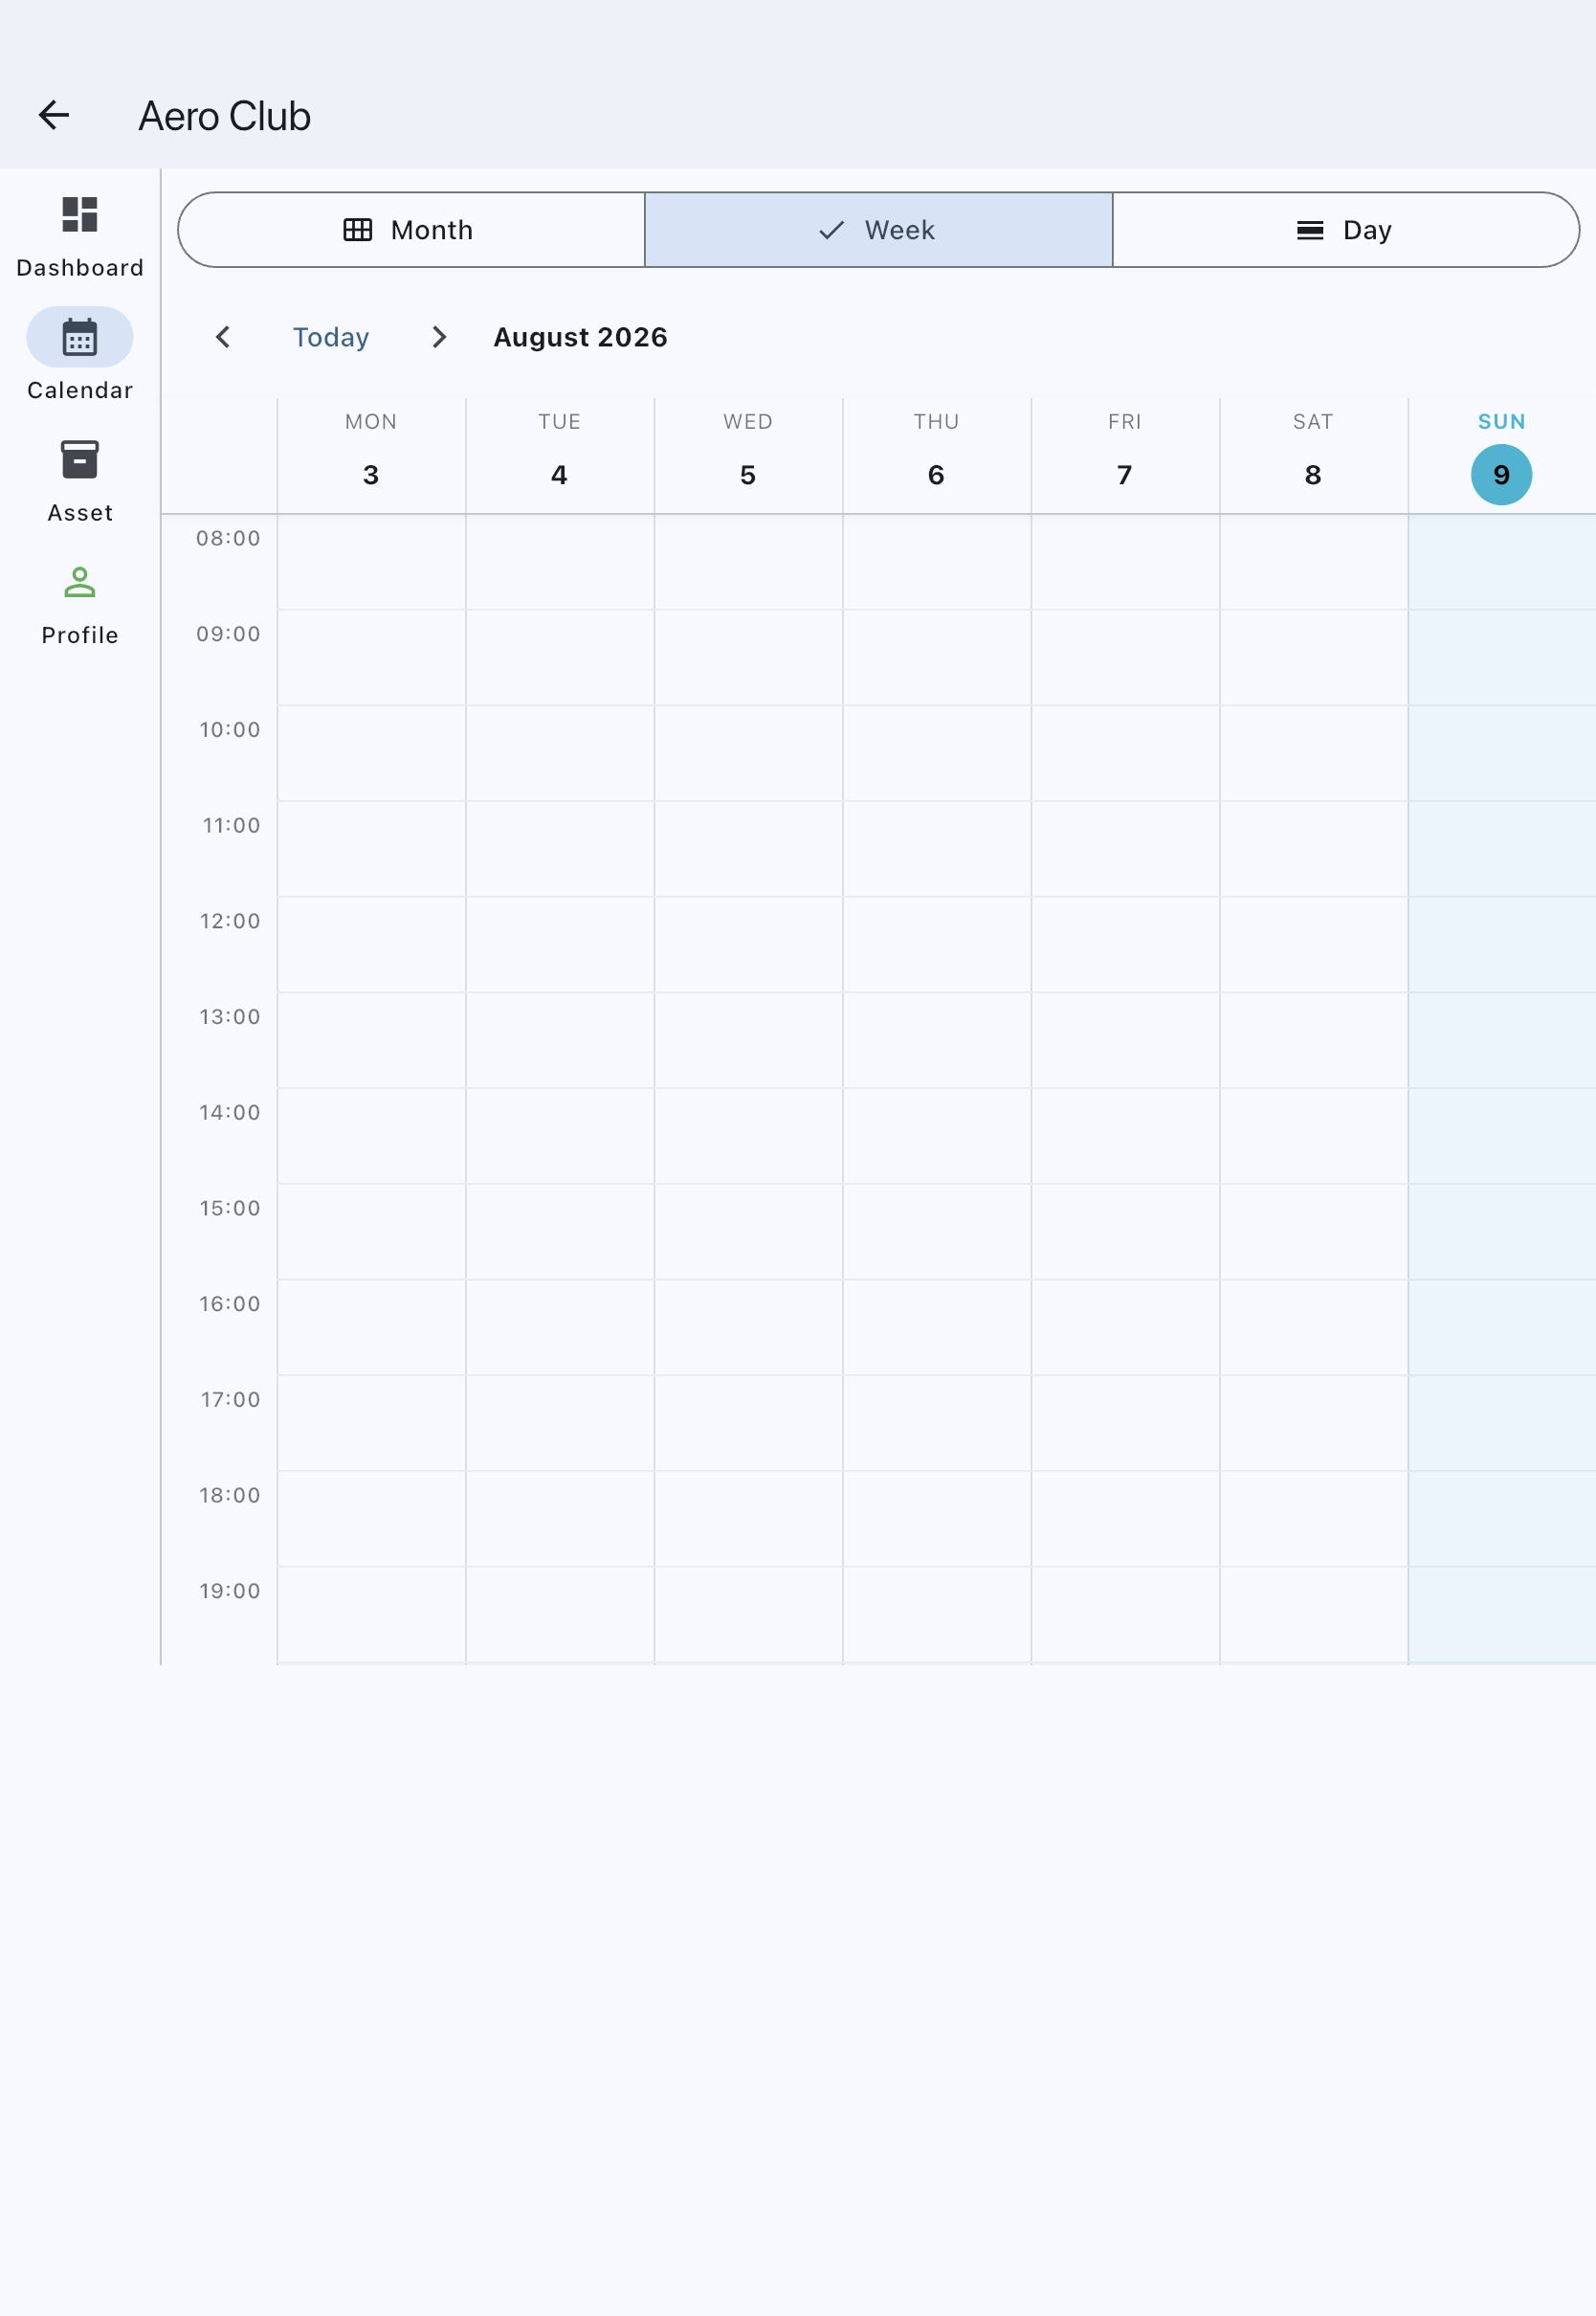
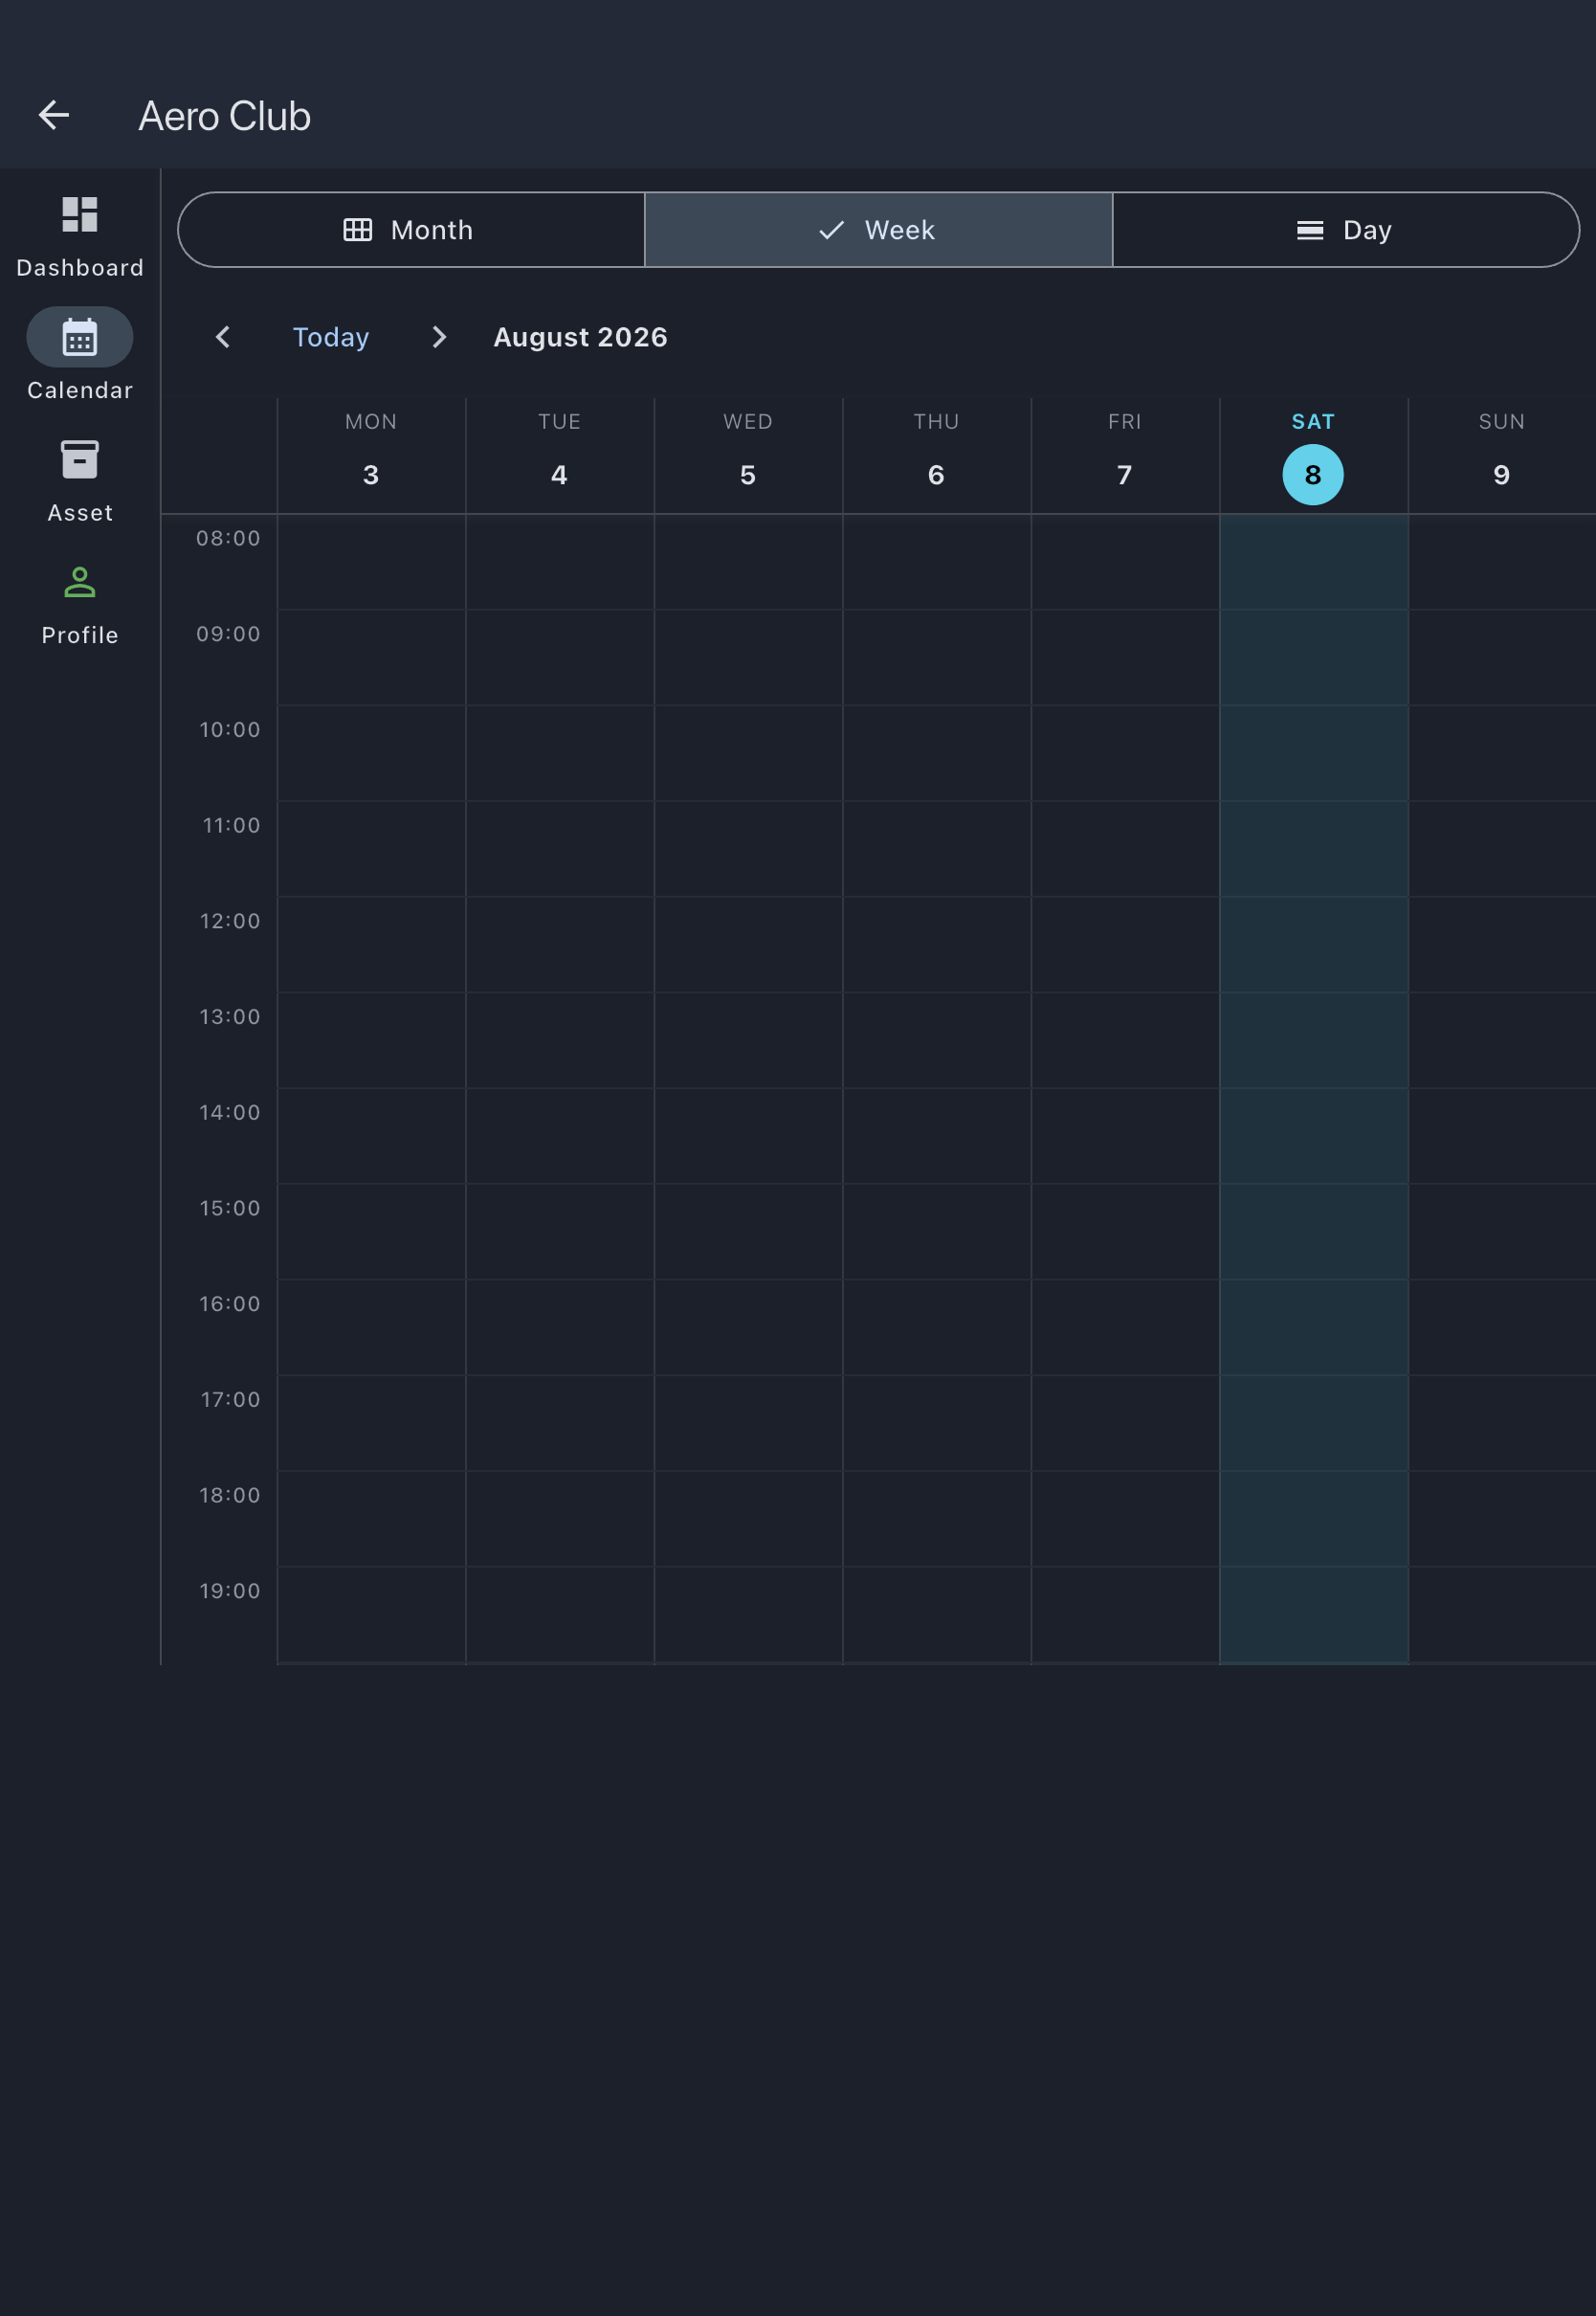
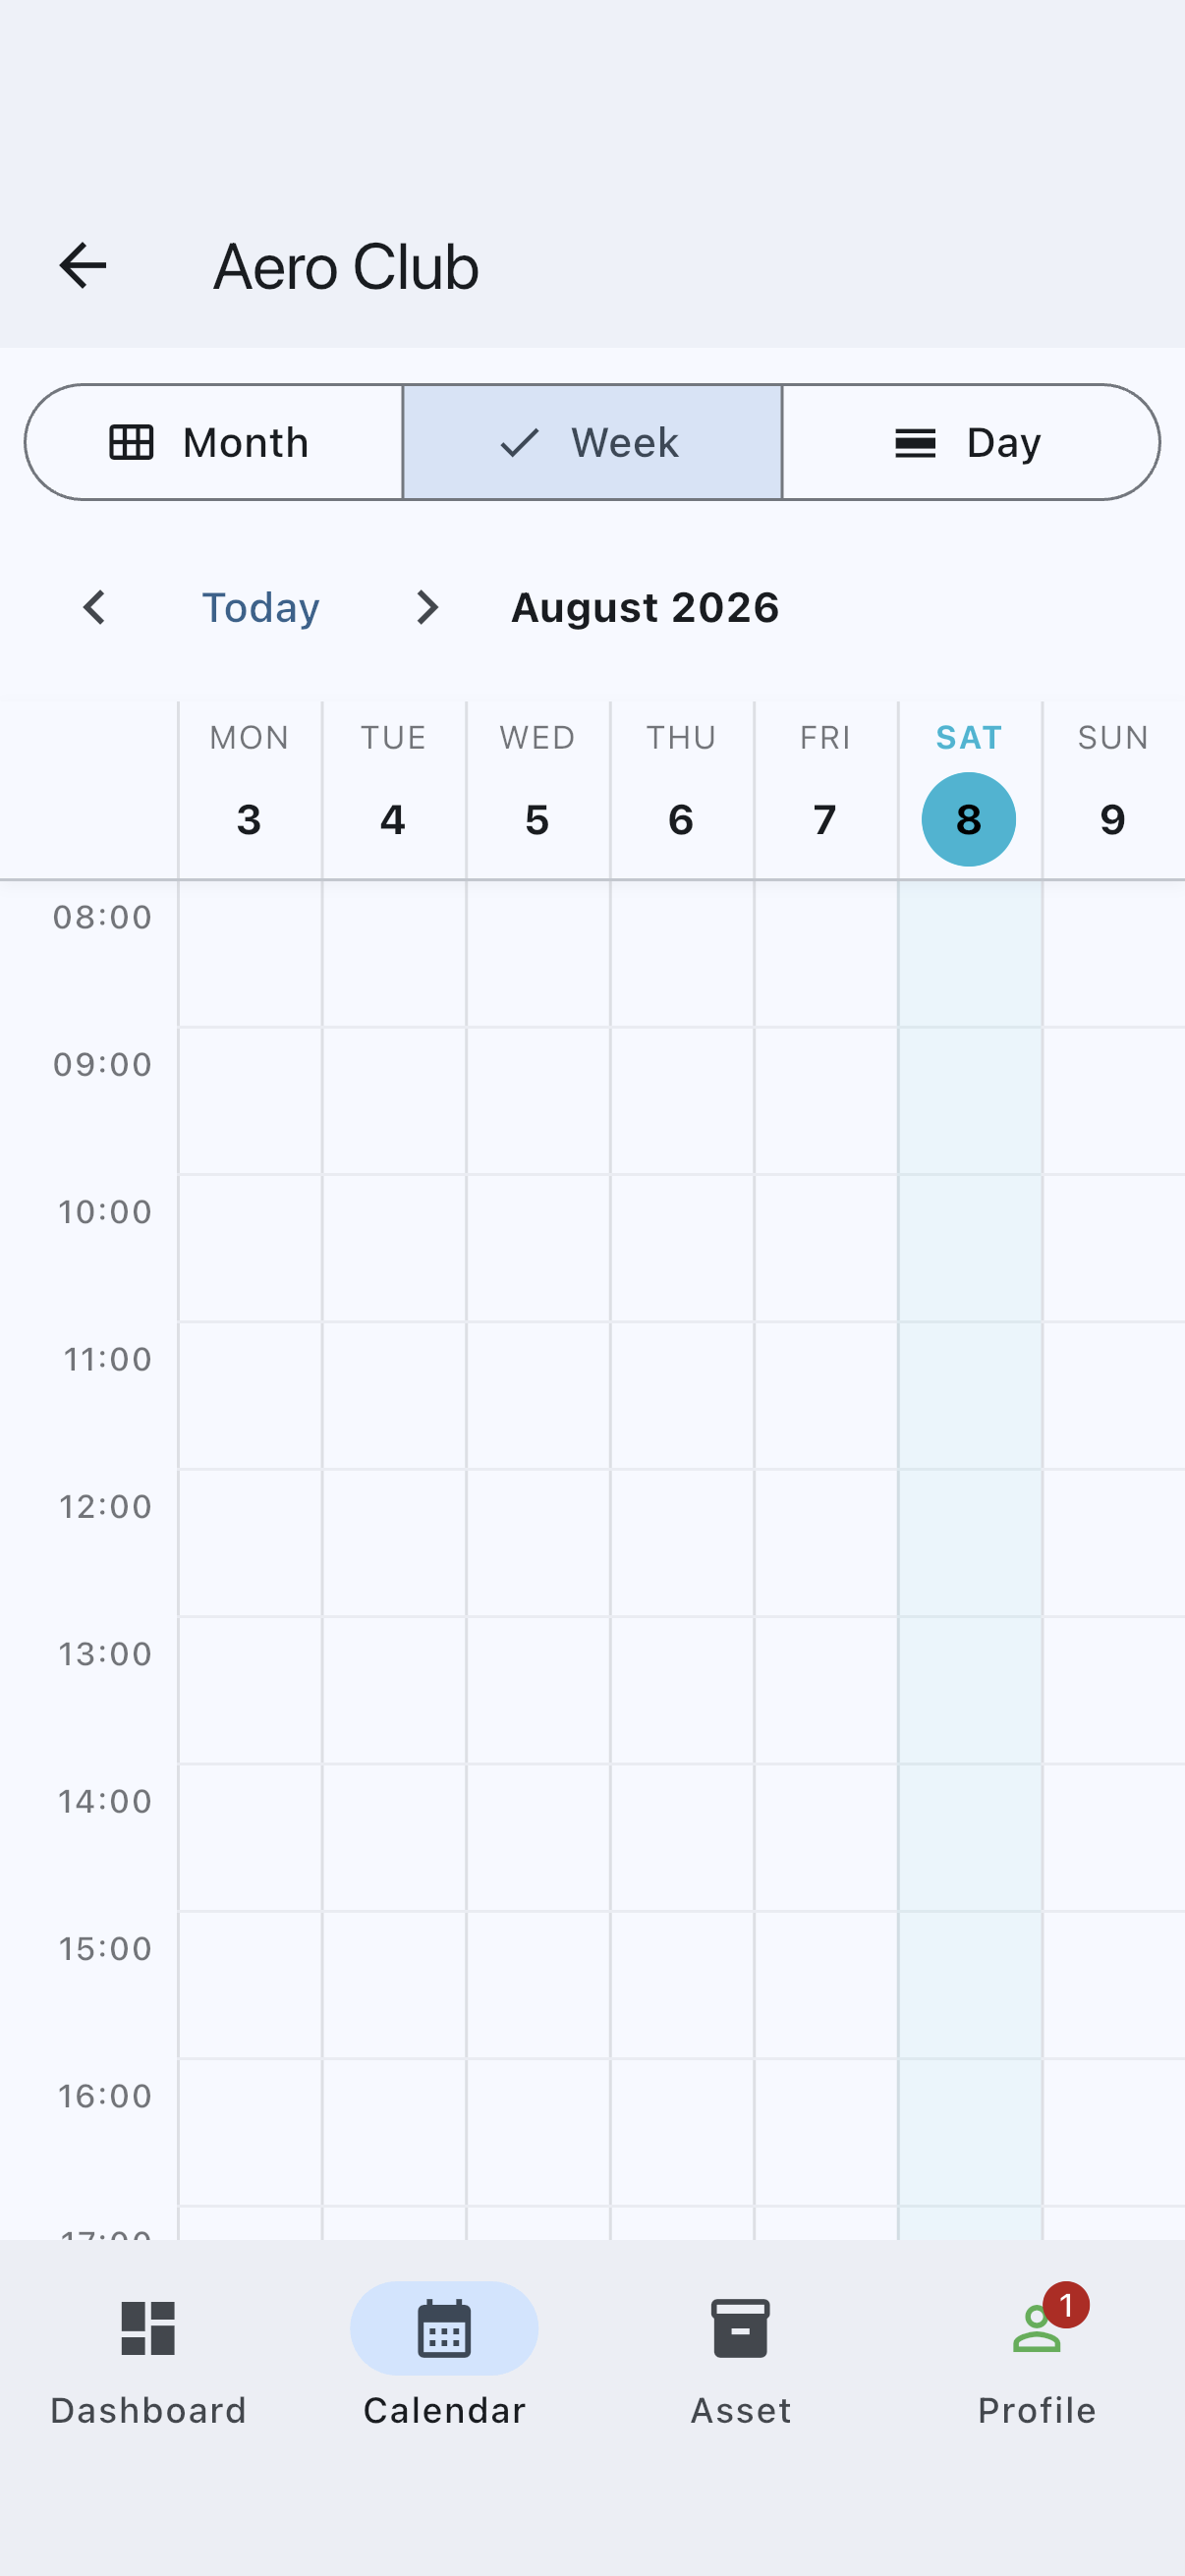
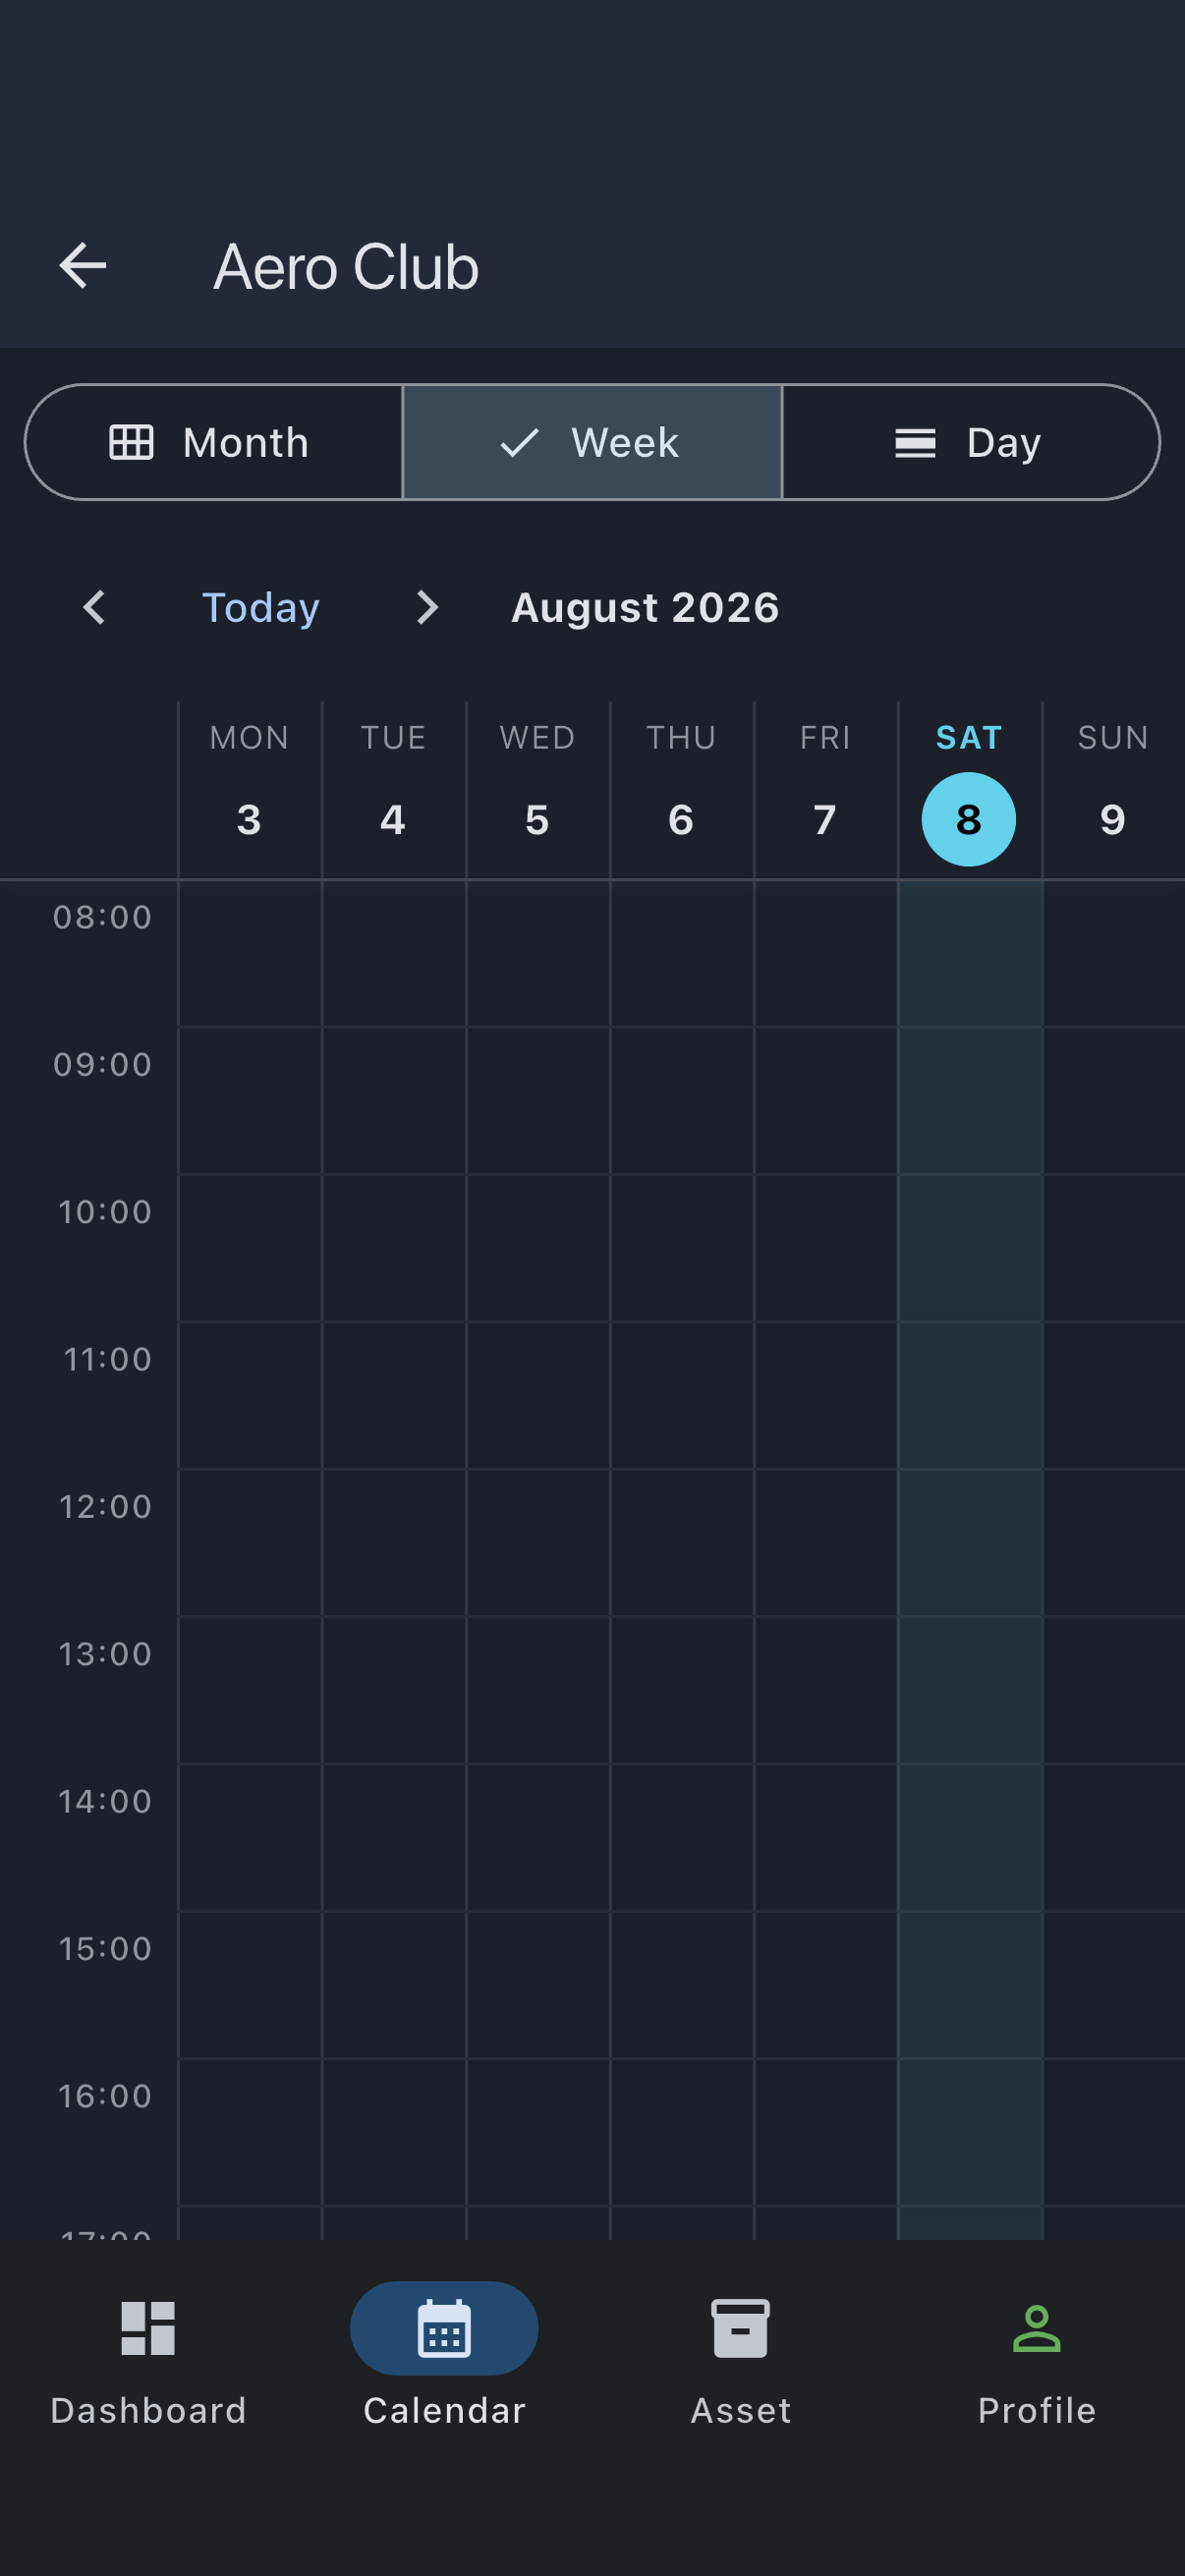
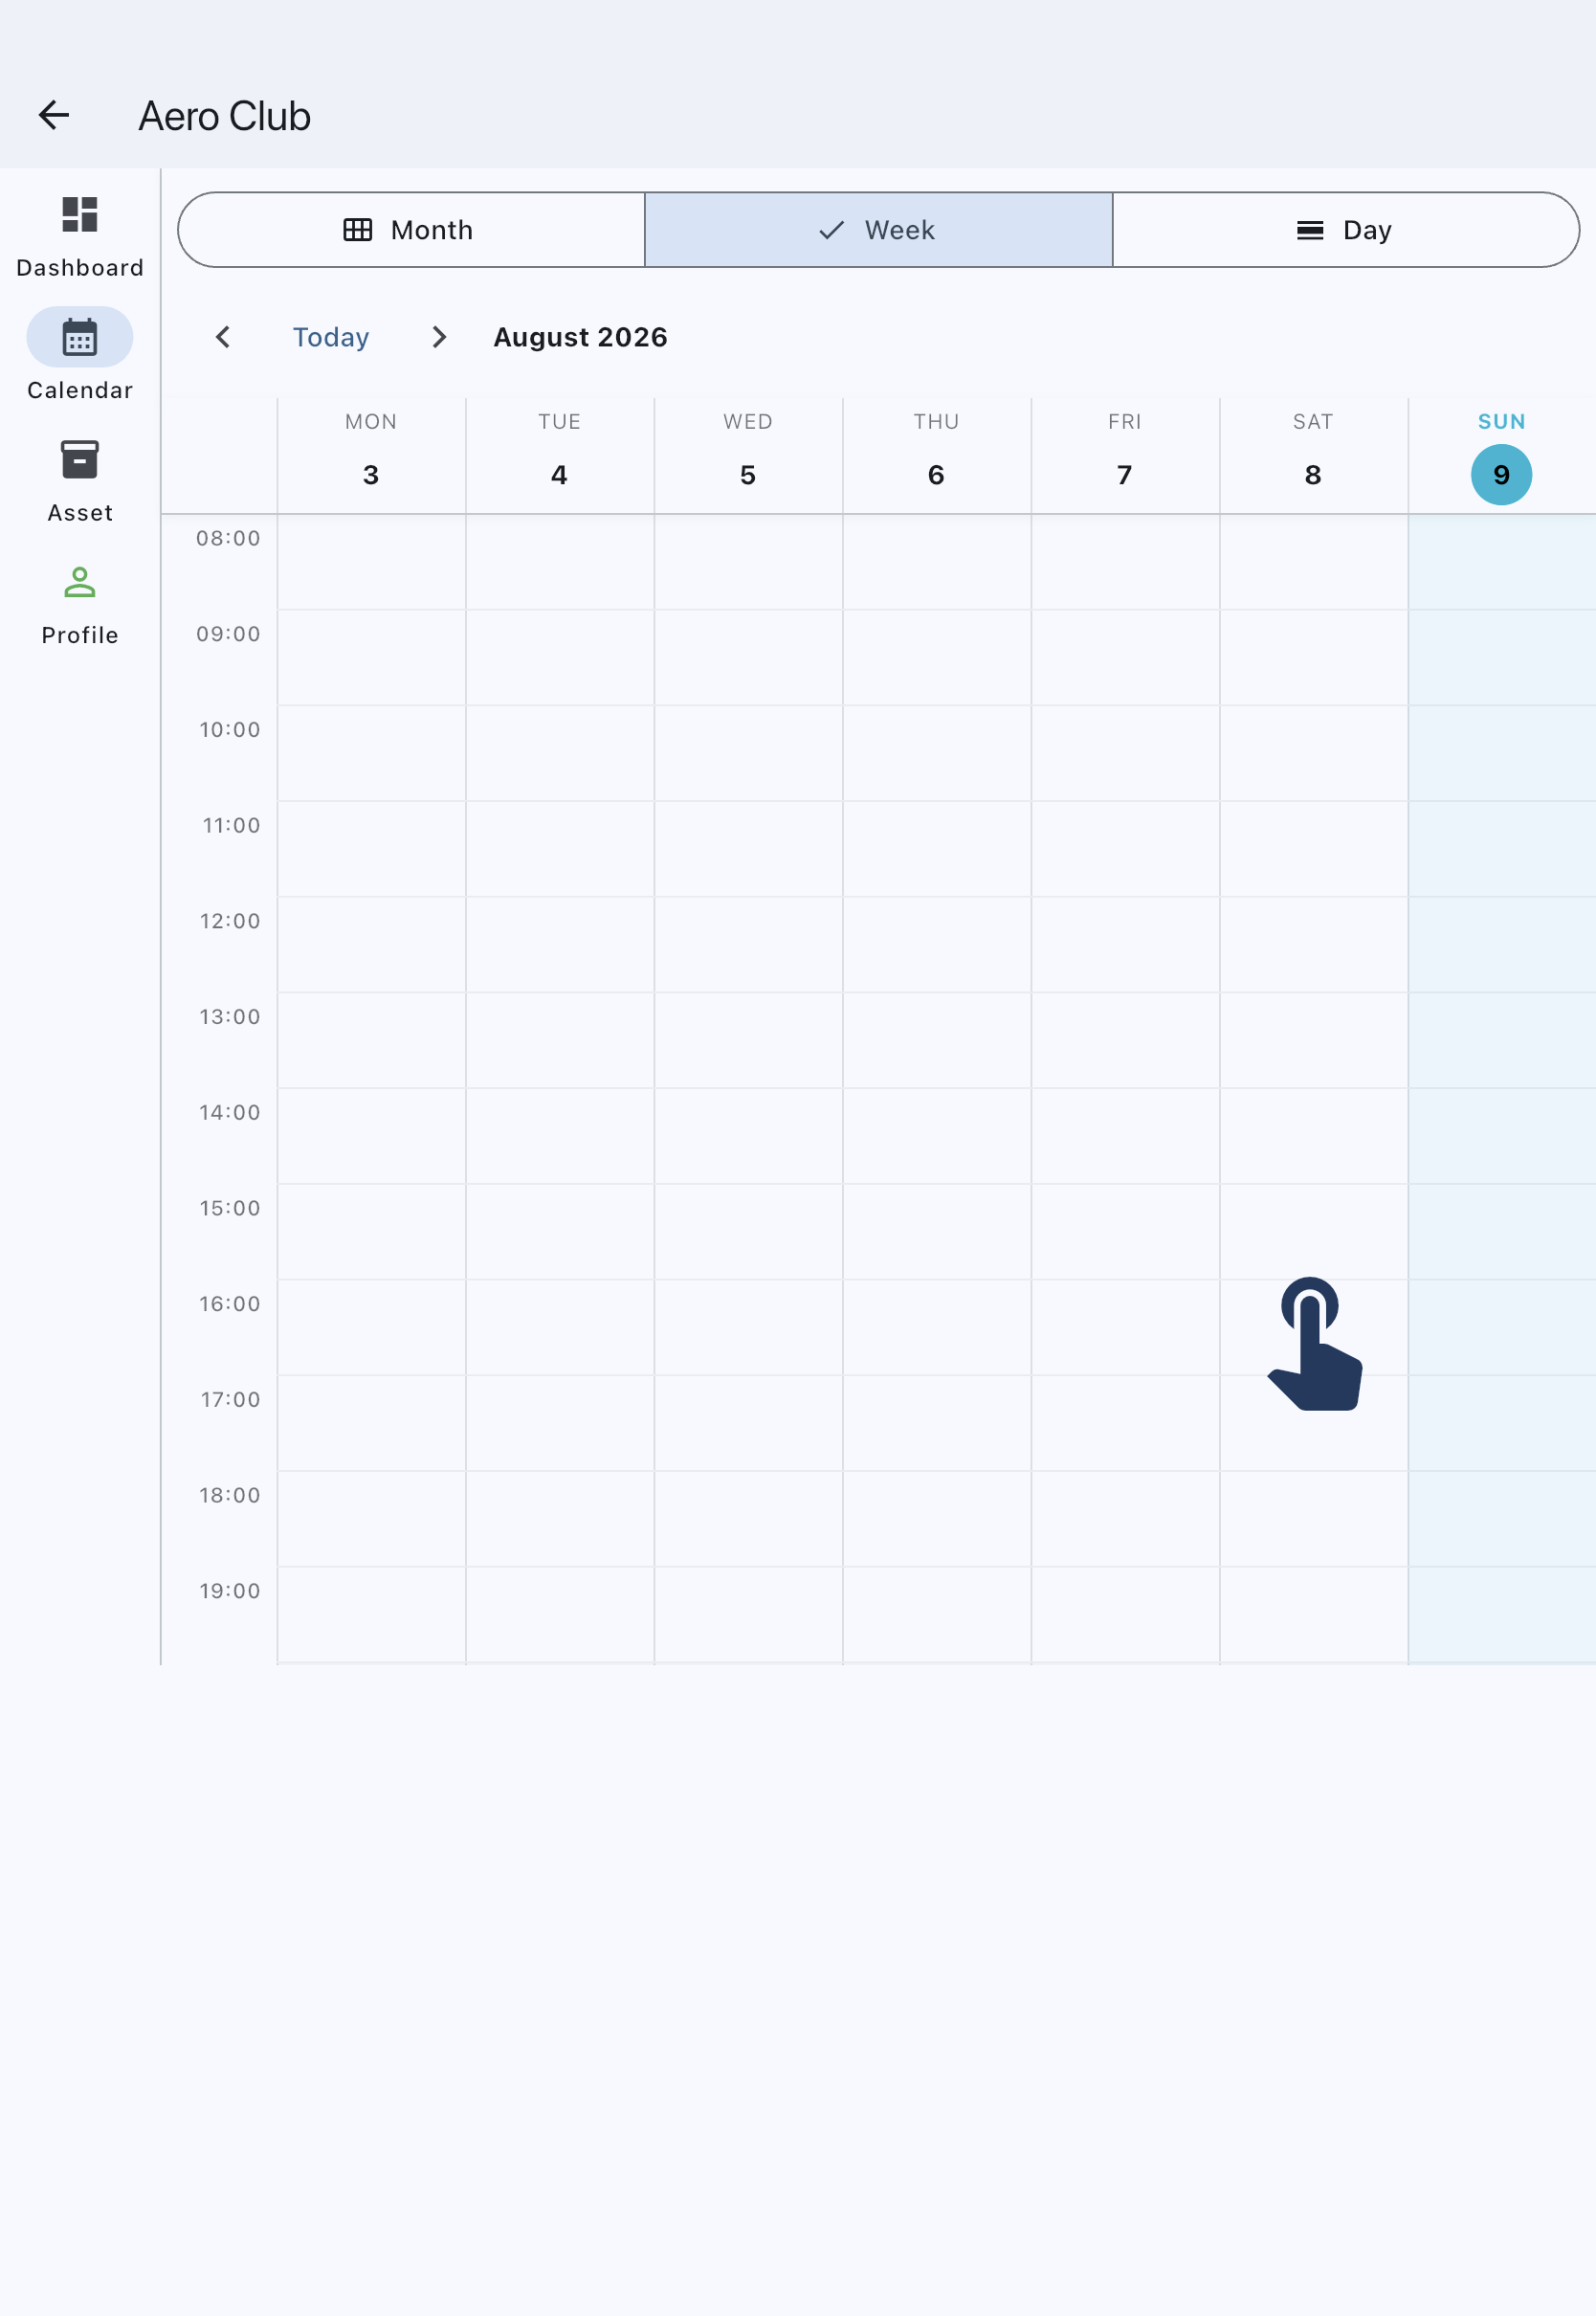
The calendar opens on the month view by default, giving a bird’s-eye read of the upcoming month. For booking a specific slot it’s easier to work in the hourly grid, so use the view selector at the top to switch to Week.
Now pick a slot. Saturday afternoon is a fine choice for a first flight. On web, click on the start hour and drag down to the end. On mobile, long-press the start hour and then drag. As you drag, a translucent block follows your finger; that’s your booking-in-waiting.
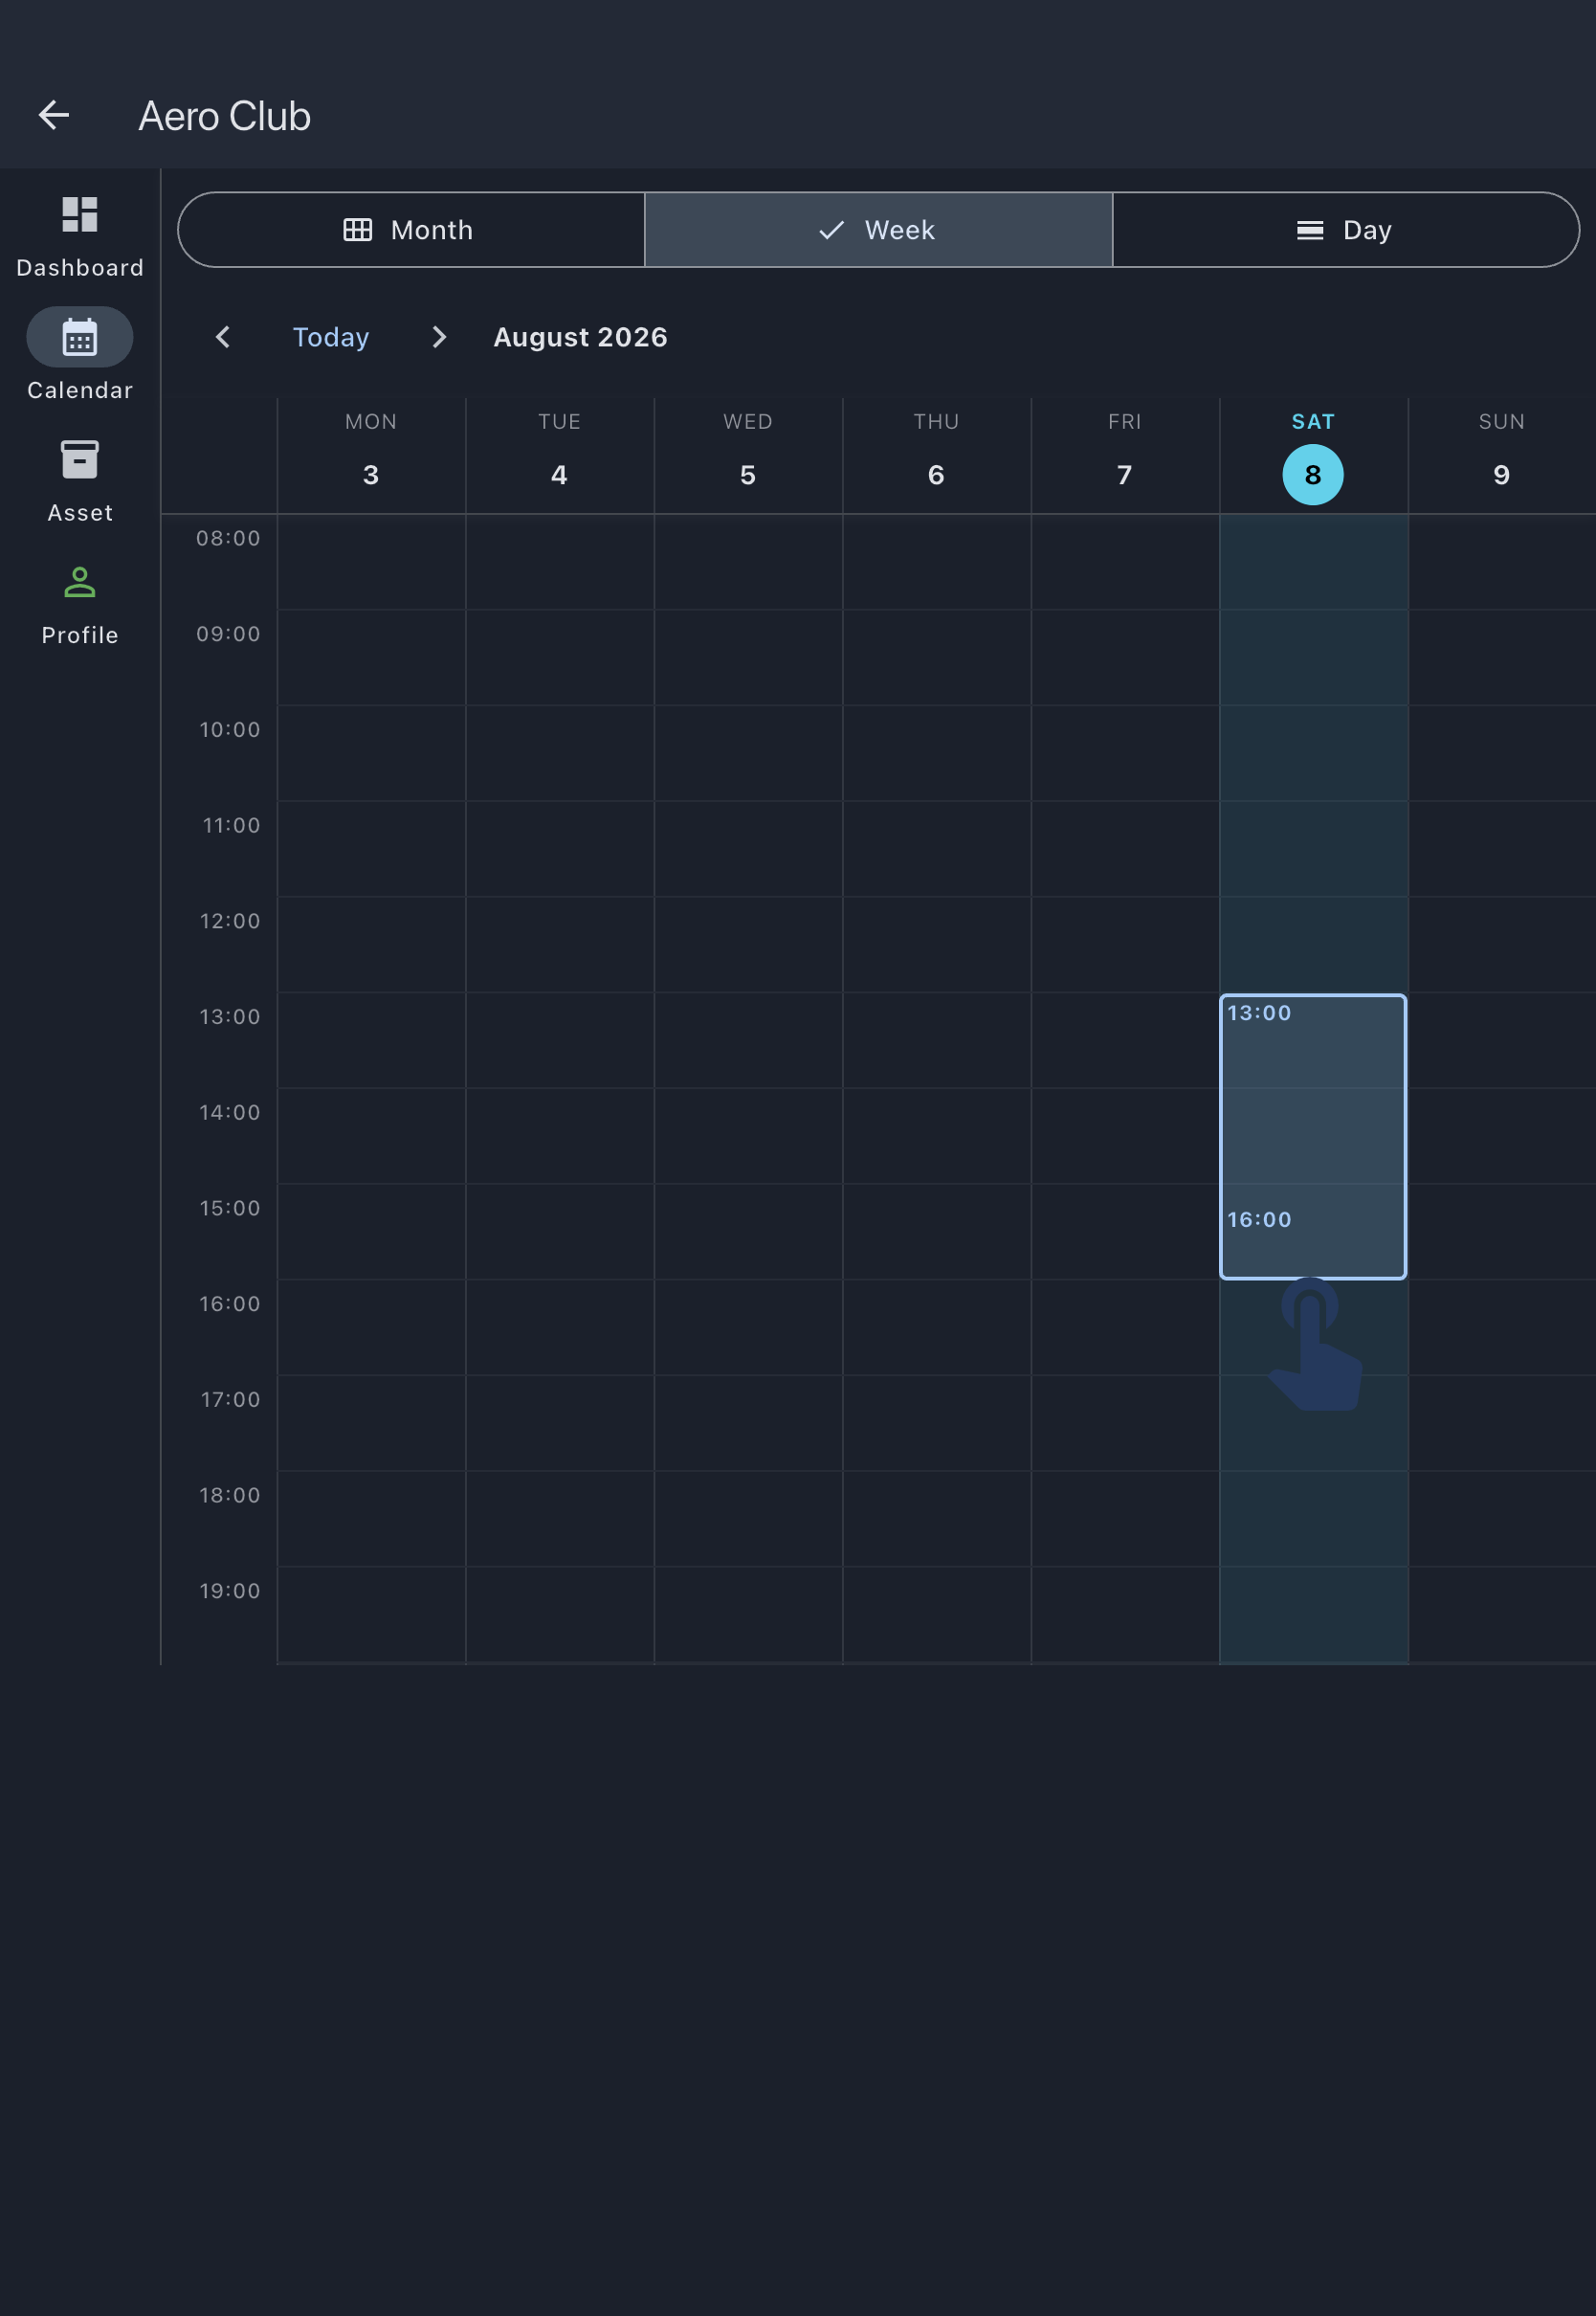
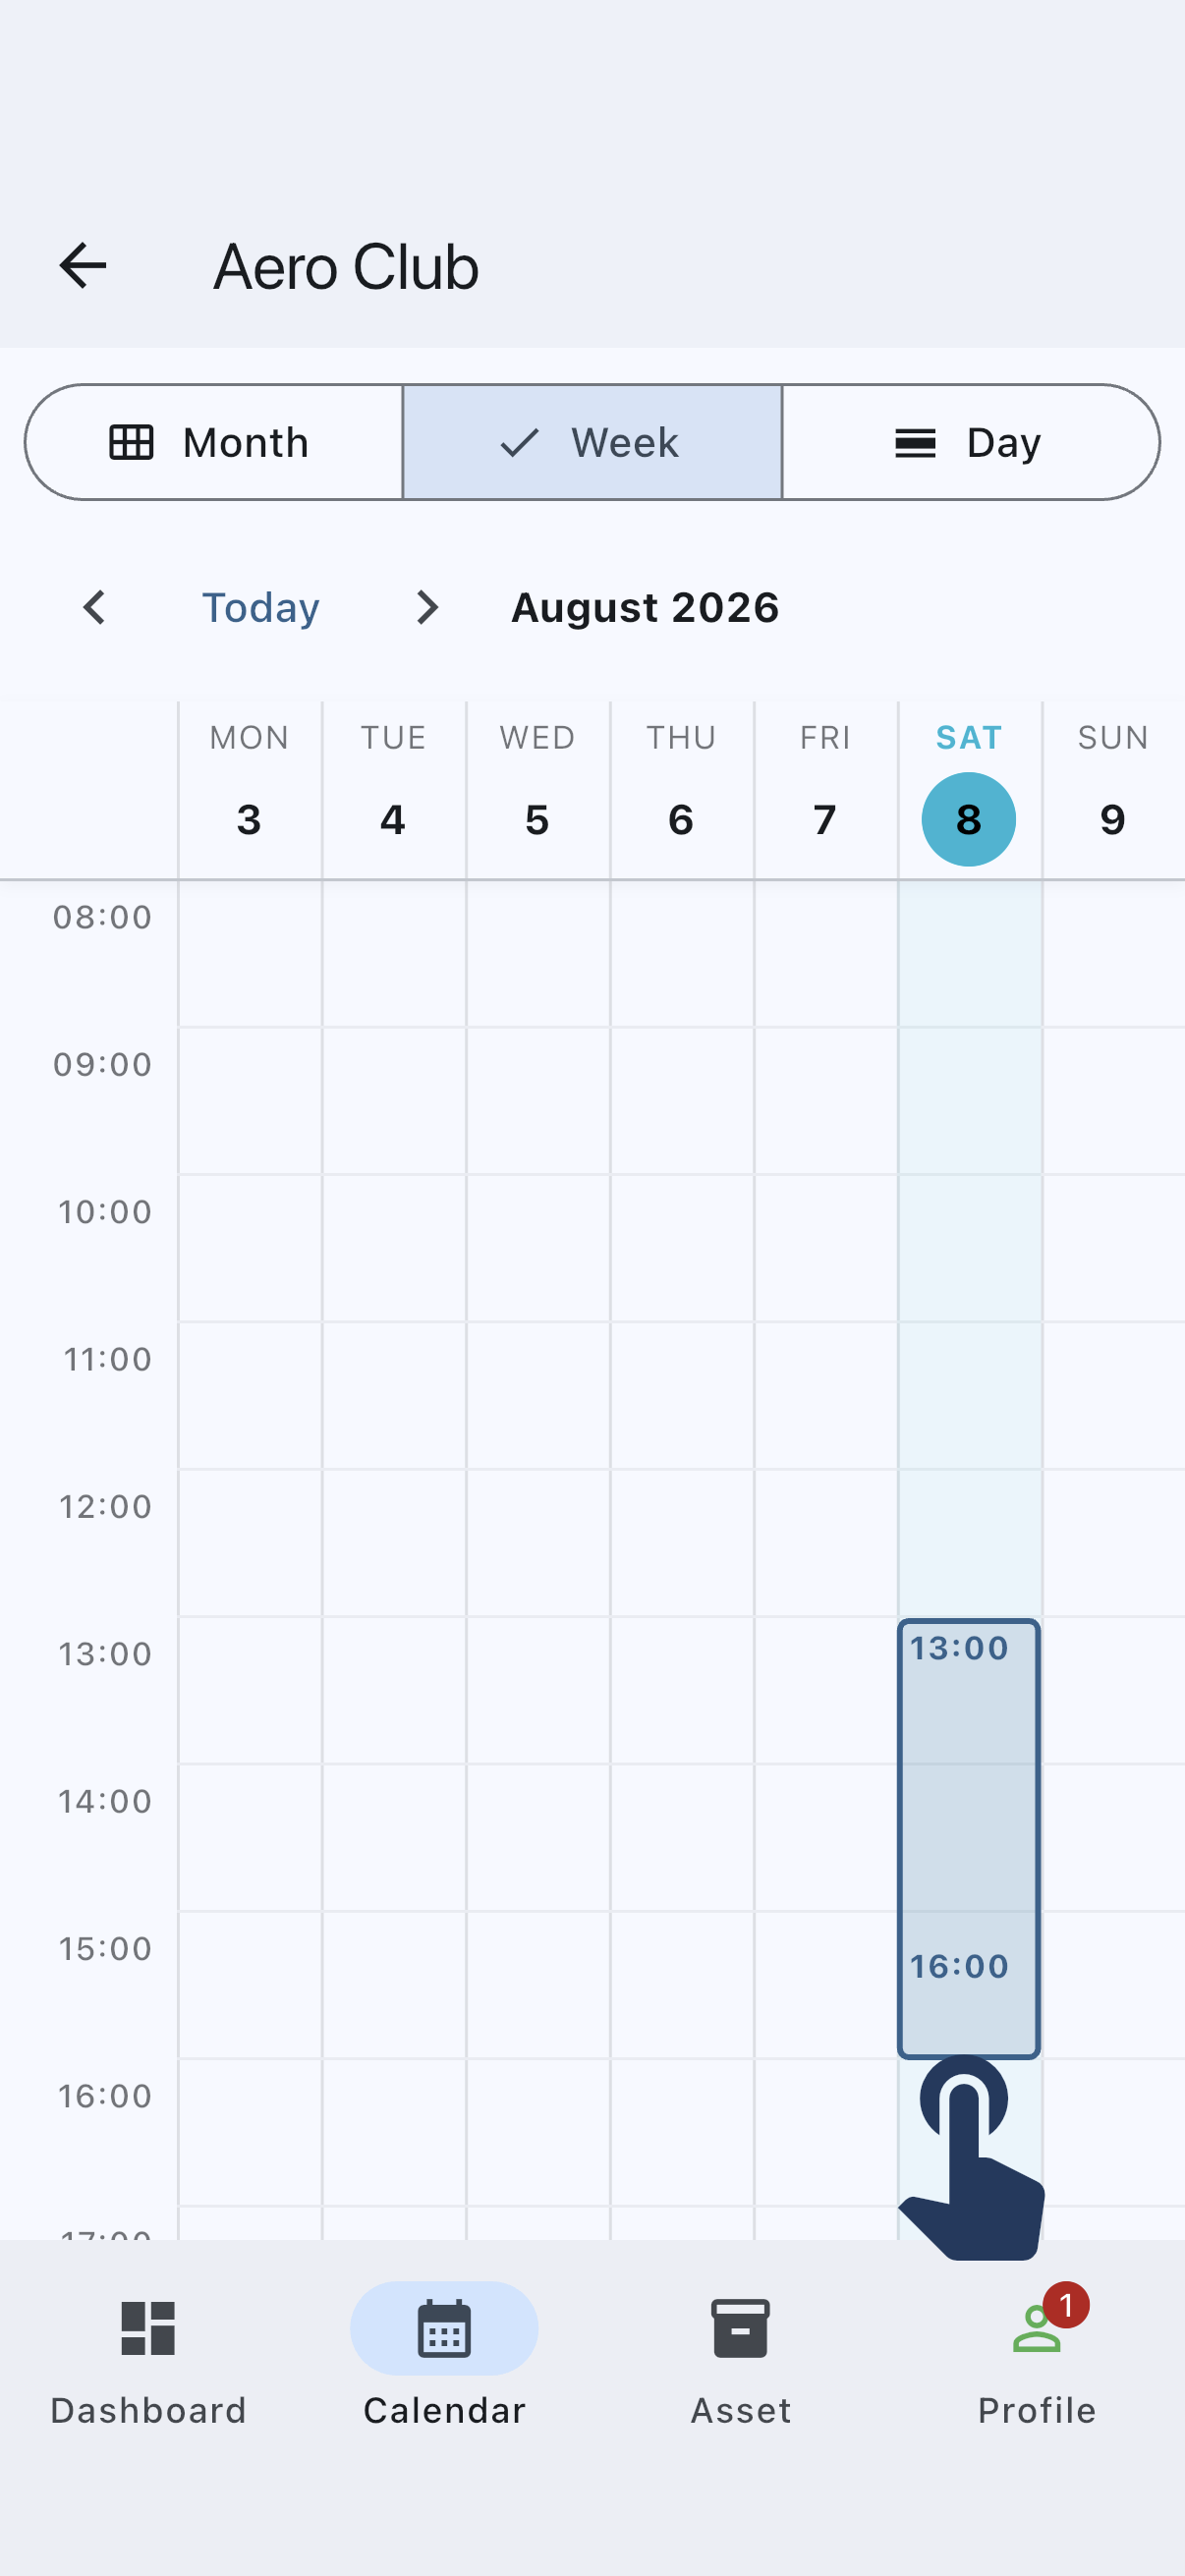
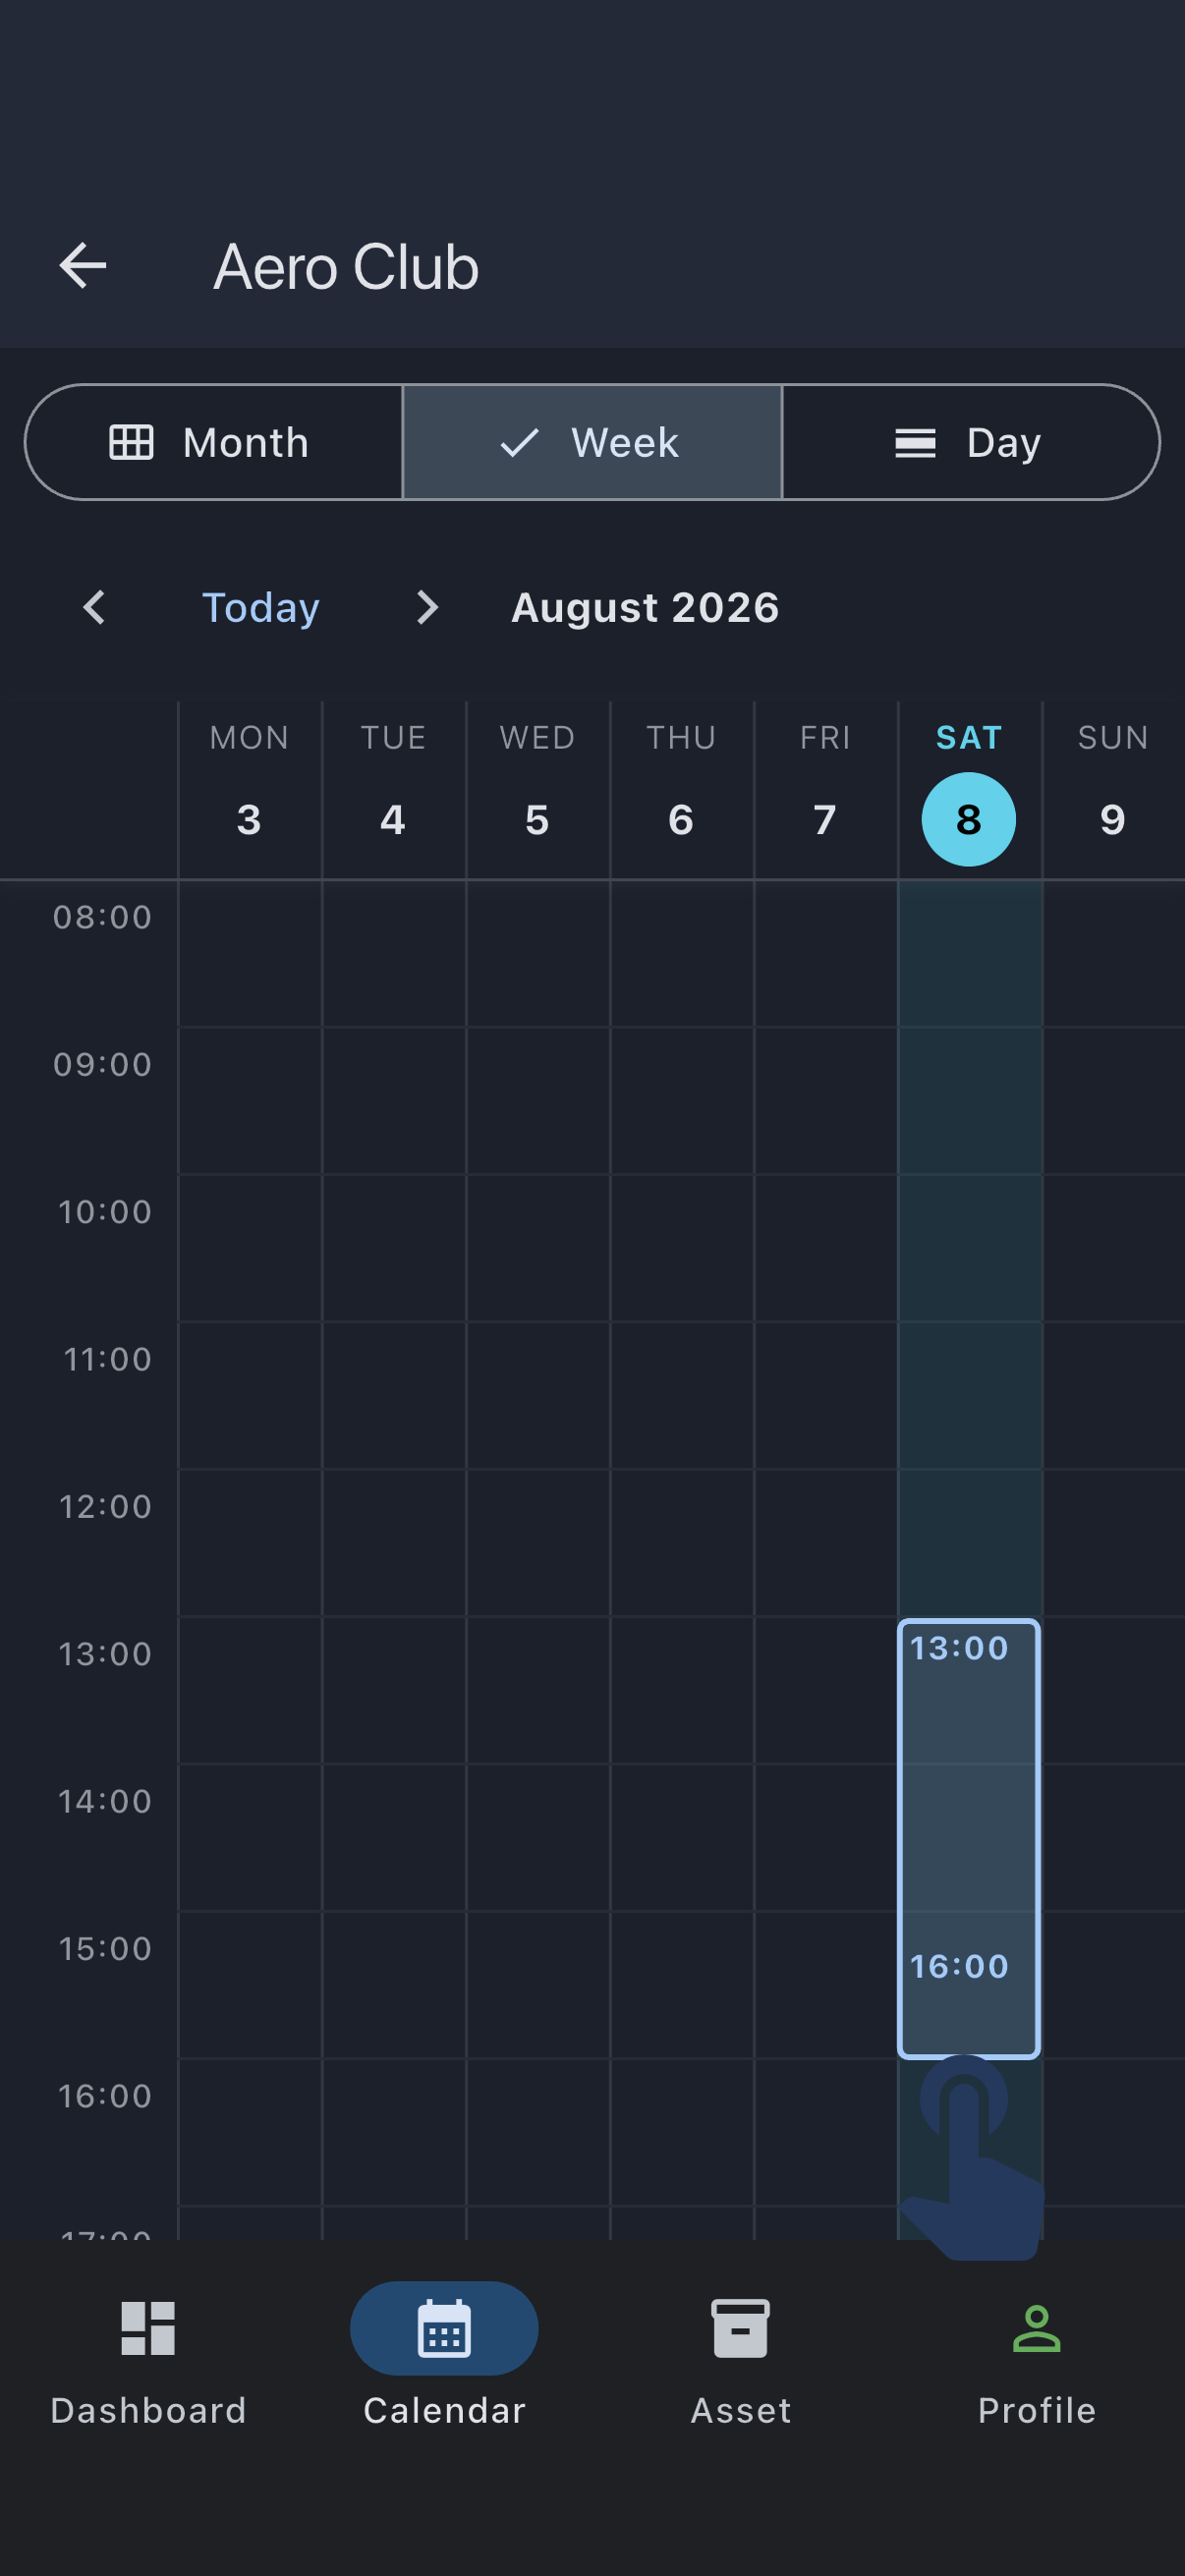
Release, and the Create Booking dialog opens with your start and end times pre-filled. Have a quick look:
- Asset: the aircraft is picked for you if there’s only one. If there’s more than one, pick the one you actually plan to fly.
- Start Time and End Time: nudge them by fifteen minutes if you need to. Your drag got you close, not exact.
- Pencil in (tentative): leave this unticked. A tentative booking is a non-binding hold, which is useful when you’re not sure yet; today, you are sure. See Tentative vs confirmed bookings if you’re curious about the distinction.
Tap Create. The dialog closes, a “Booking created successfully” snackbar slides up, and your slot now appears on the calendar as a solid block with your name on it.
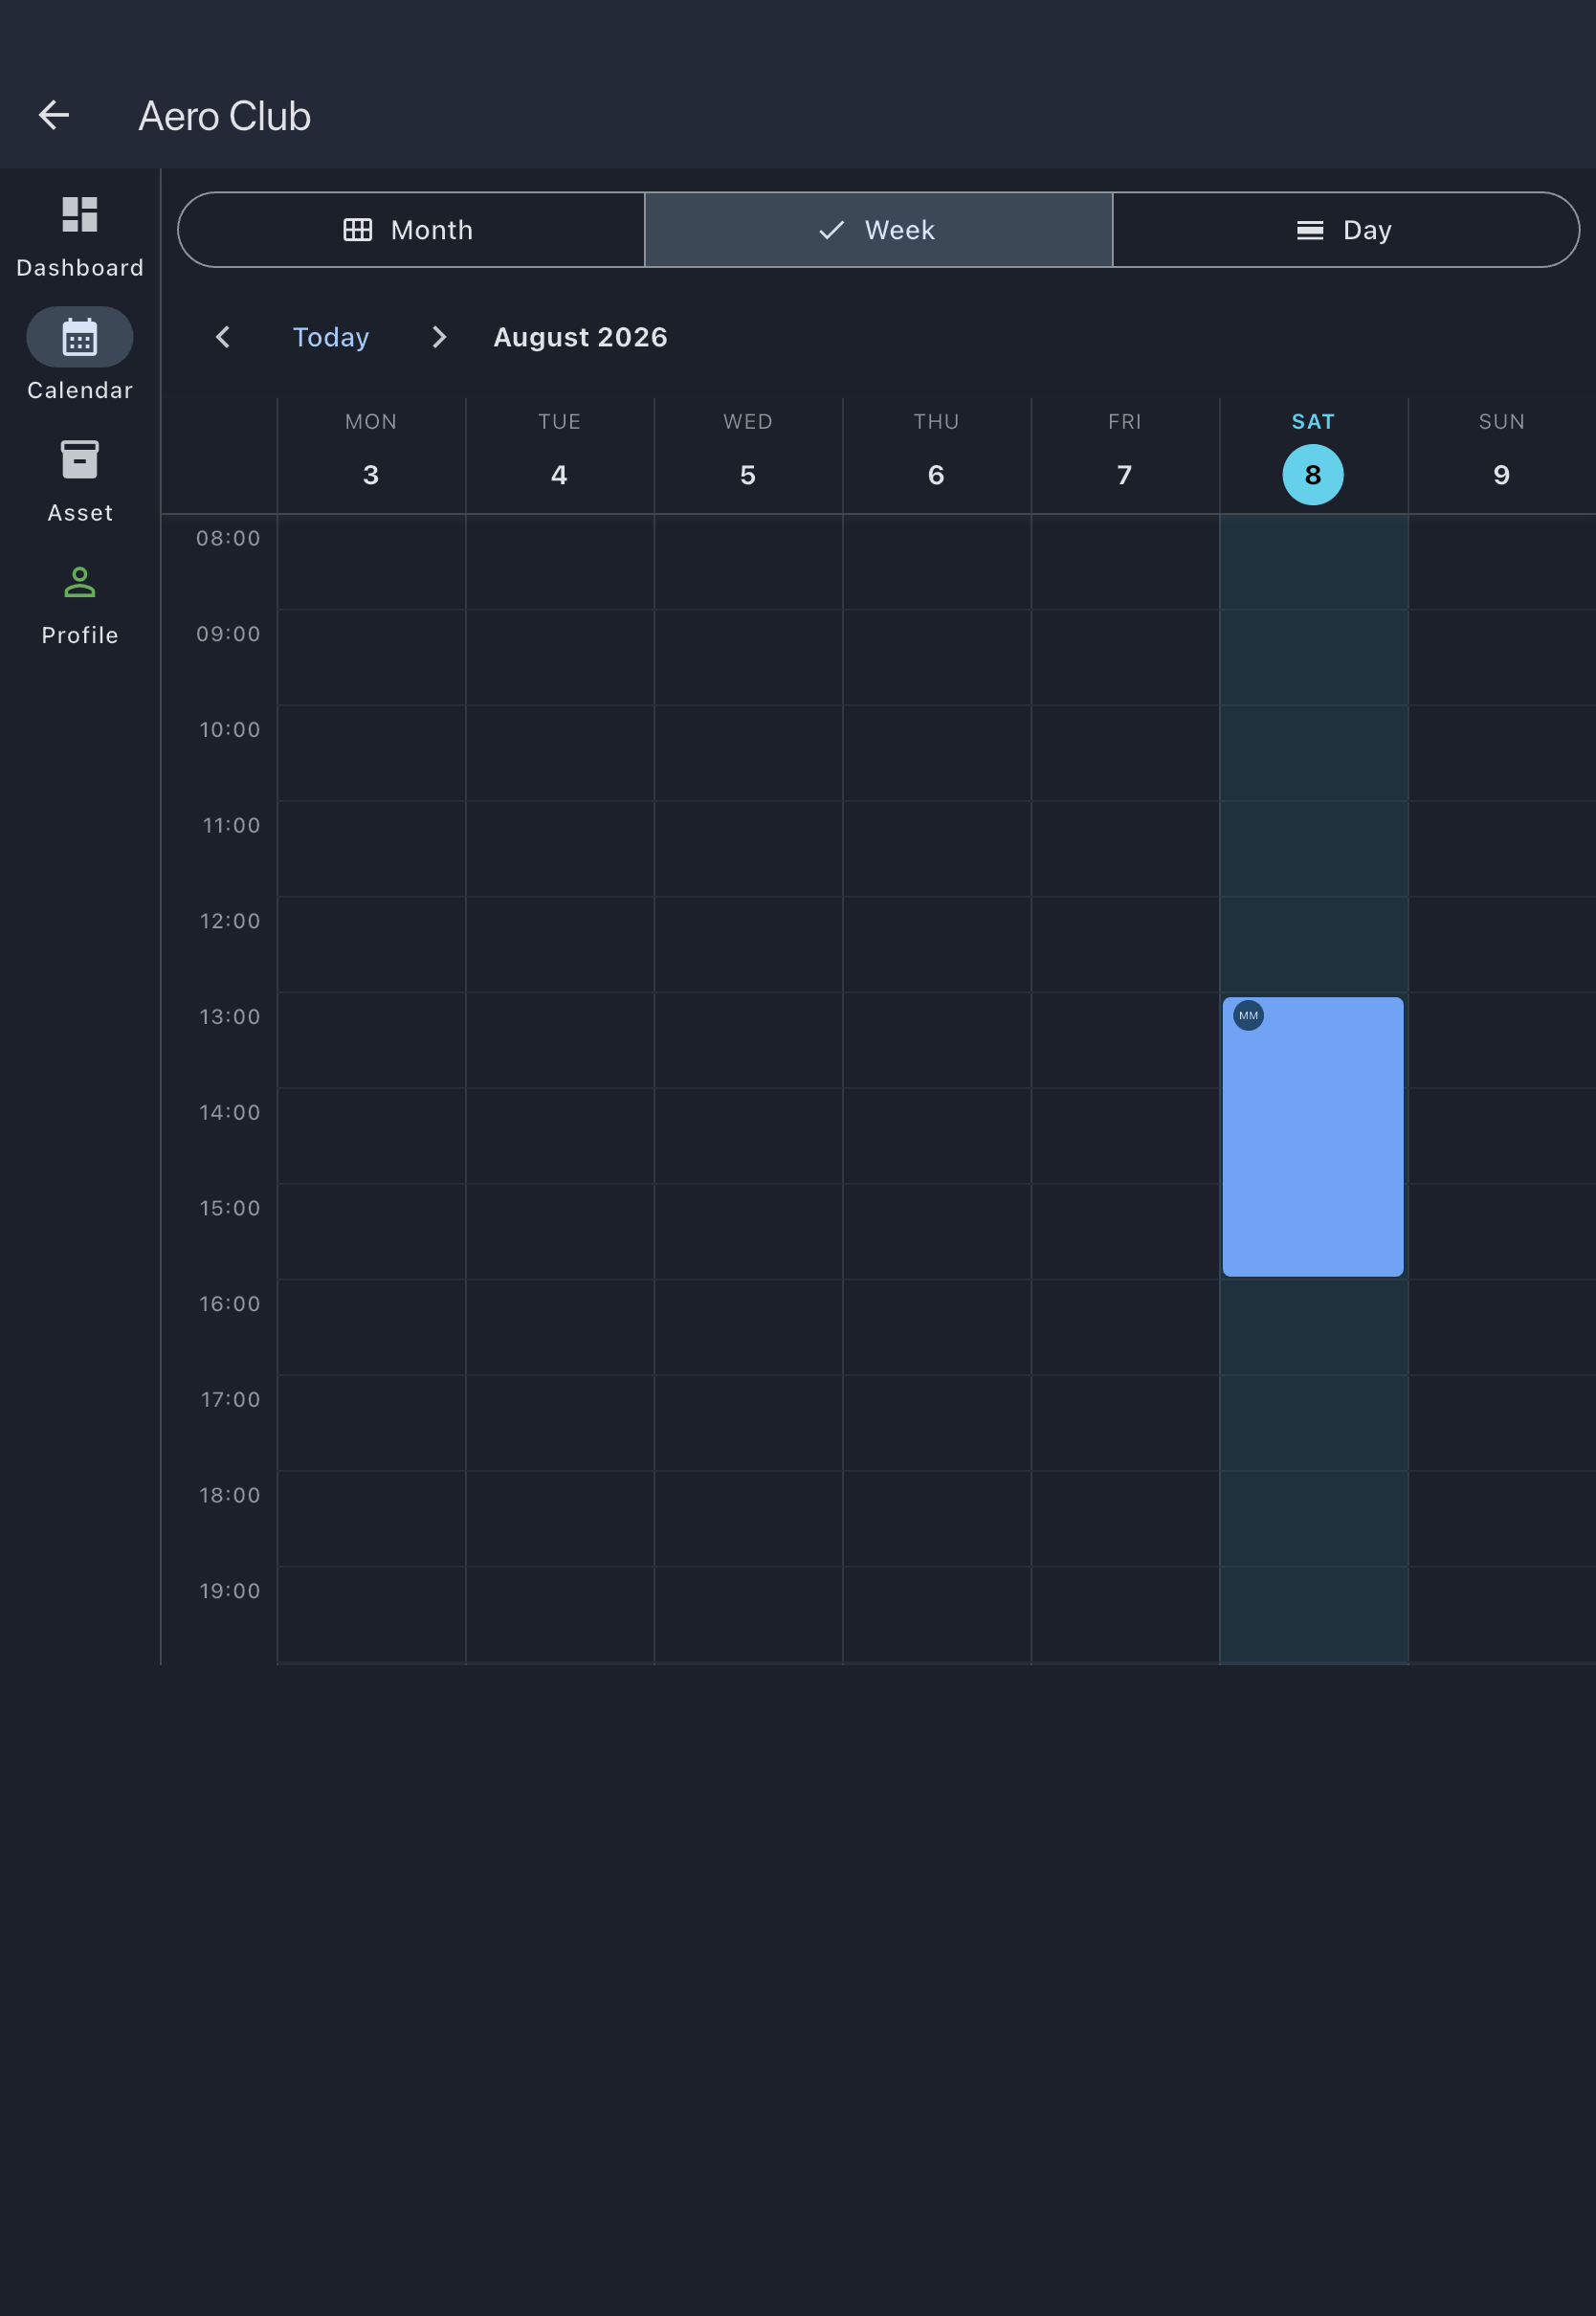
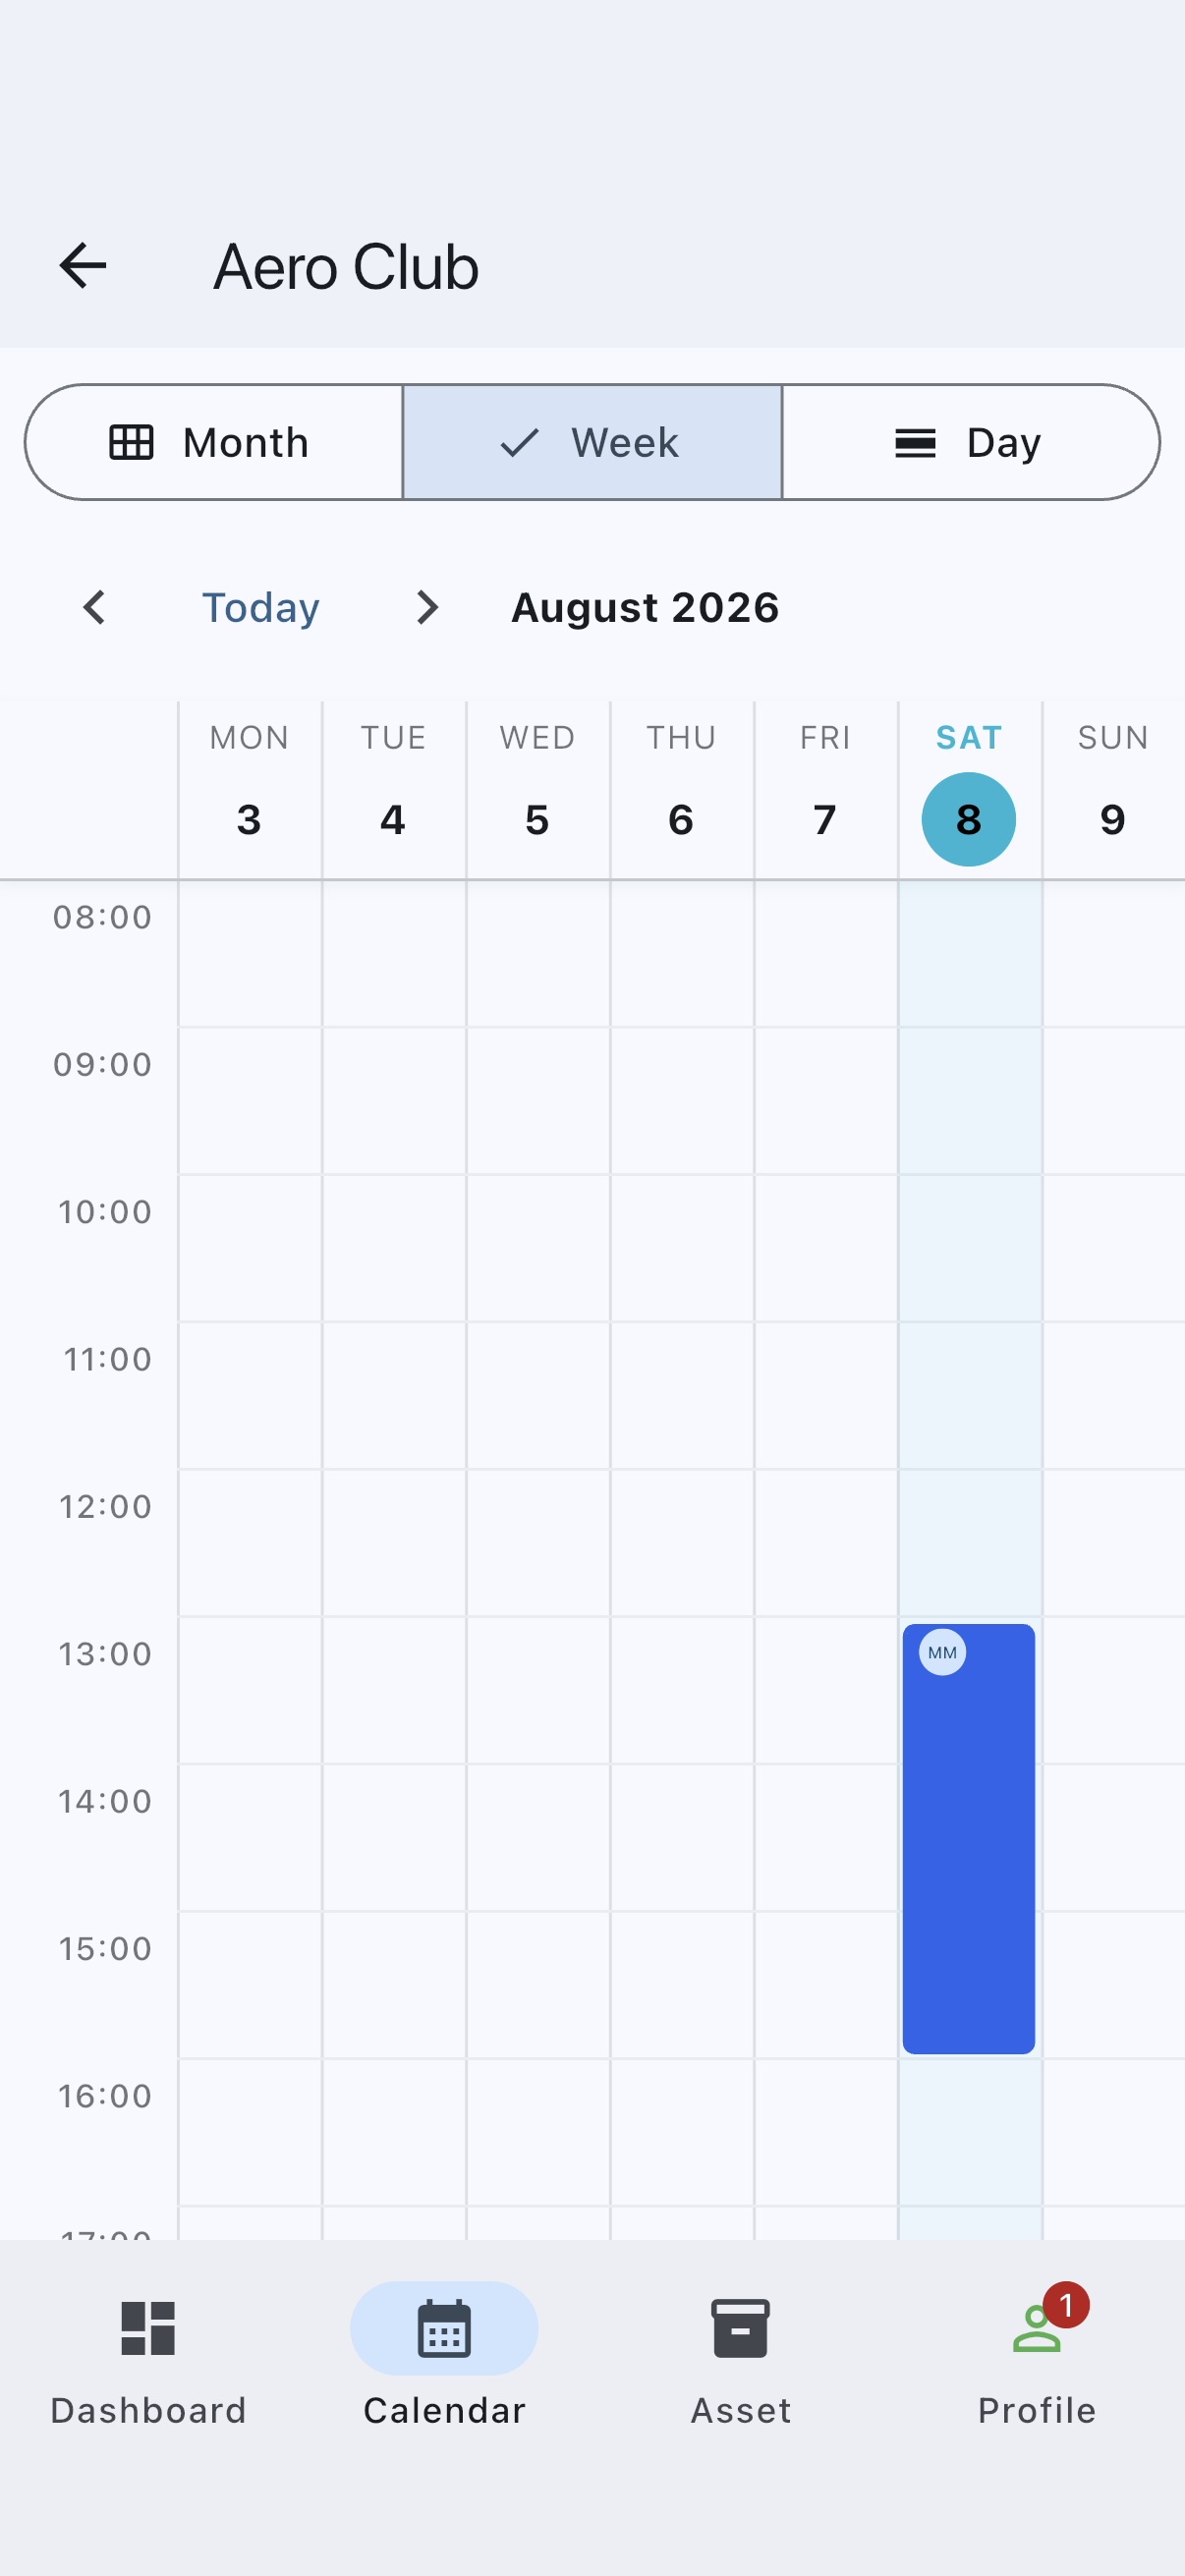
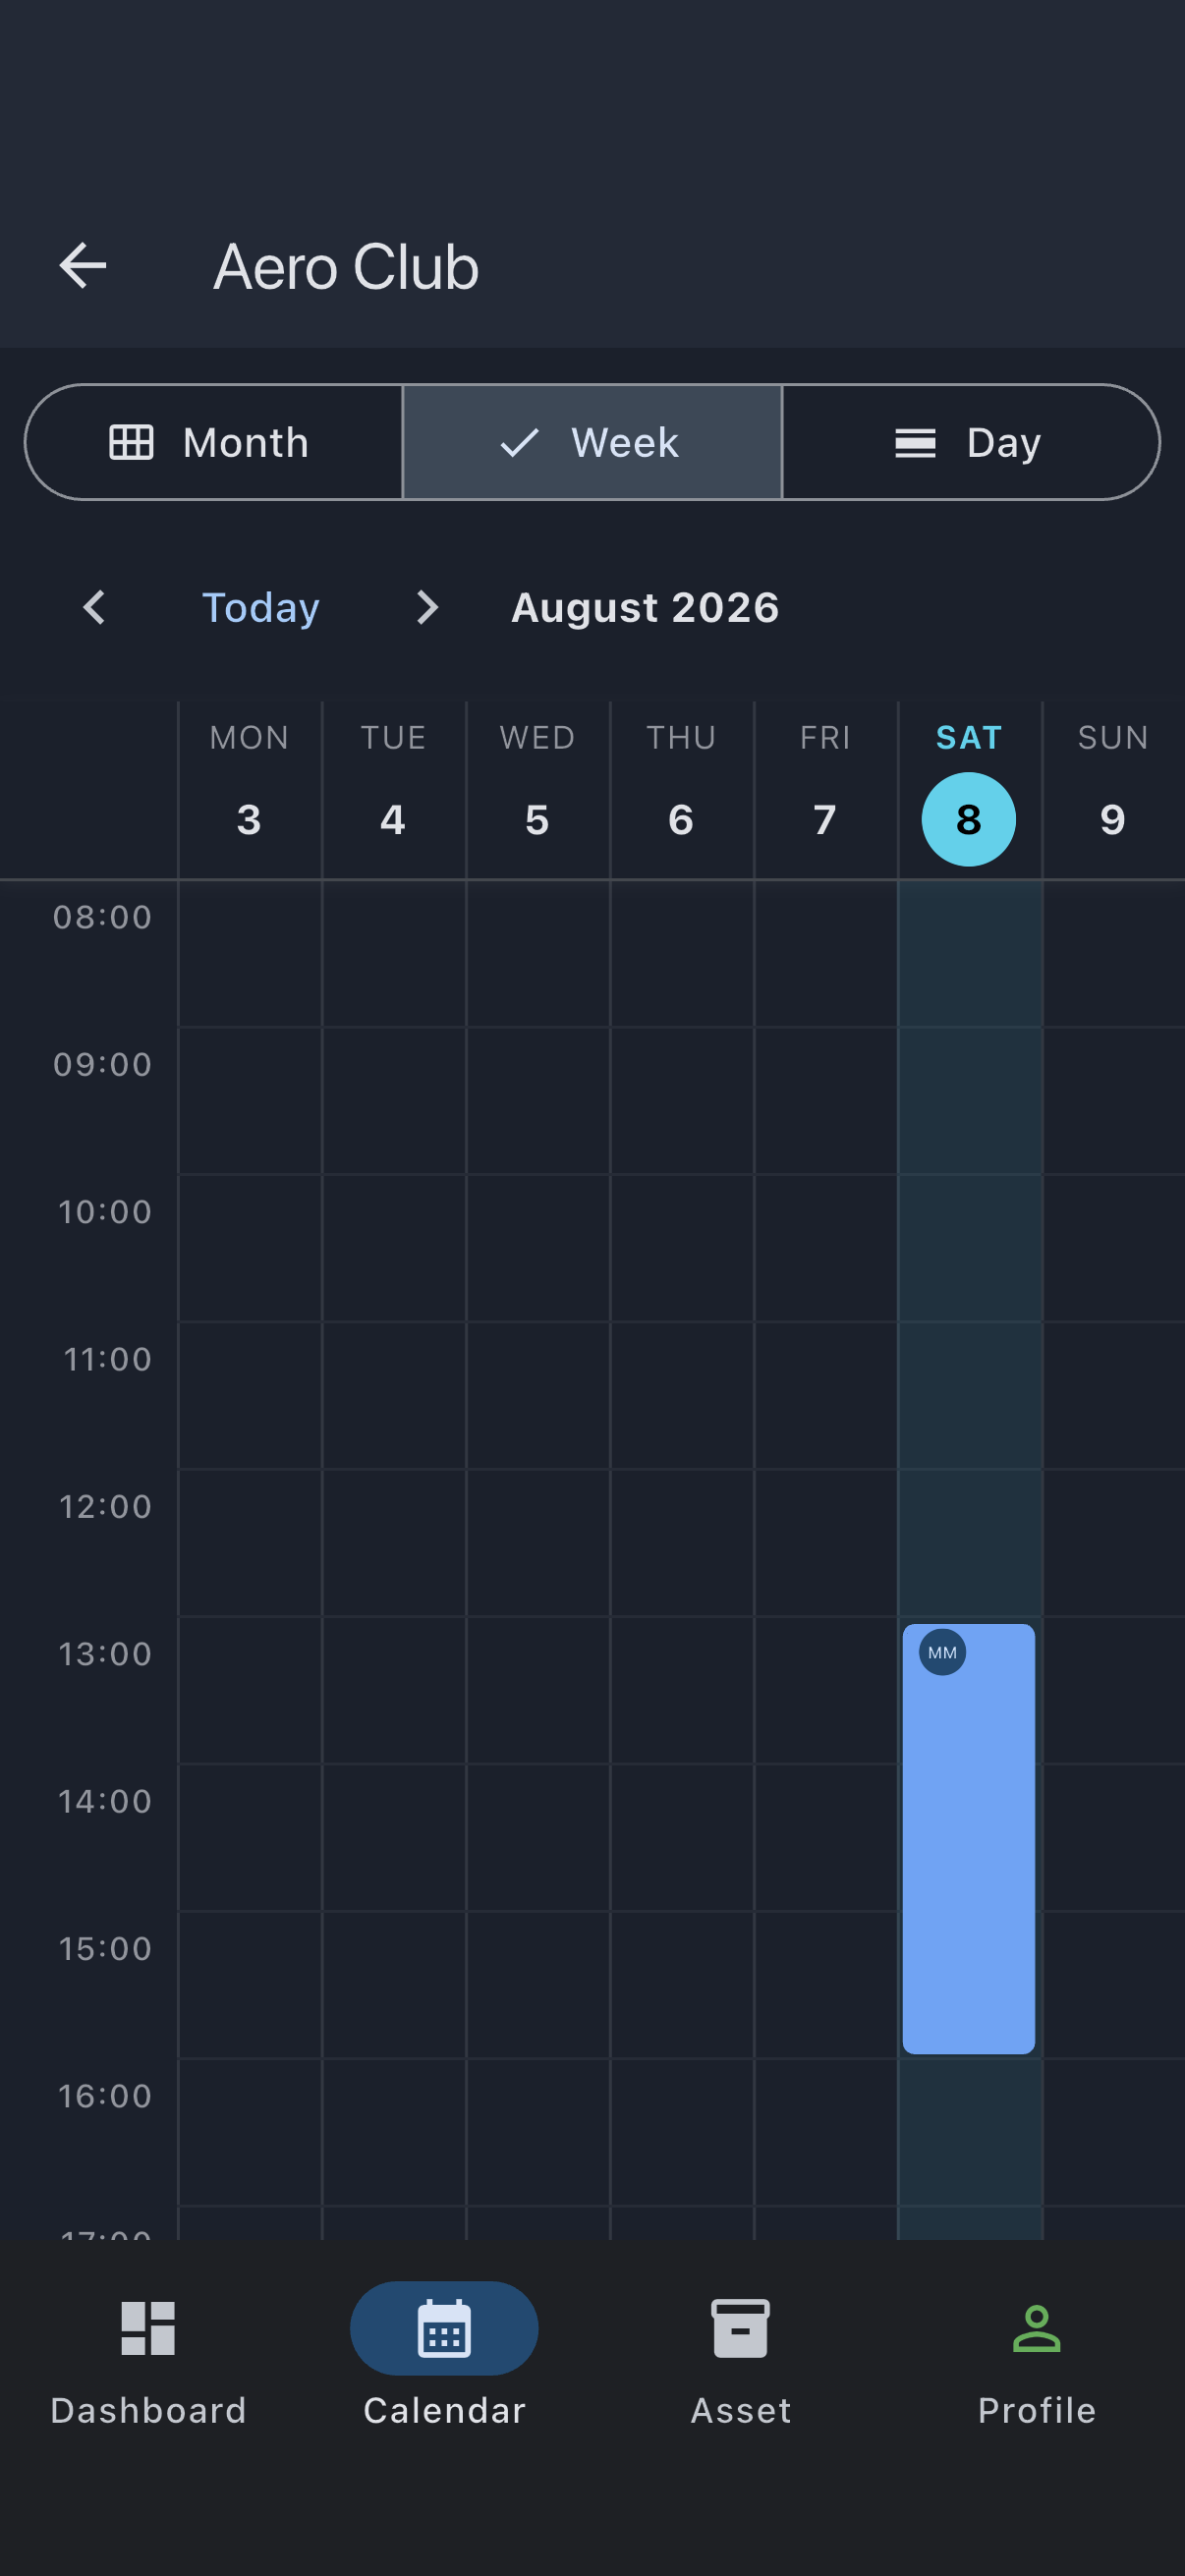
That’s the “visible reservation” moment: the slot is yours. If your syndicate requires admin approval for member bookings, the booking will read pending instead of confirmed until an admin signs off, but the rest of this tutorial works exactly the same either way.
Step 2: On the day — Quick Capture from the ramp
Section titled “Step 2: On the day — Quick Capture from the ramp”Saturday comes round. You’re at the aircraft, pre-flight done, about to start the engine. Open the booking: tap it on the calendar, or find it under the Bookings tab. Because the booking hasn’t started yet, the screen offers I’m flying now, with a line underneath saying you’ll record your start readings now and log the rest when you land. Tap it.
Quick Capture opens on its first step, Ready to fly?. It asks for three things:
- Hobbs Start: pre-filled, greyed, with the aircraft’s current reading — the figure the last flight left it at. If it matches the drum, leave it. If it doesn’t, tap the field; it clears, and you type what you see.
- Brakes off (or your syndicate’s word for it): the time you’re leaving the stand. It defaults to now.
- Departure: the airfield you’re leaving from. Tap it and pick from the list; the app suggests the nearest ones first.
There’s a camera icon beside the meter field for a start photo. It’s optional and it isn’t saved to the log; it’s there so you can check your reading later if you need to. Tap Start Flight. That’s the ramp done — put the phone away and go flying.
While your flight is open, a Flight in progress card sits on your Home screen and on the syndicate’s Dashboard with an End Flight button. That card, not the booking, is where you pick the flight up again. (If you’d rather not open the booking at all, the same Home card offers Start Flight in the two hours either side of a confirmed booking, and takes you to the same first step.)
Back on the ground, tap End Flight on that card. The second step, Flight complete?, shows what you recorded before departure and asks for the rest:
- Hobbs End: the reading after shutdown. It arrives pre-filled with your start reading less its last digit — a start of
1234.5gives1234— so you tap in and type the last digit or two rather than the whole number. It won’t accept the pre-fill untouched, and it won’t accept a reading equal to the start: the meter has to have moved. - Brakes on: the time you came to a stop. Defaults to now.
- Arrival: where you landed. If it’s your home airfield, this is what makes landing fees apply.
- Landings: the count for this flight.
Photograph the meter here if you can (Step 4 explains why), then tap End Flight. The Log Flight form opens with everything you’ve captured already in place, ready for a final look. Skip ahead to Step 3 to see what’s on it — most of the work is done.
Step 3: Log Flight after the fact
Section titled “Step 3: Log Flight after the fact”Didn’t use Quick Capture? No matter. Open the booking once it has started or passed; the screen now shows a Log Usage button near the bottom.
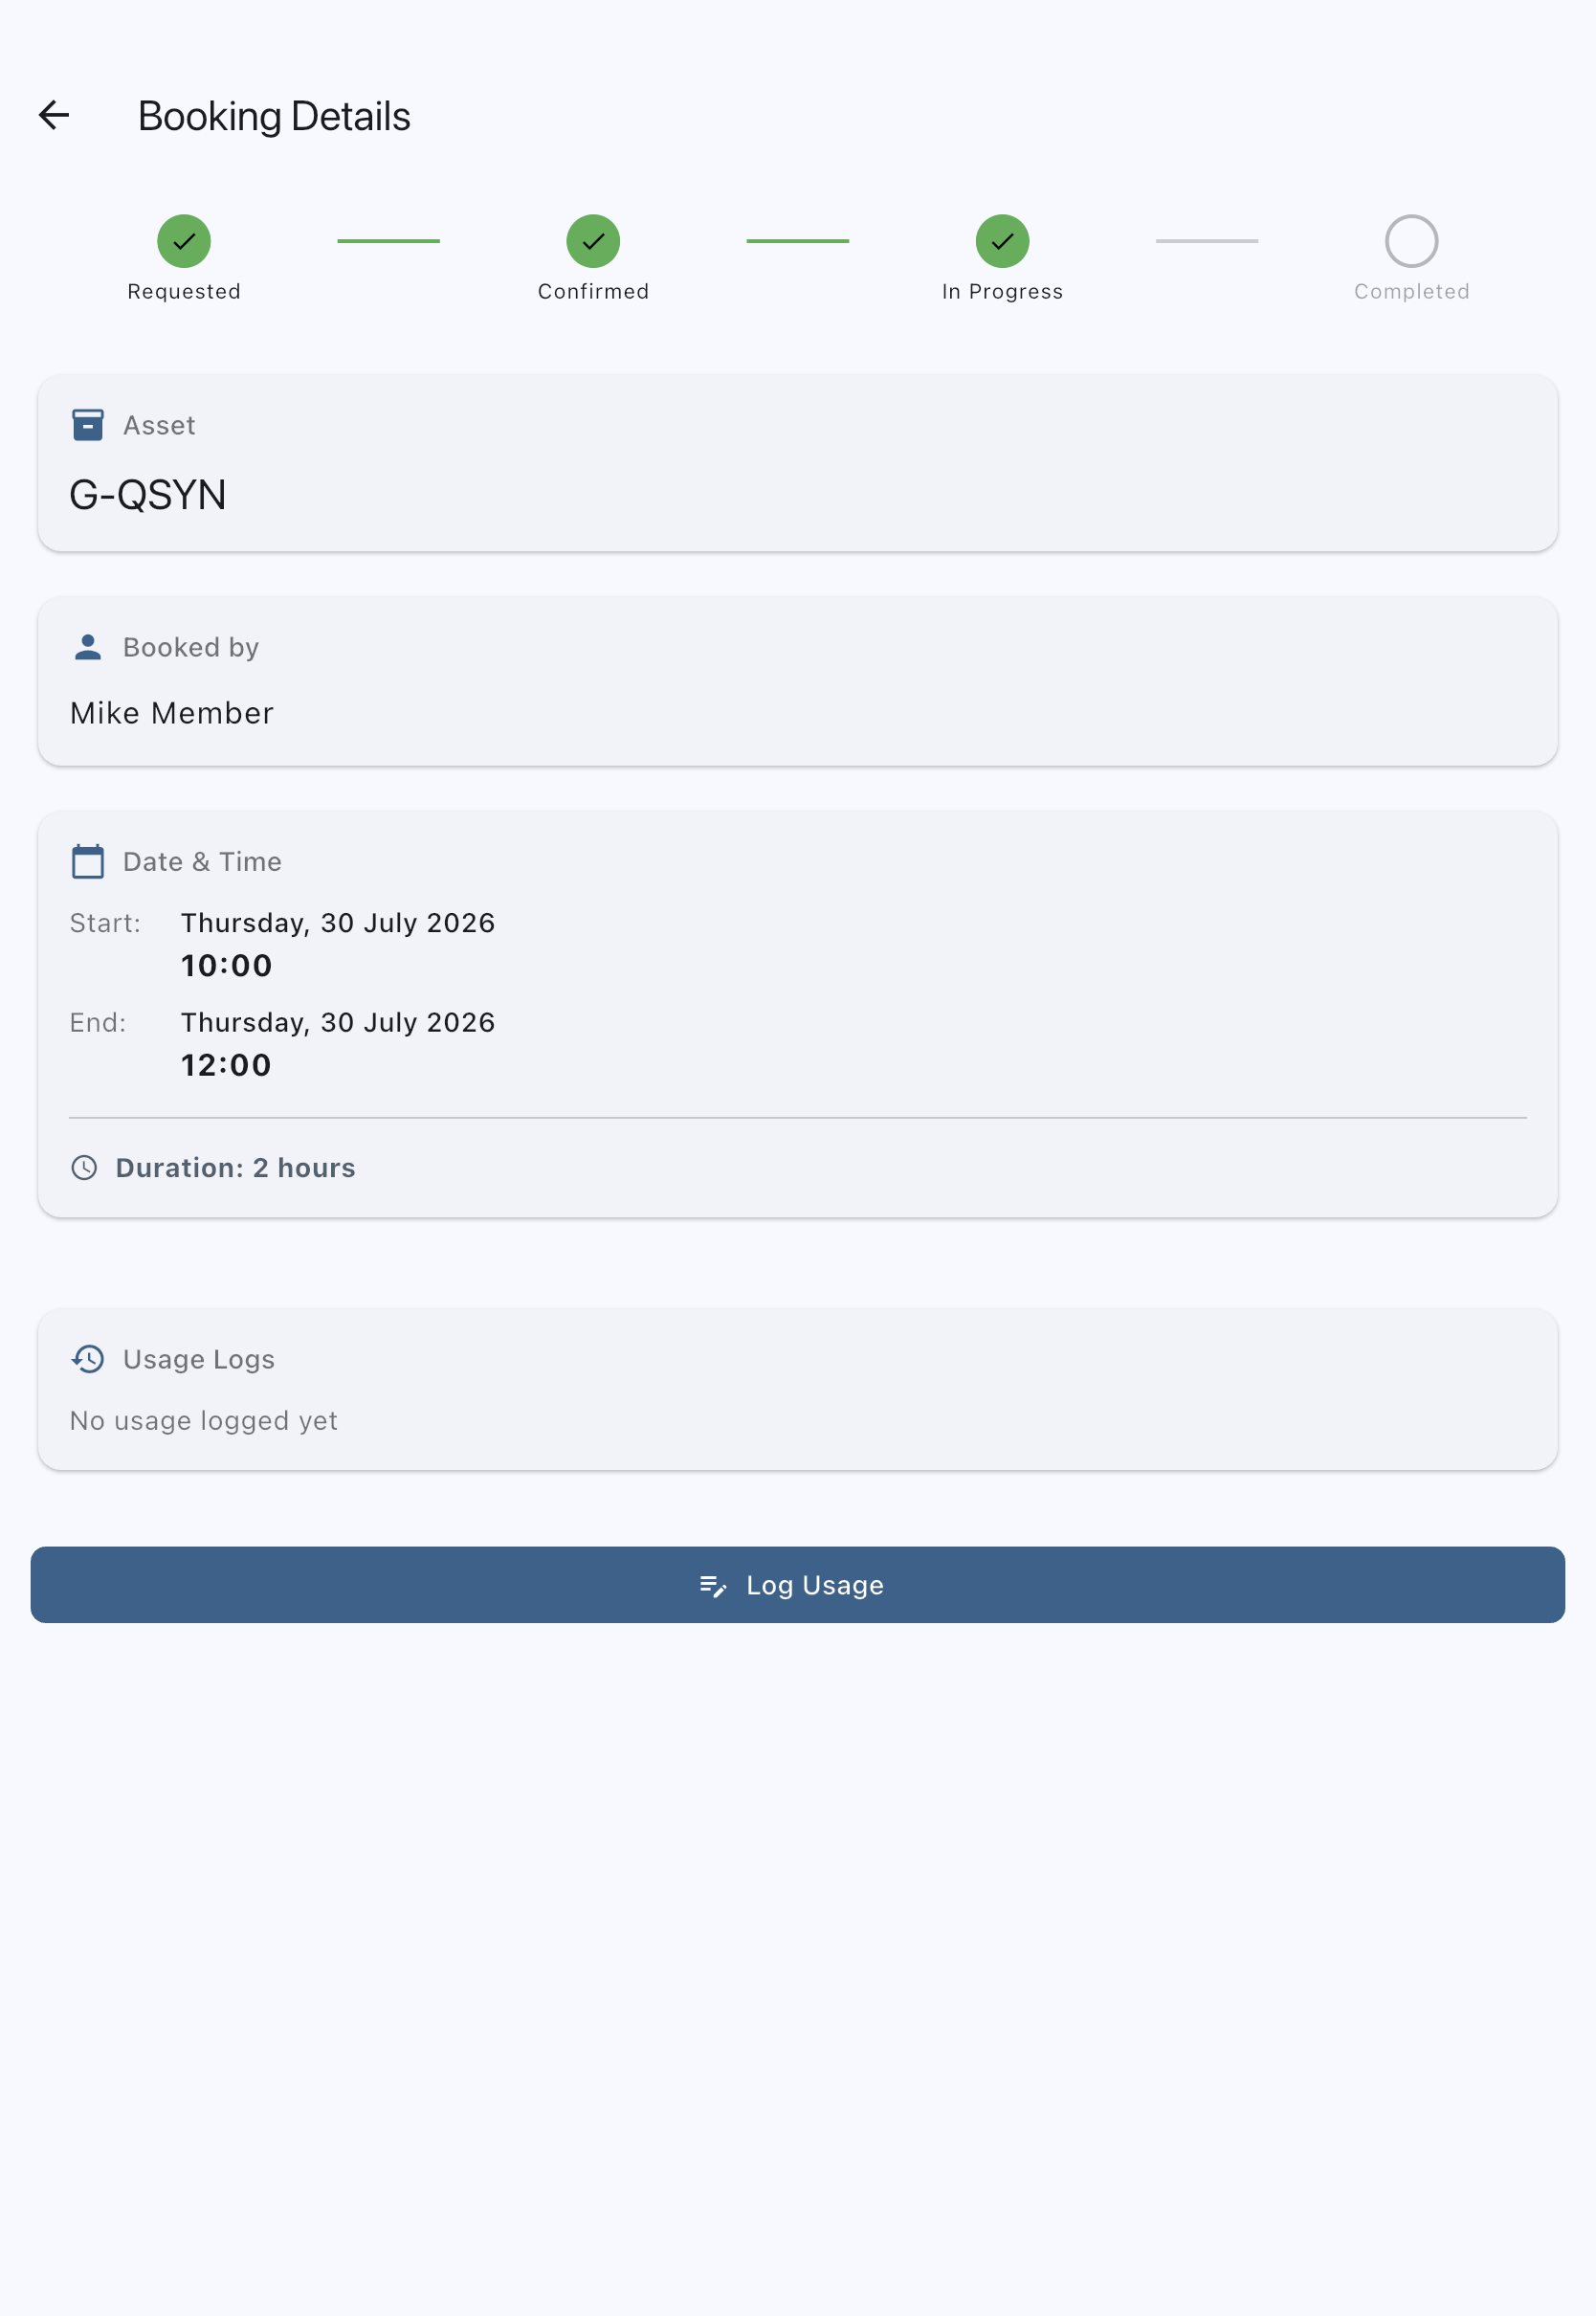
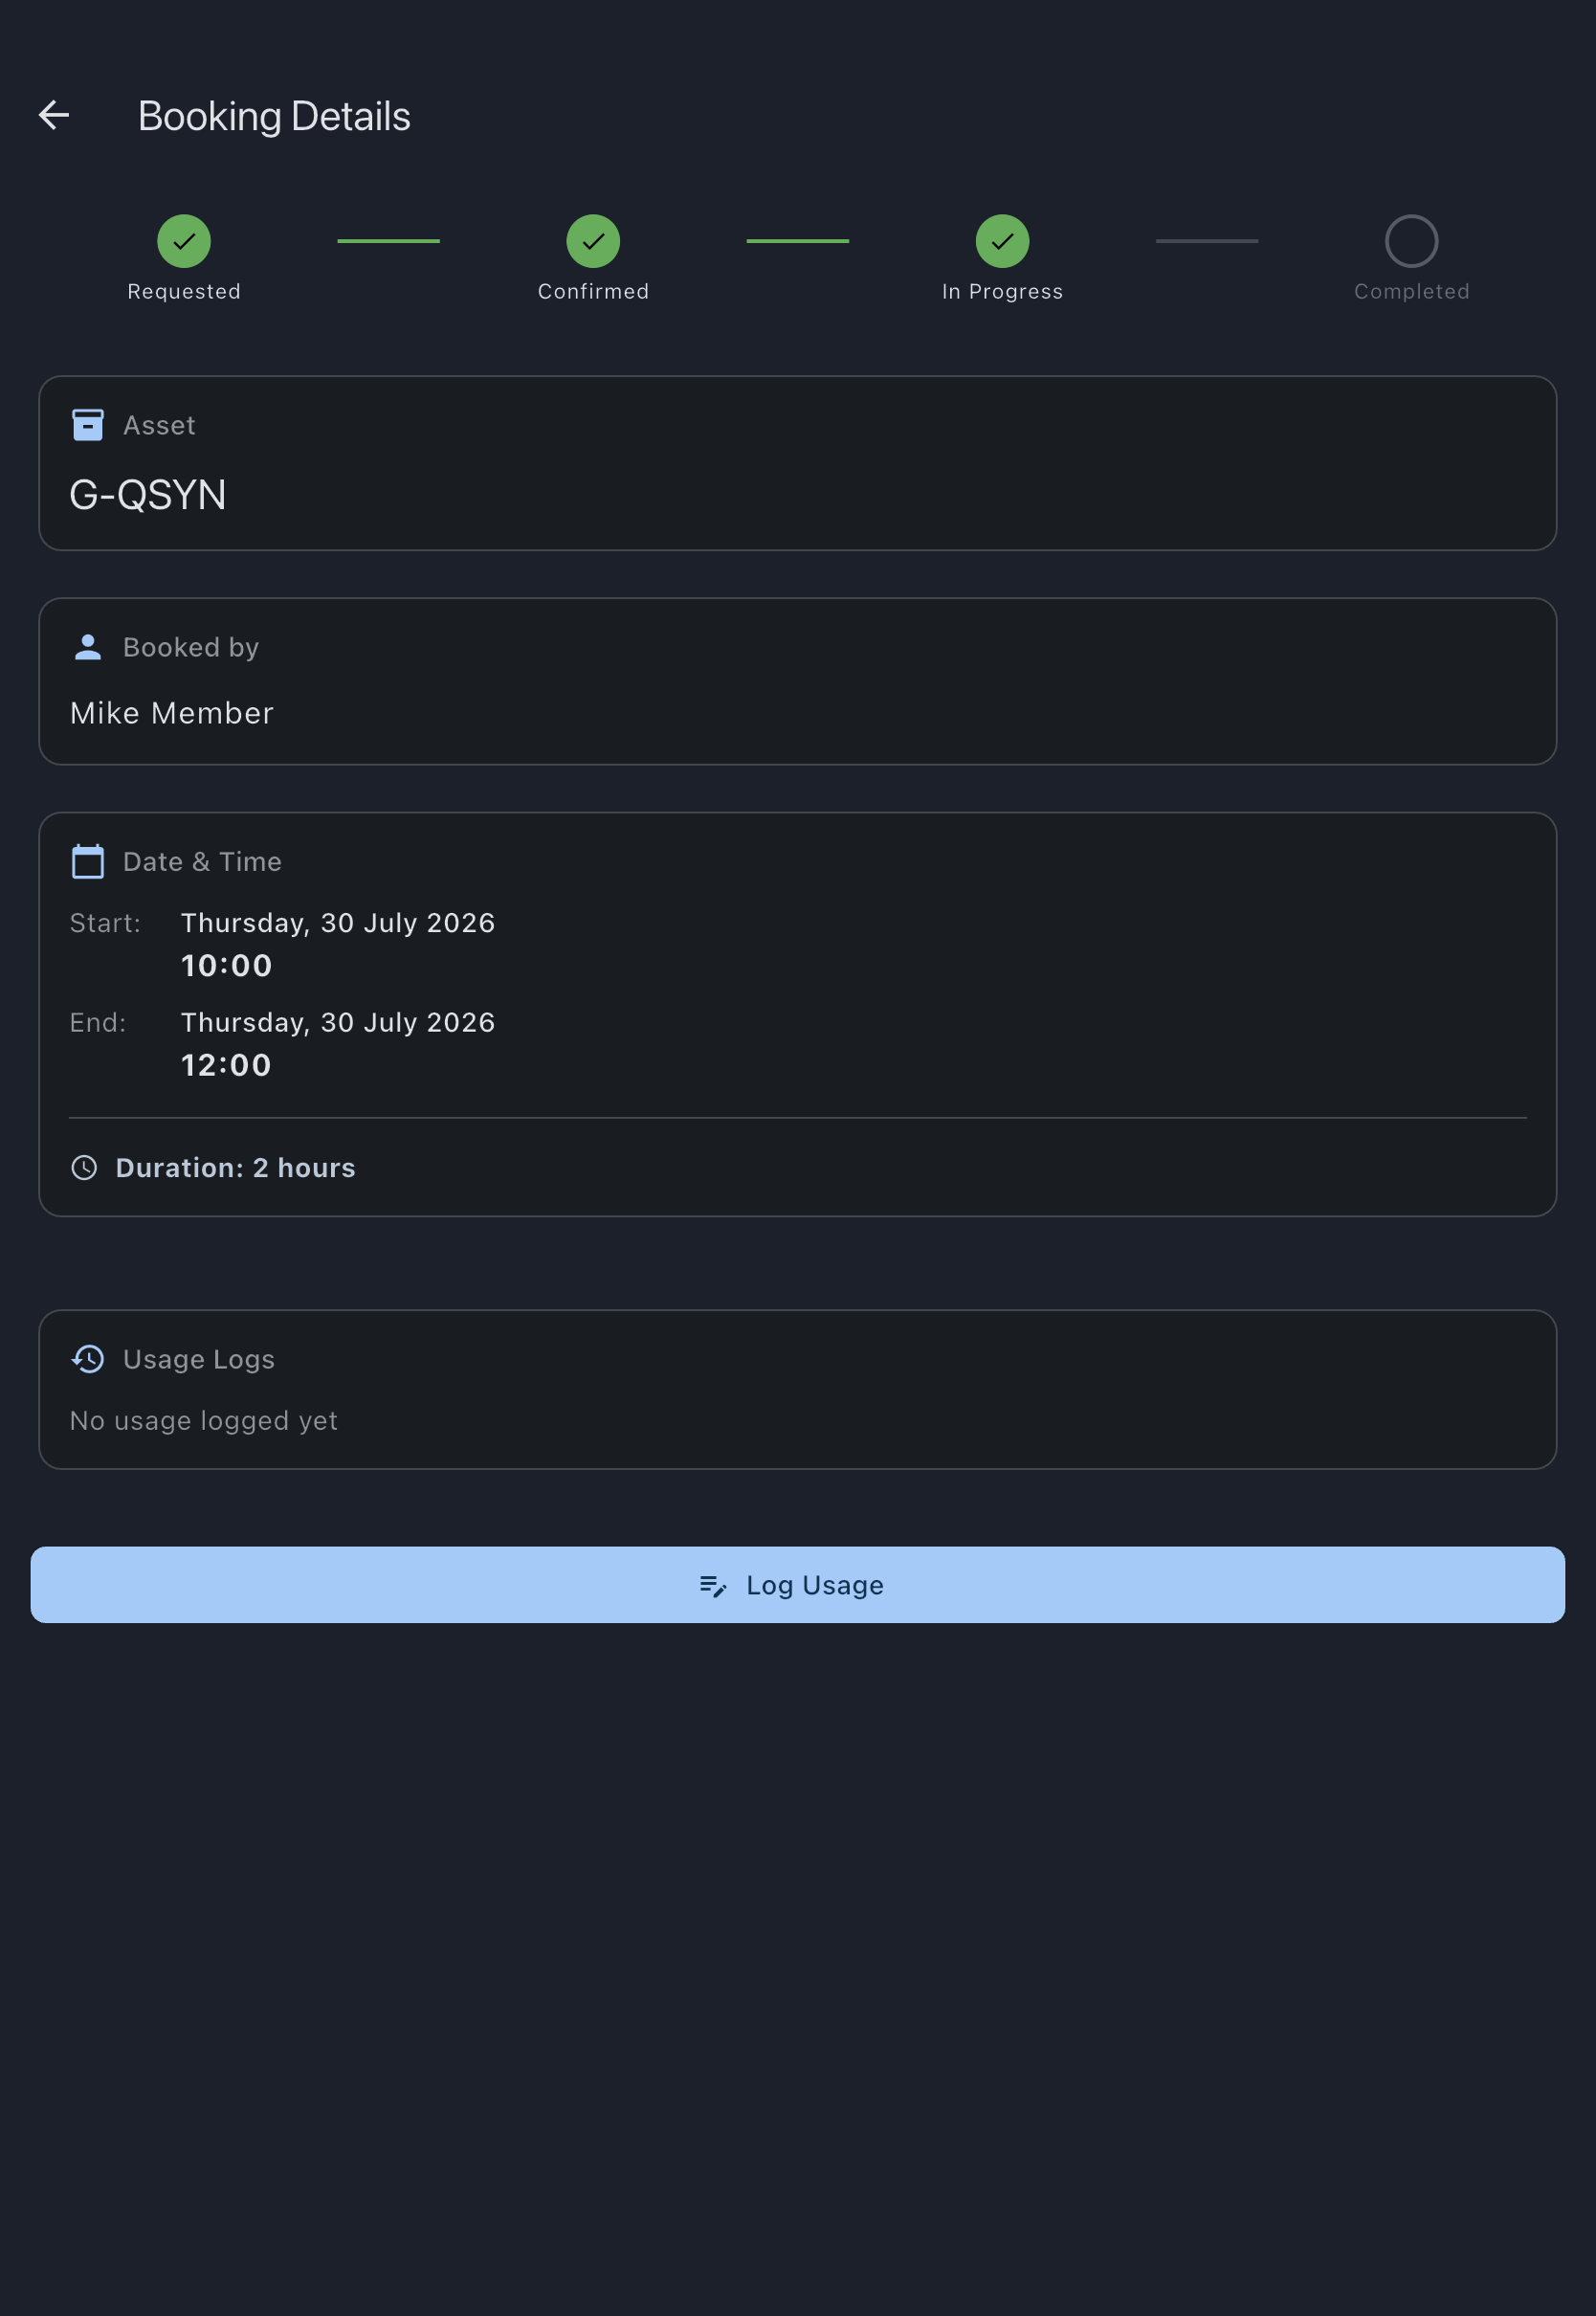
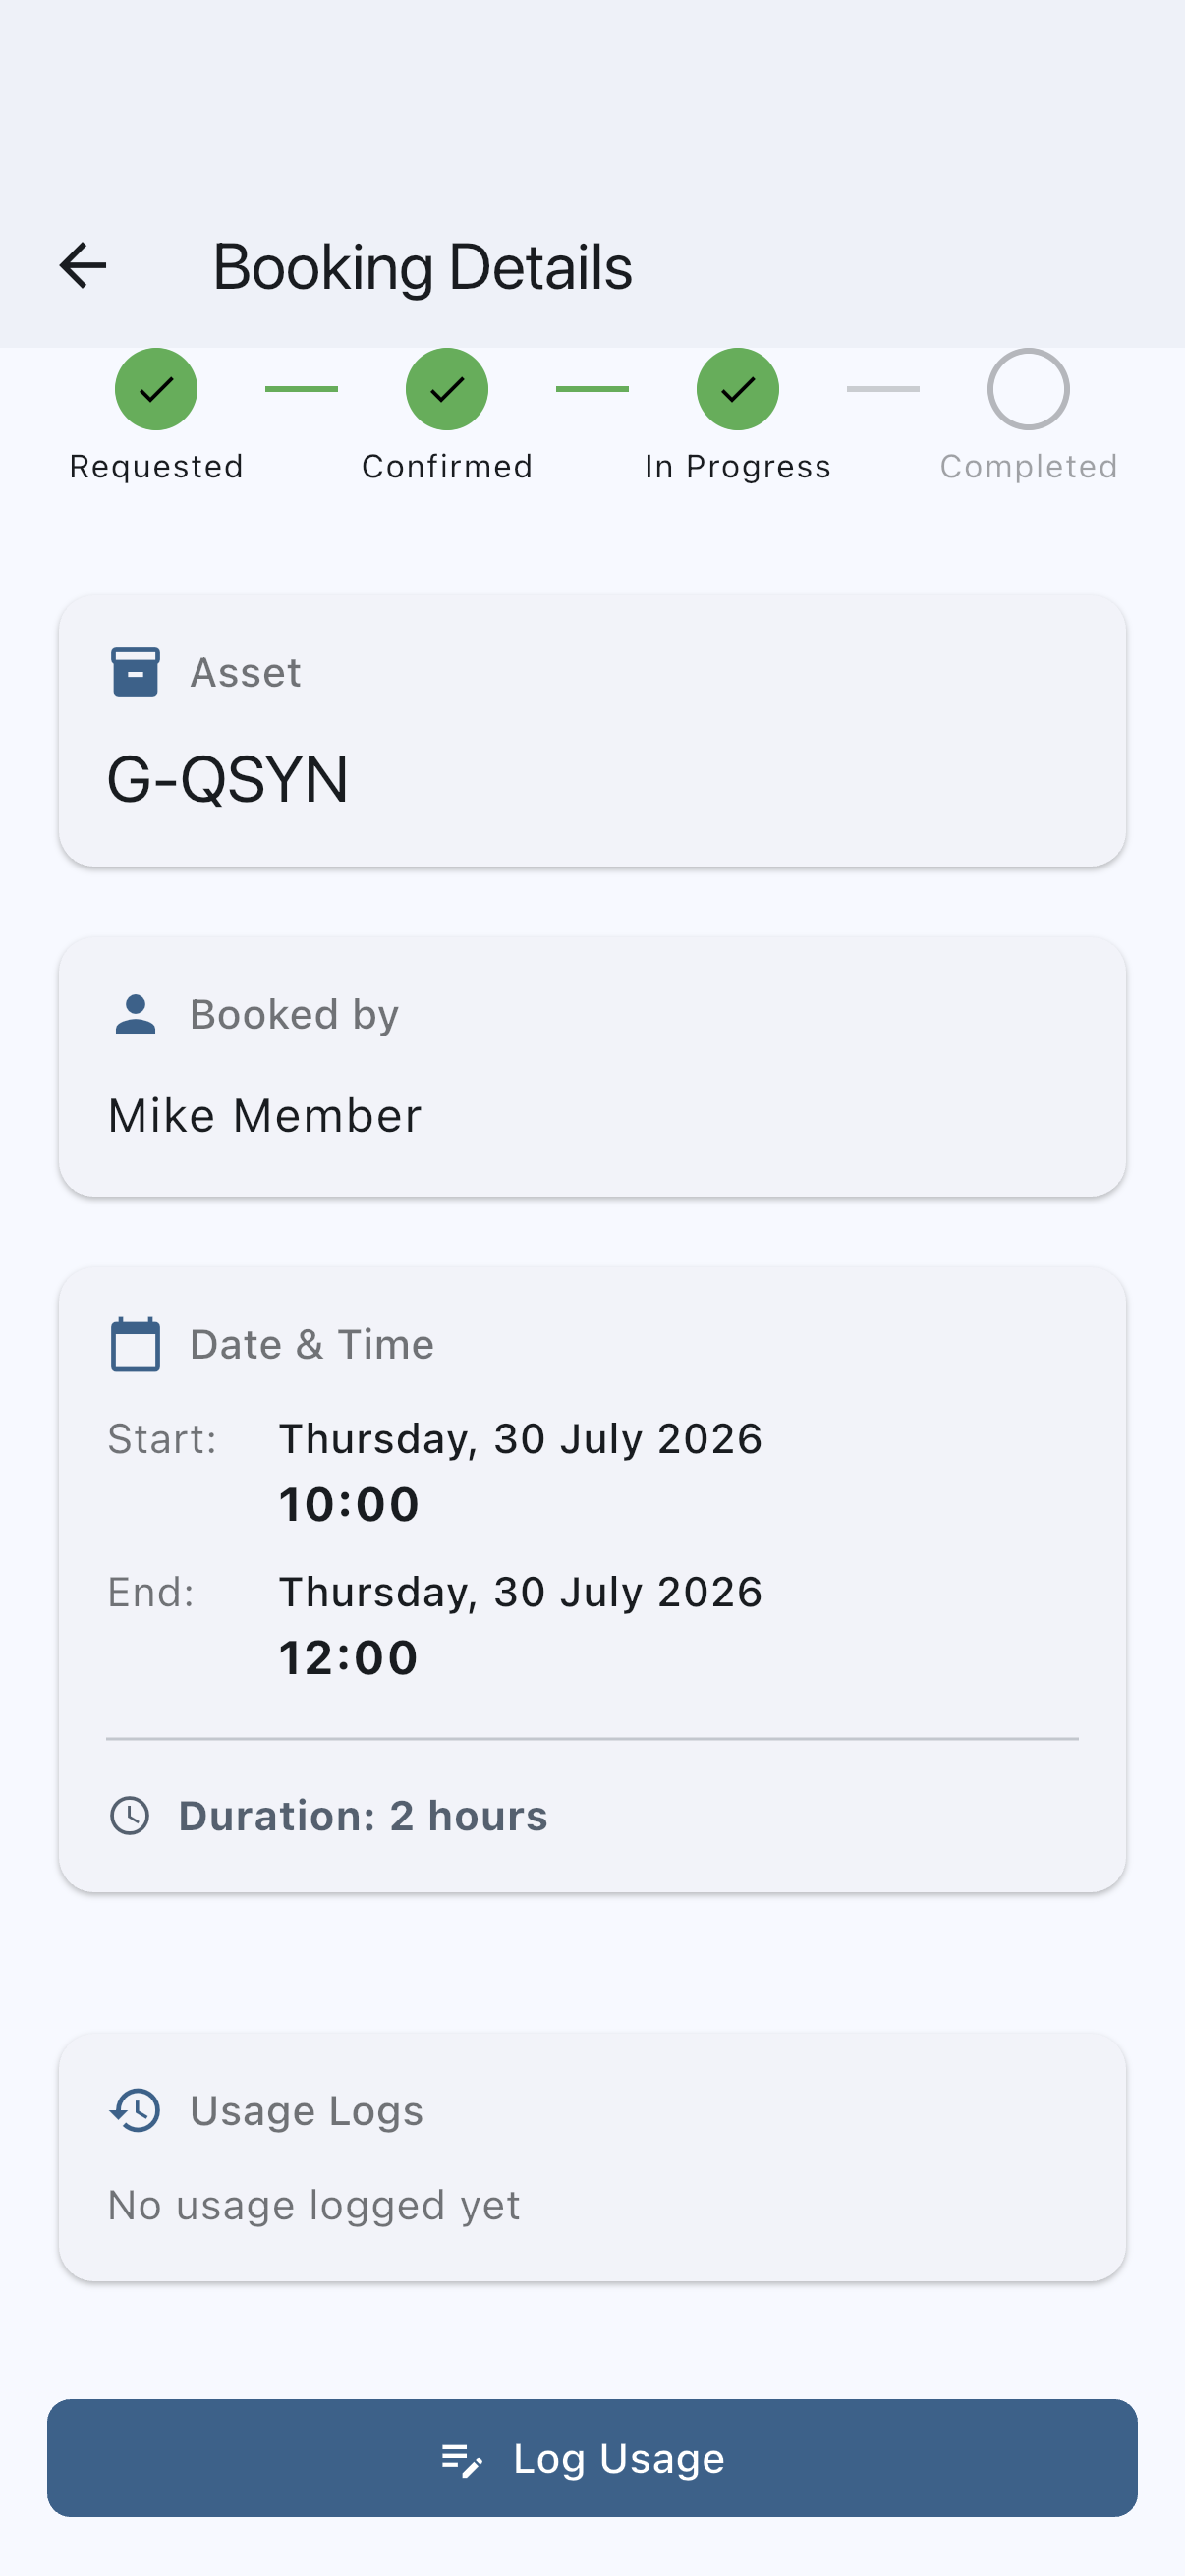
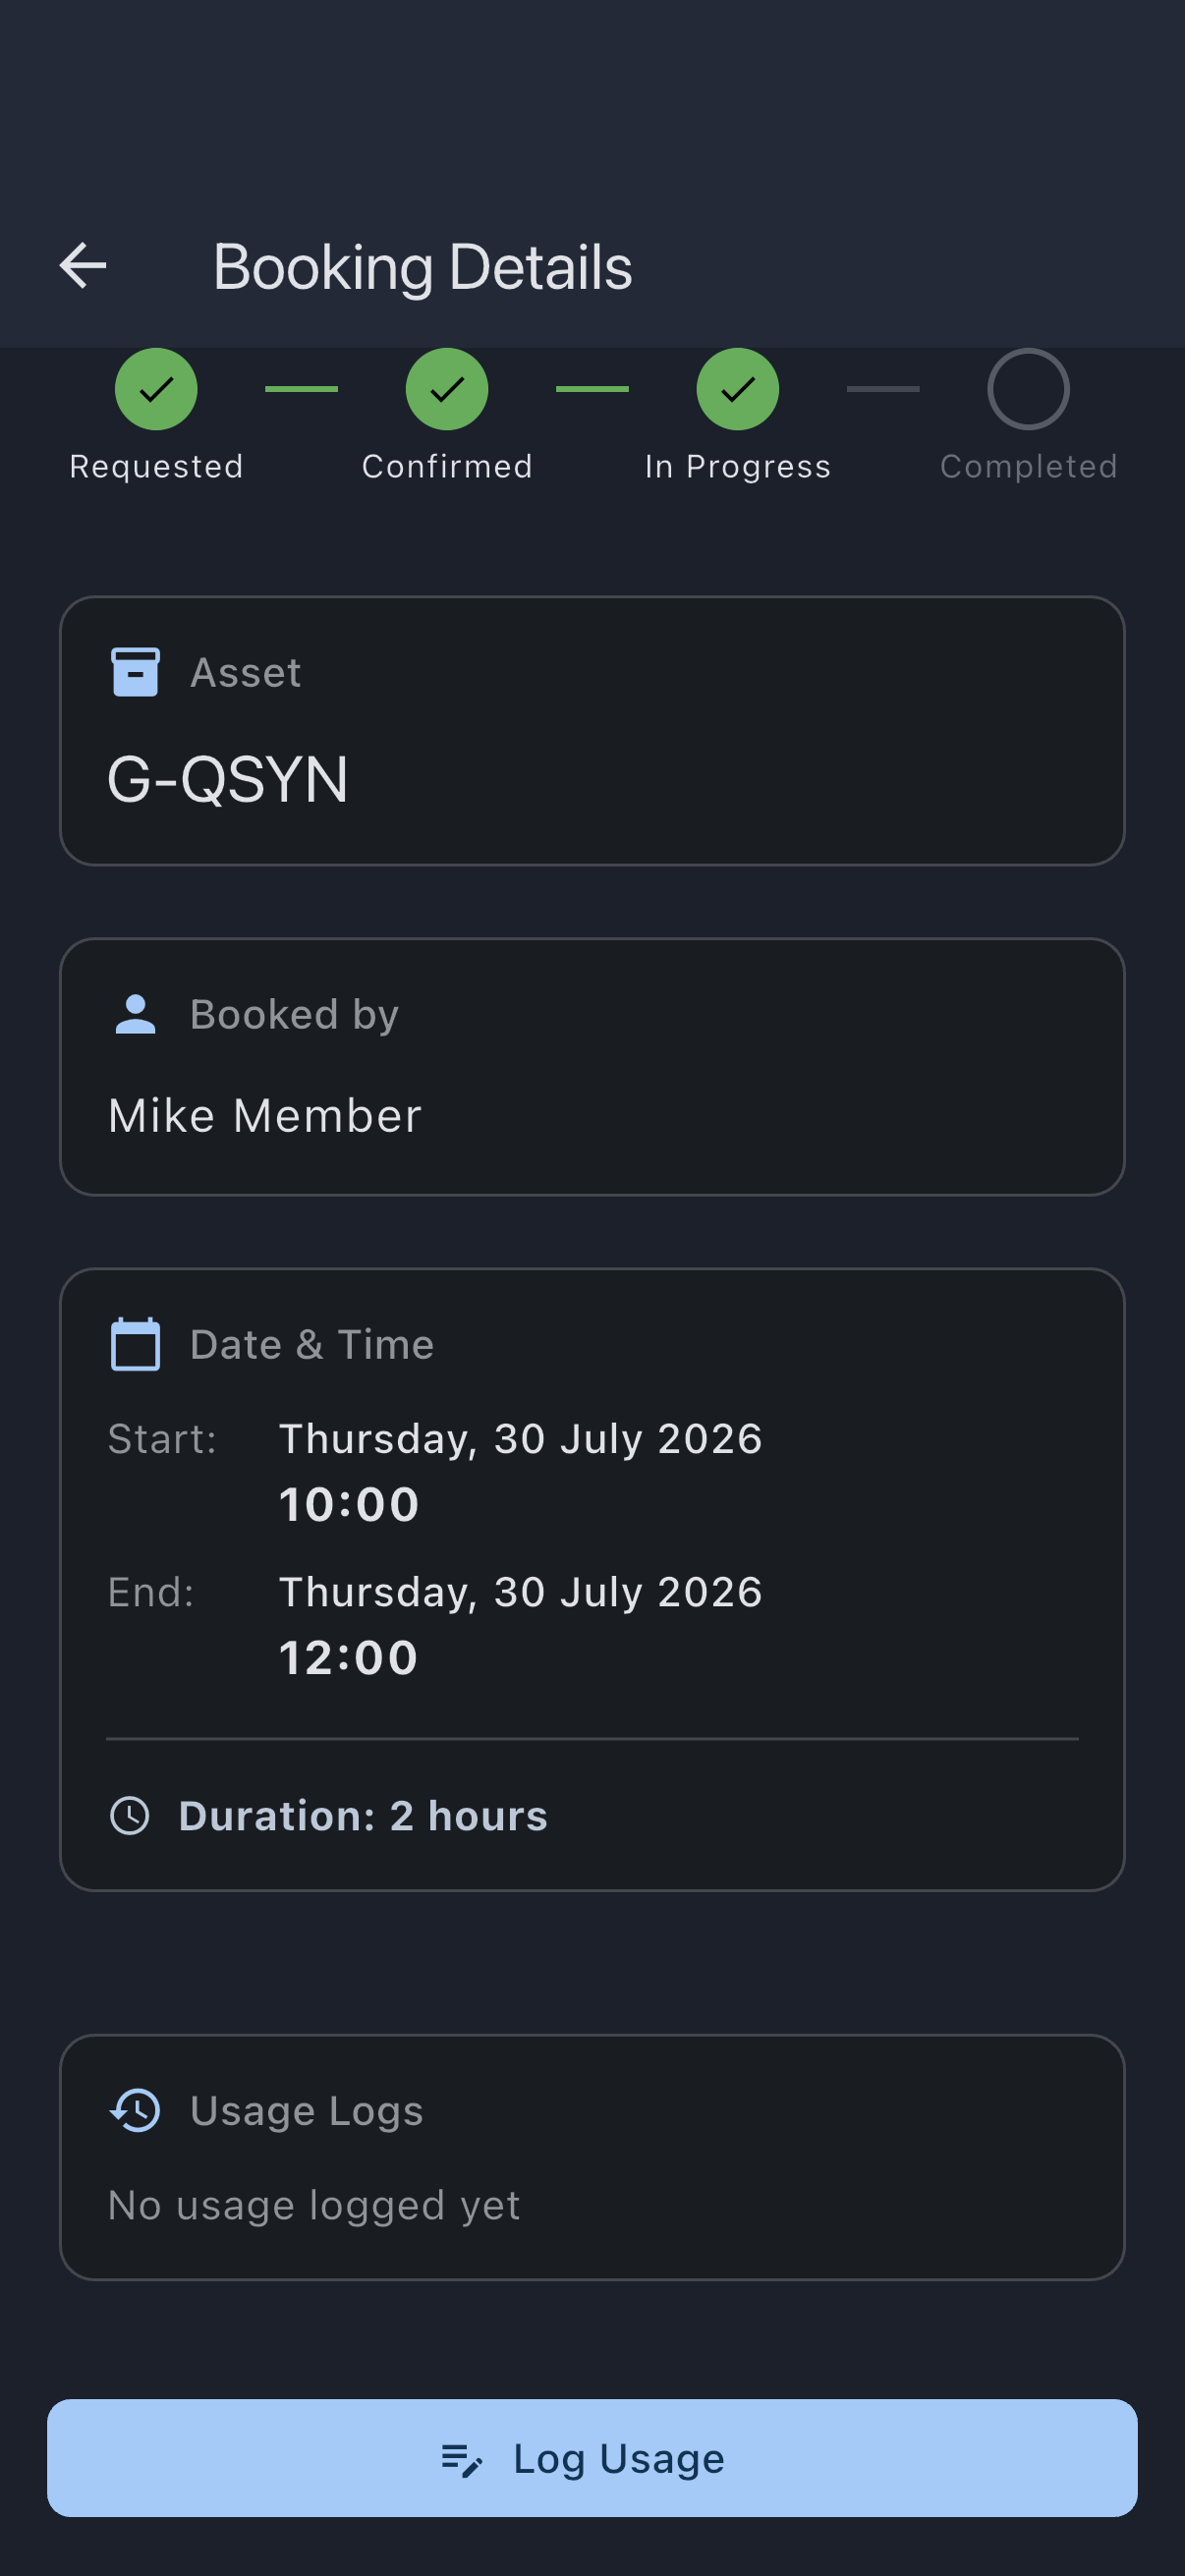
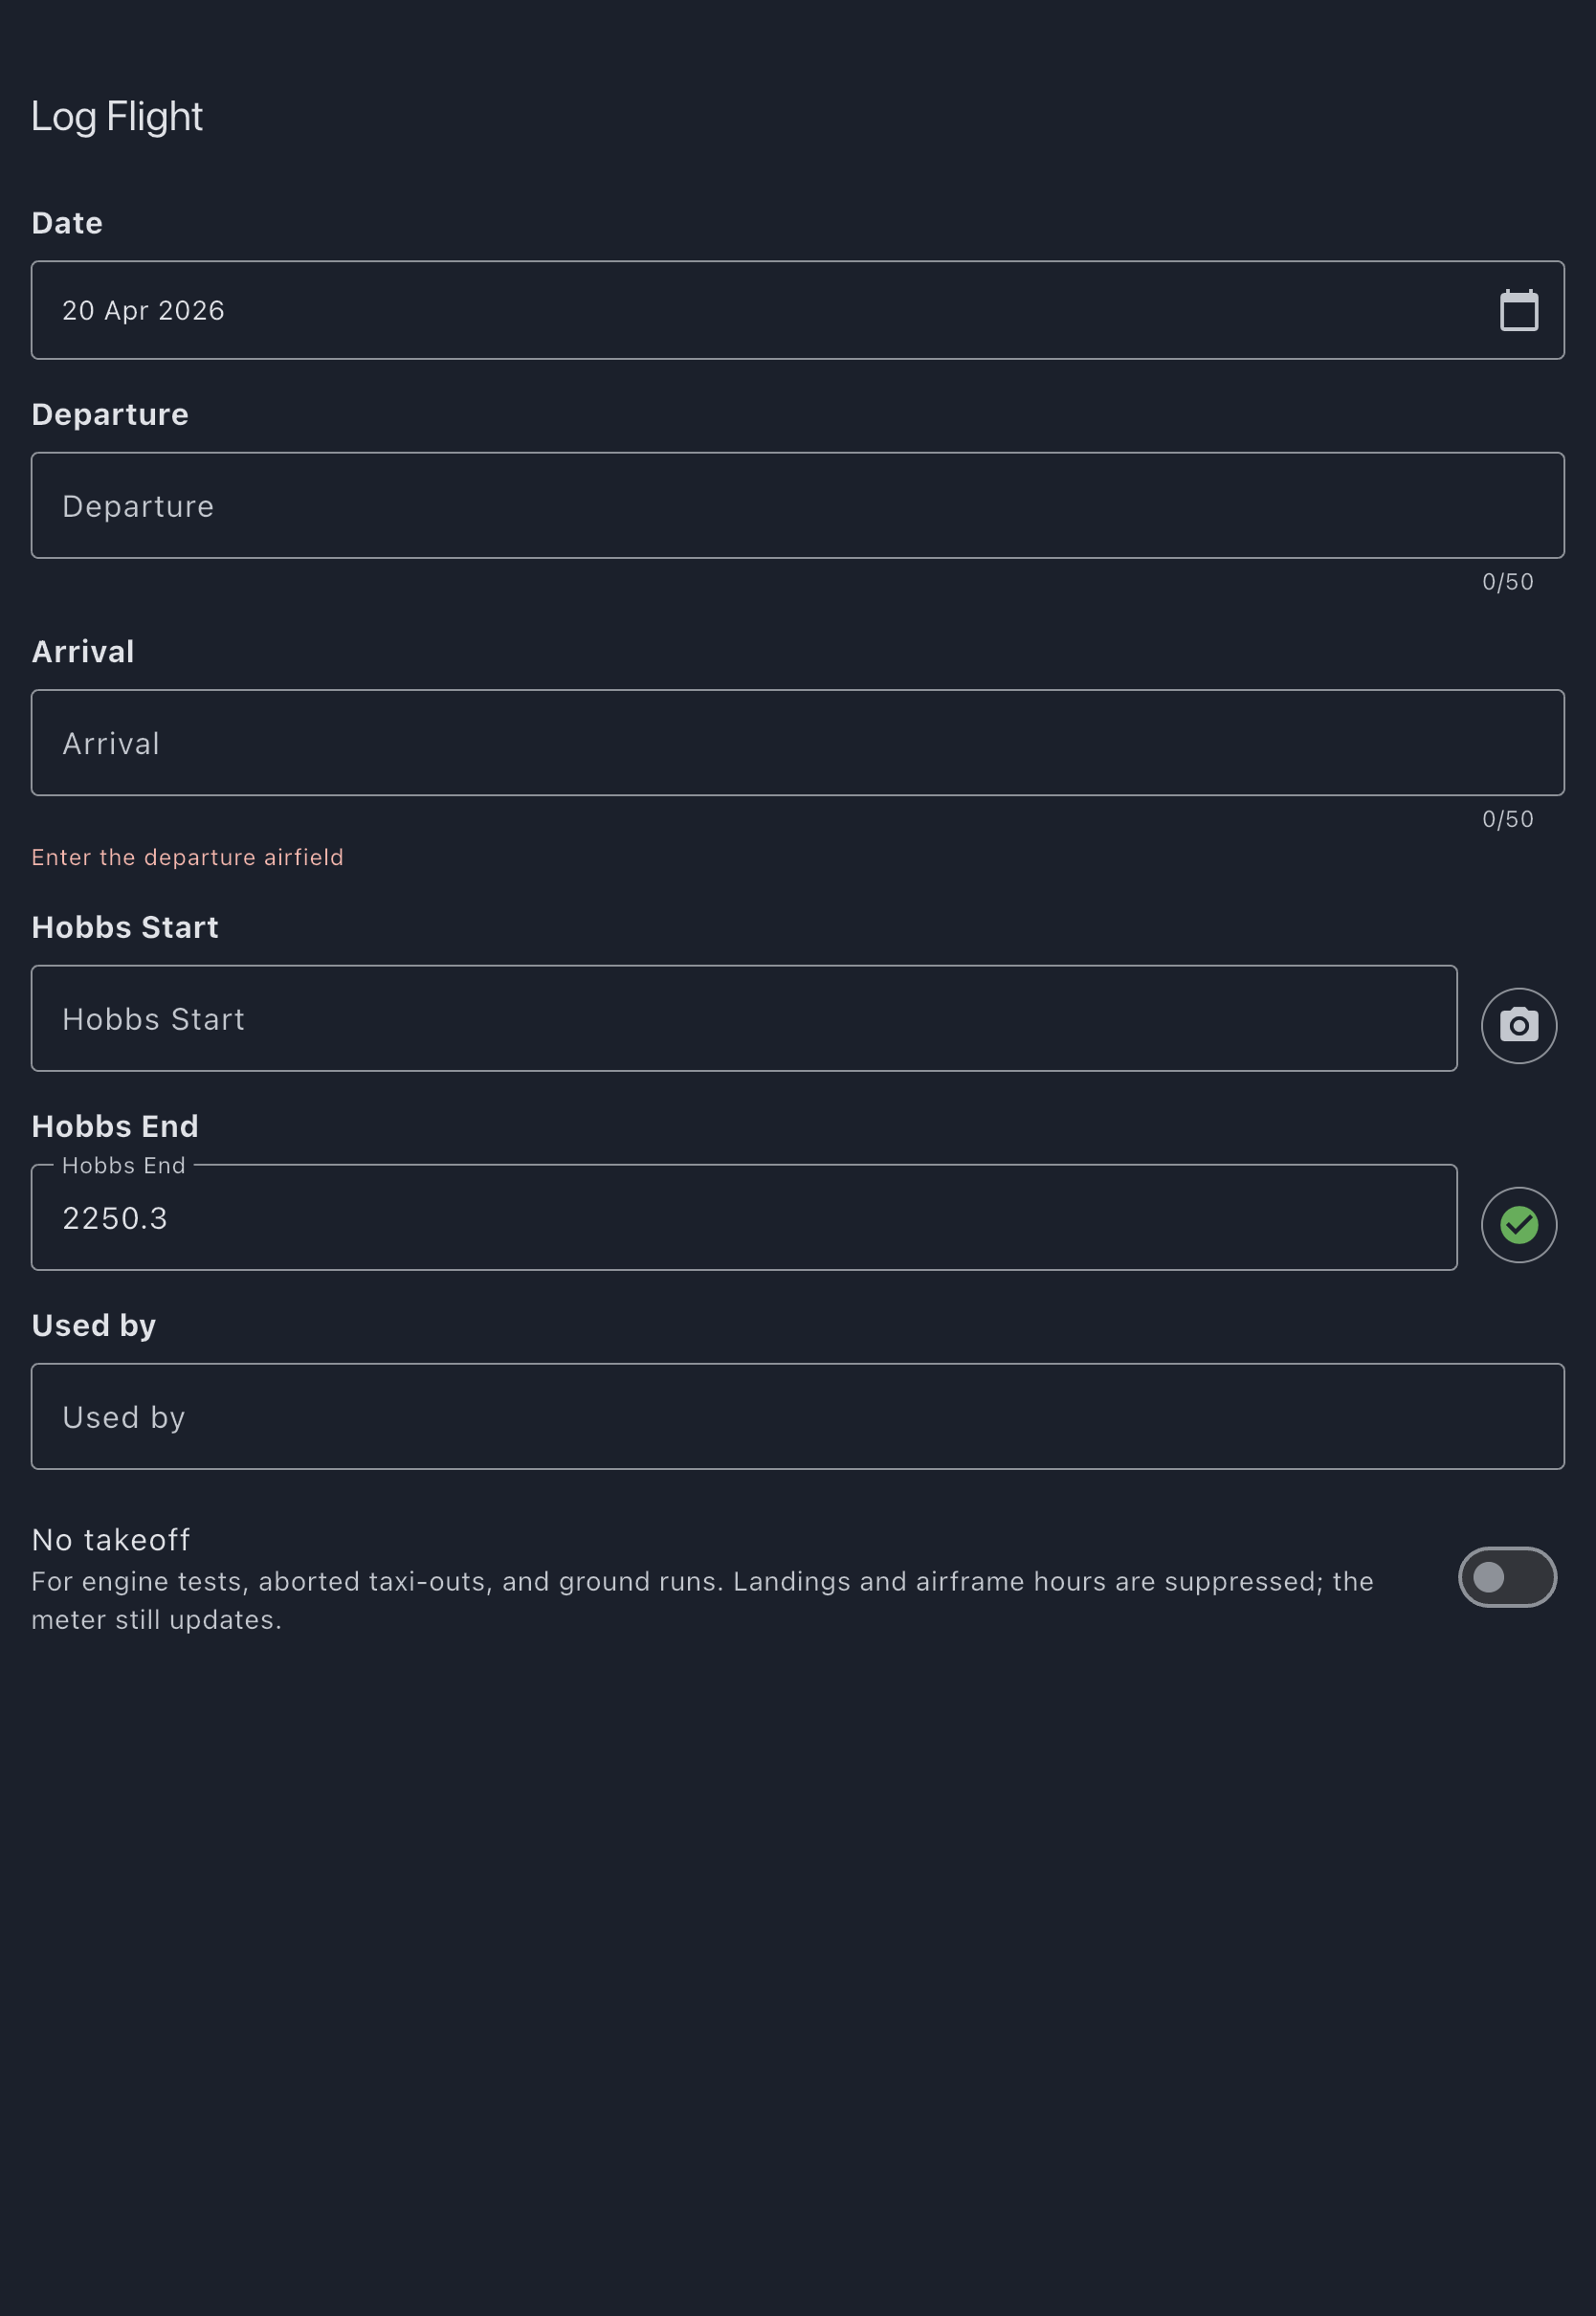
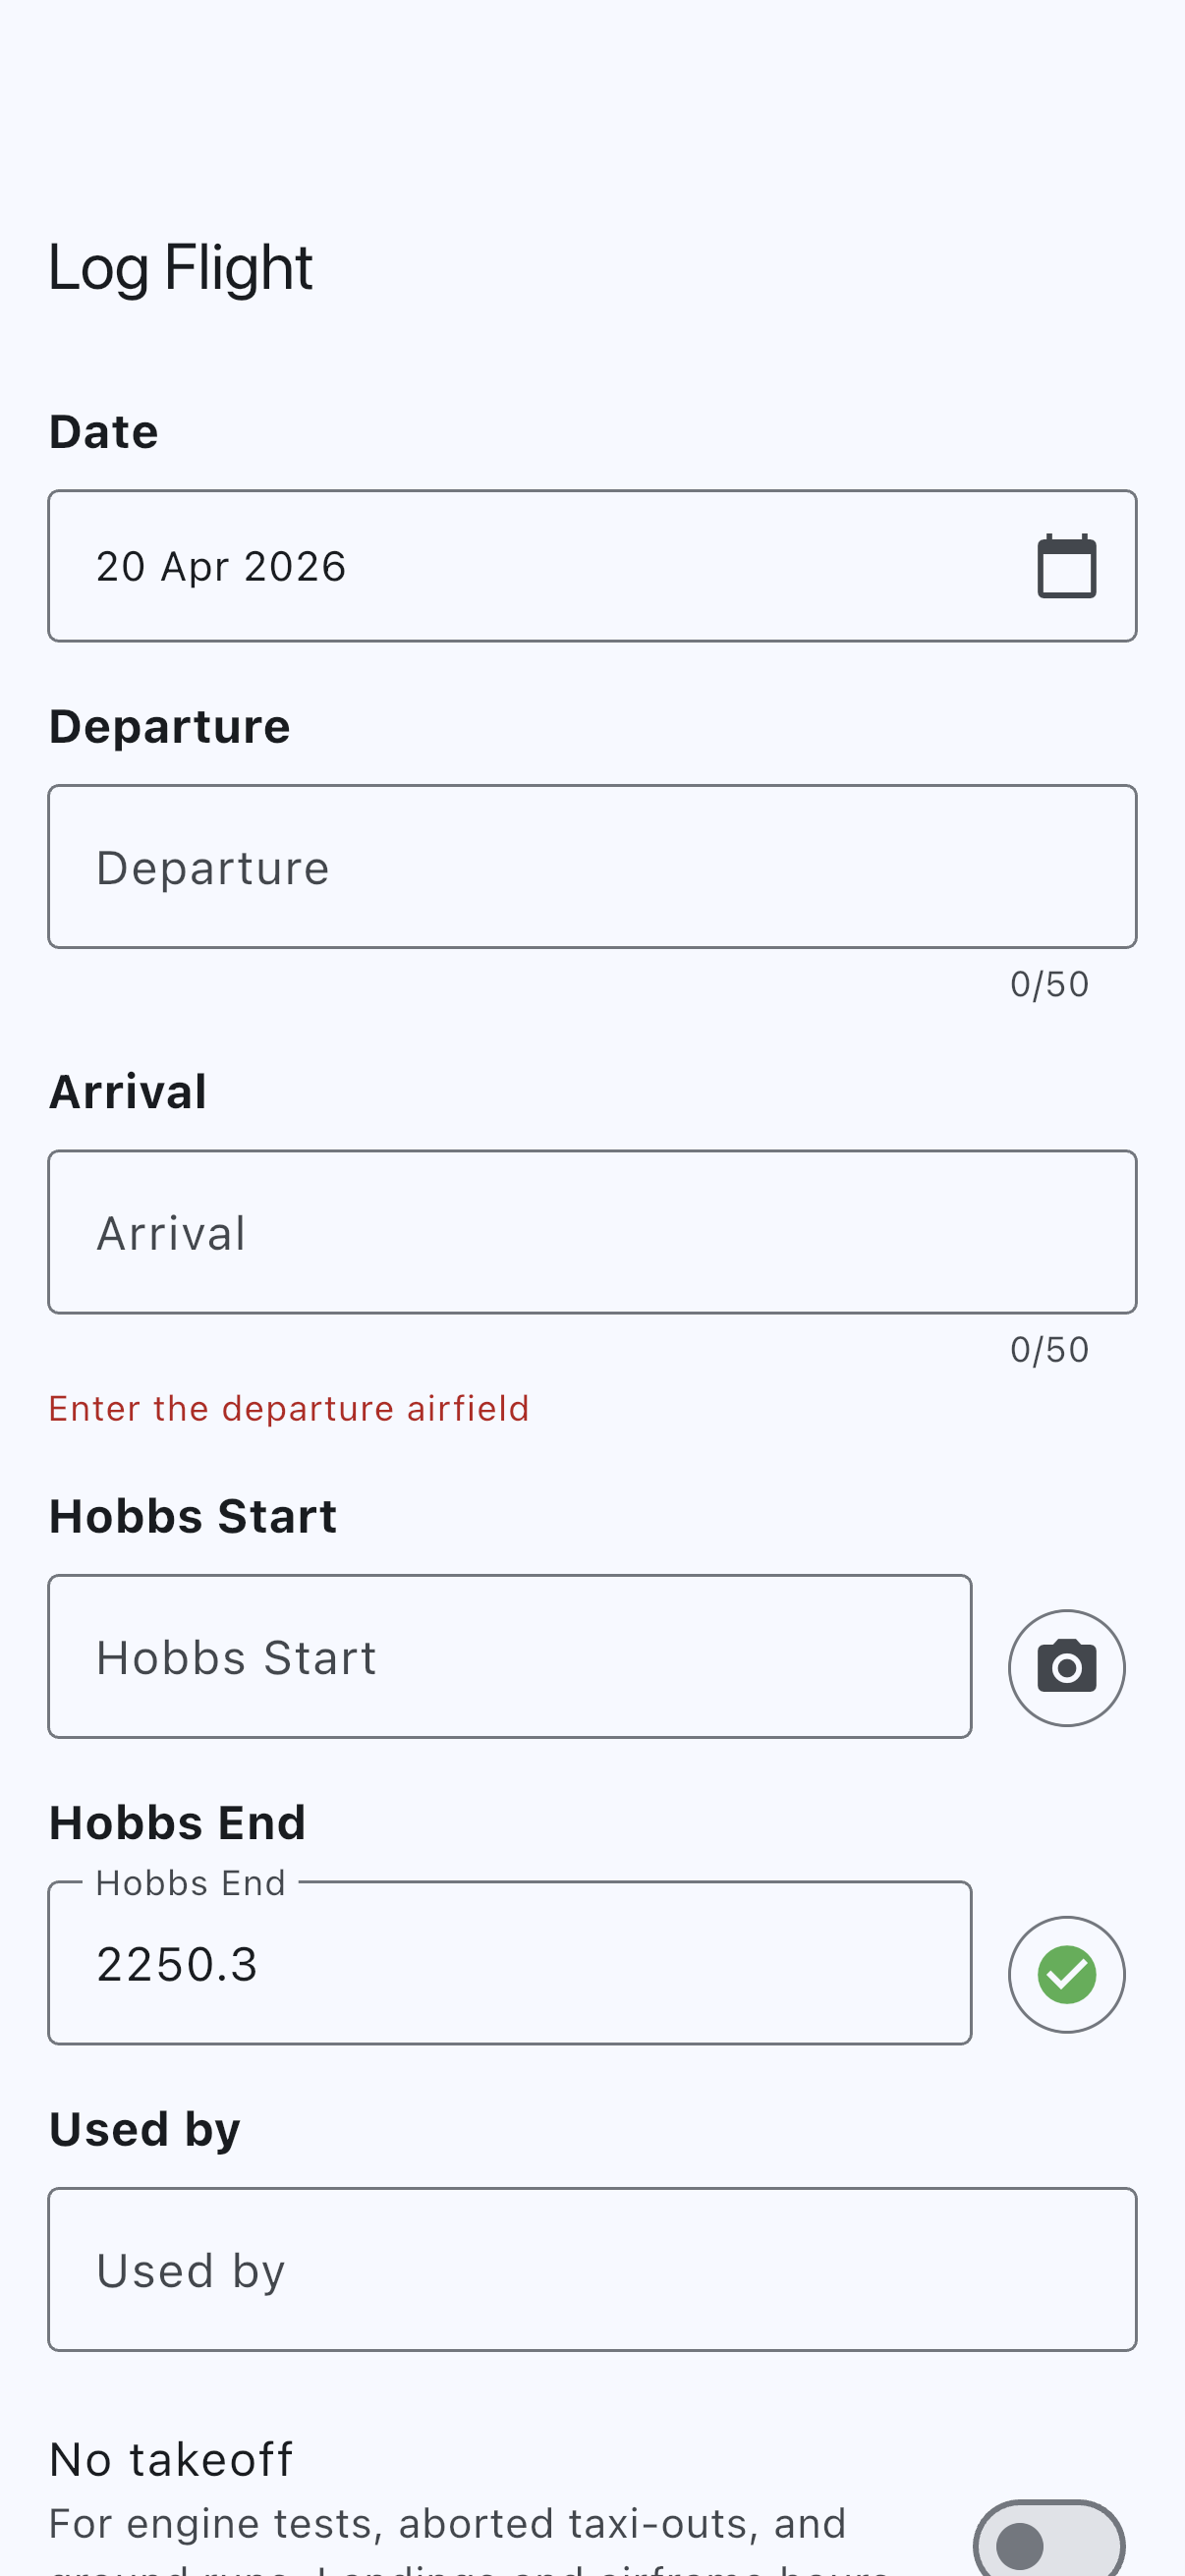
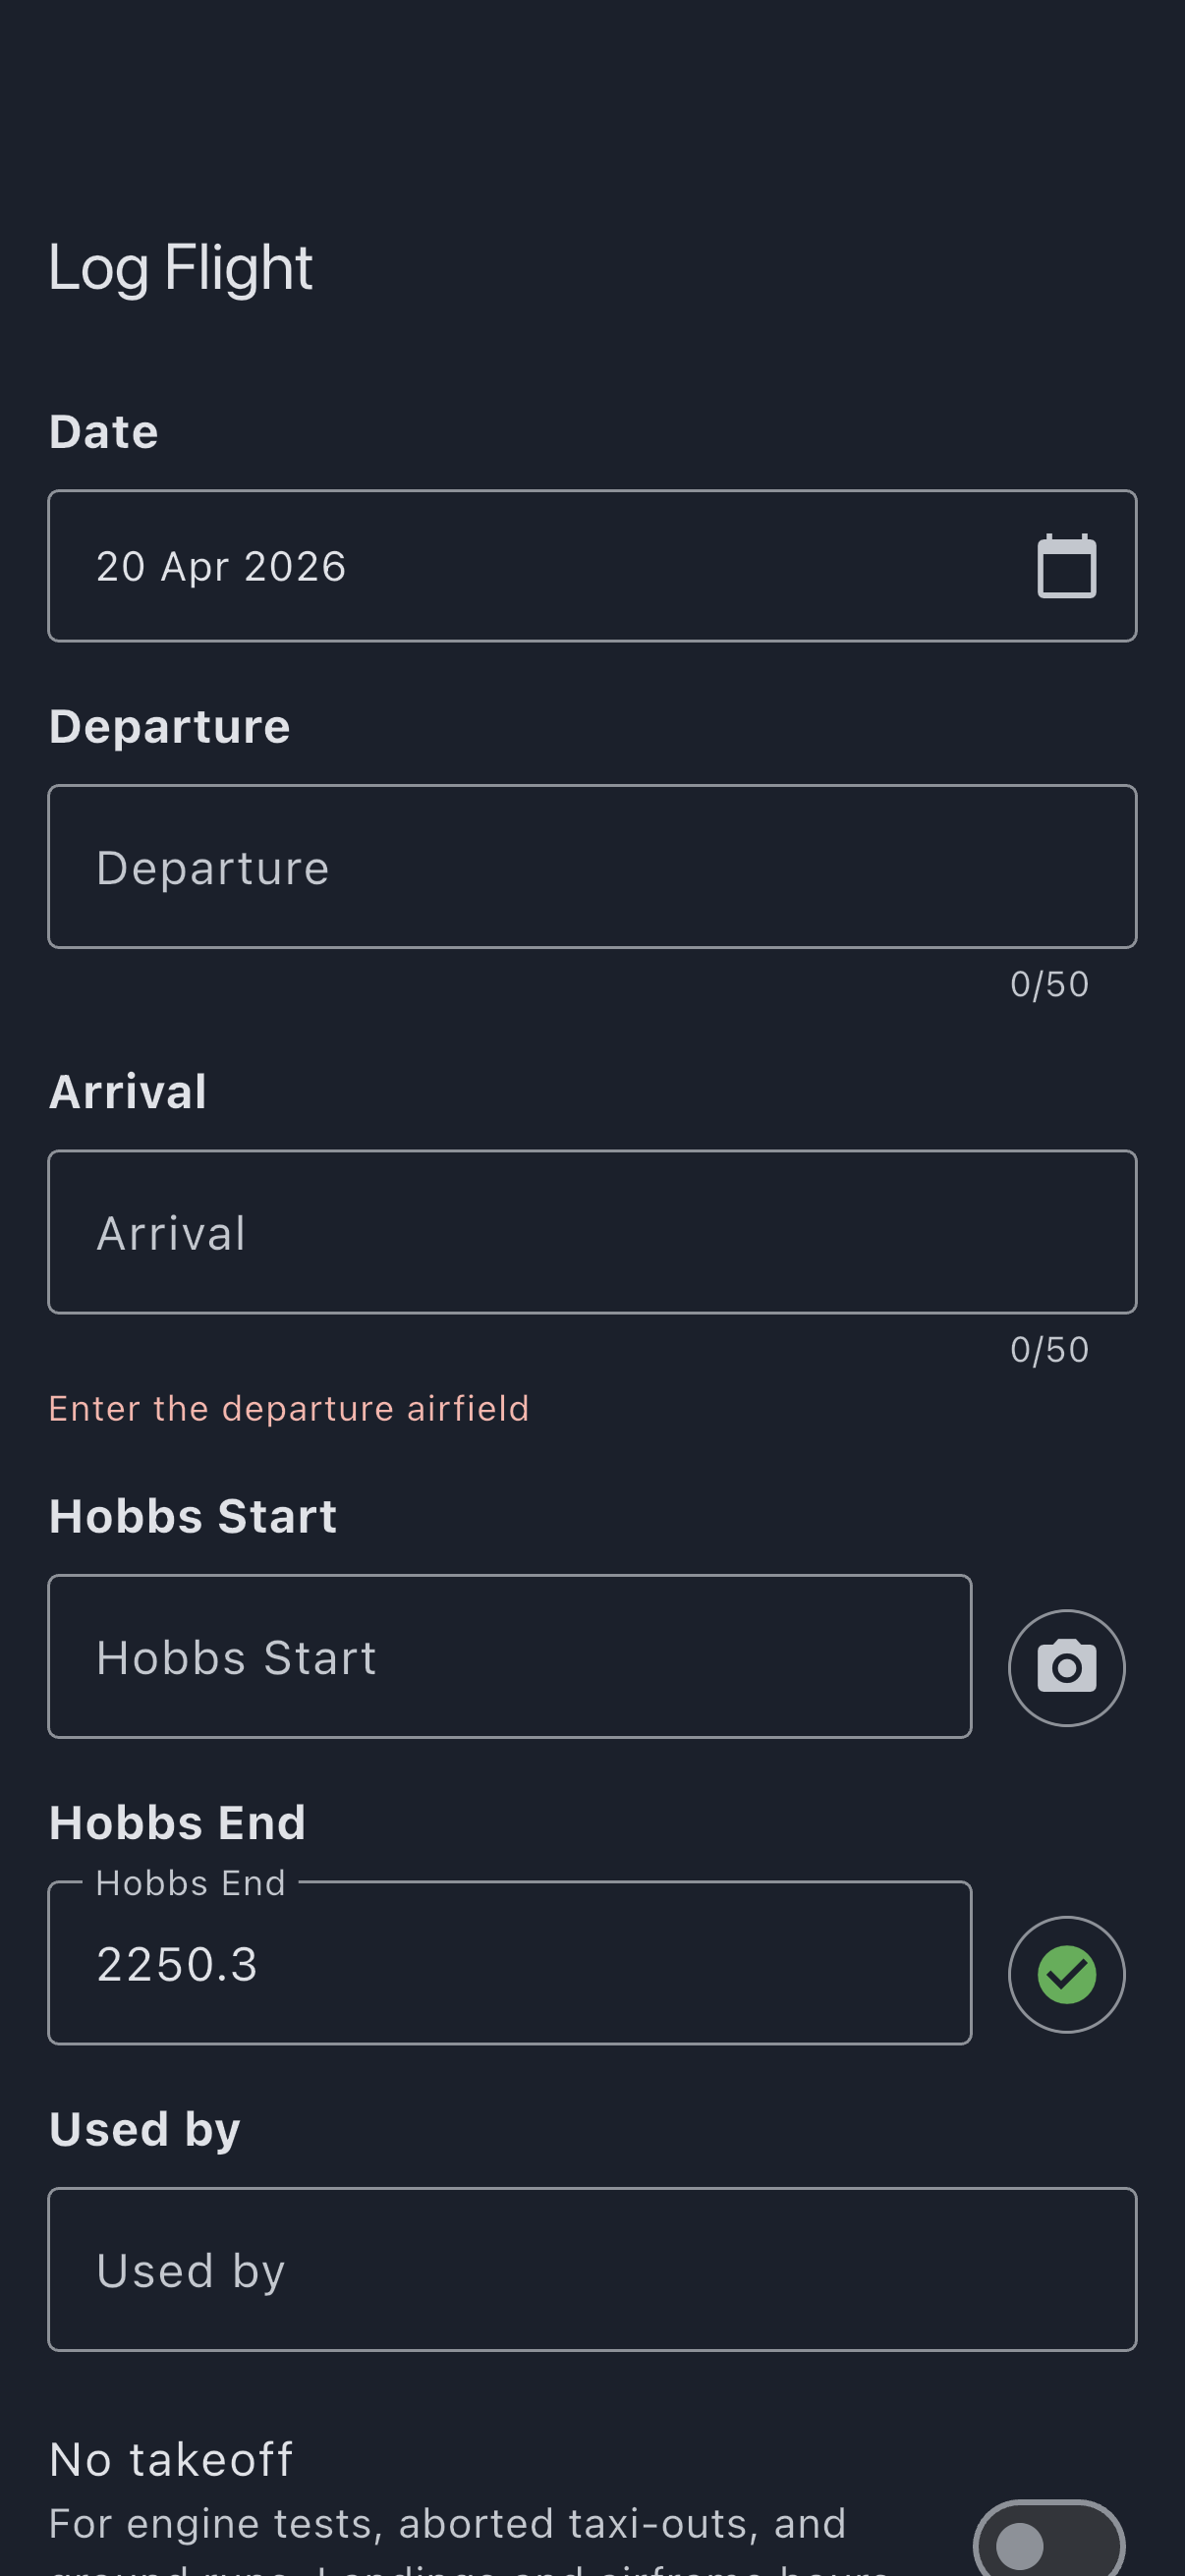
Tap it. The Log Flight form opens with fields for meter readings, landings, a pilot-in-command picker, departure and arrival airfields, and a notes box. If you came here from Quick Capture, it’s the same form with the readings, times, route and landings already filled in; check them and carry on down.
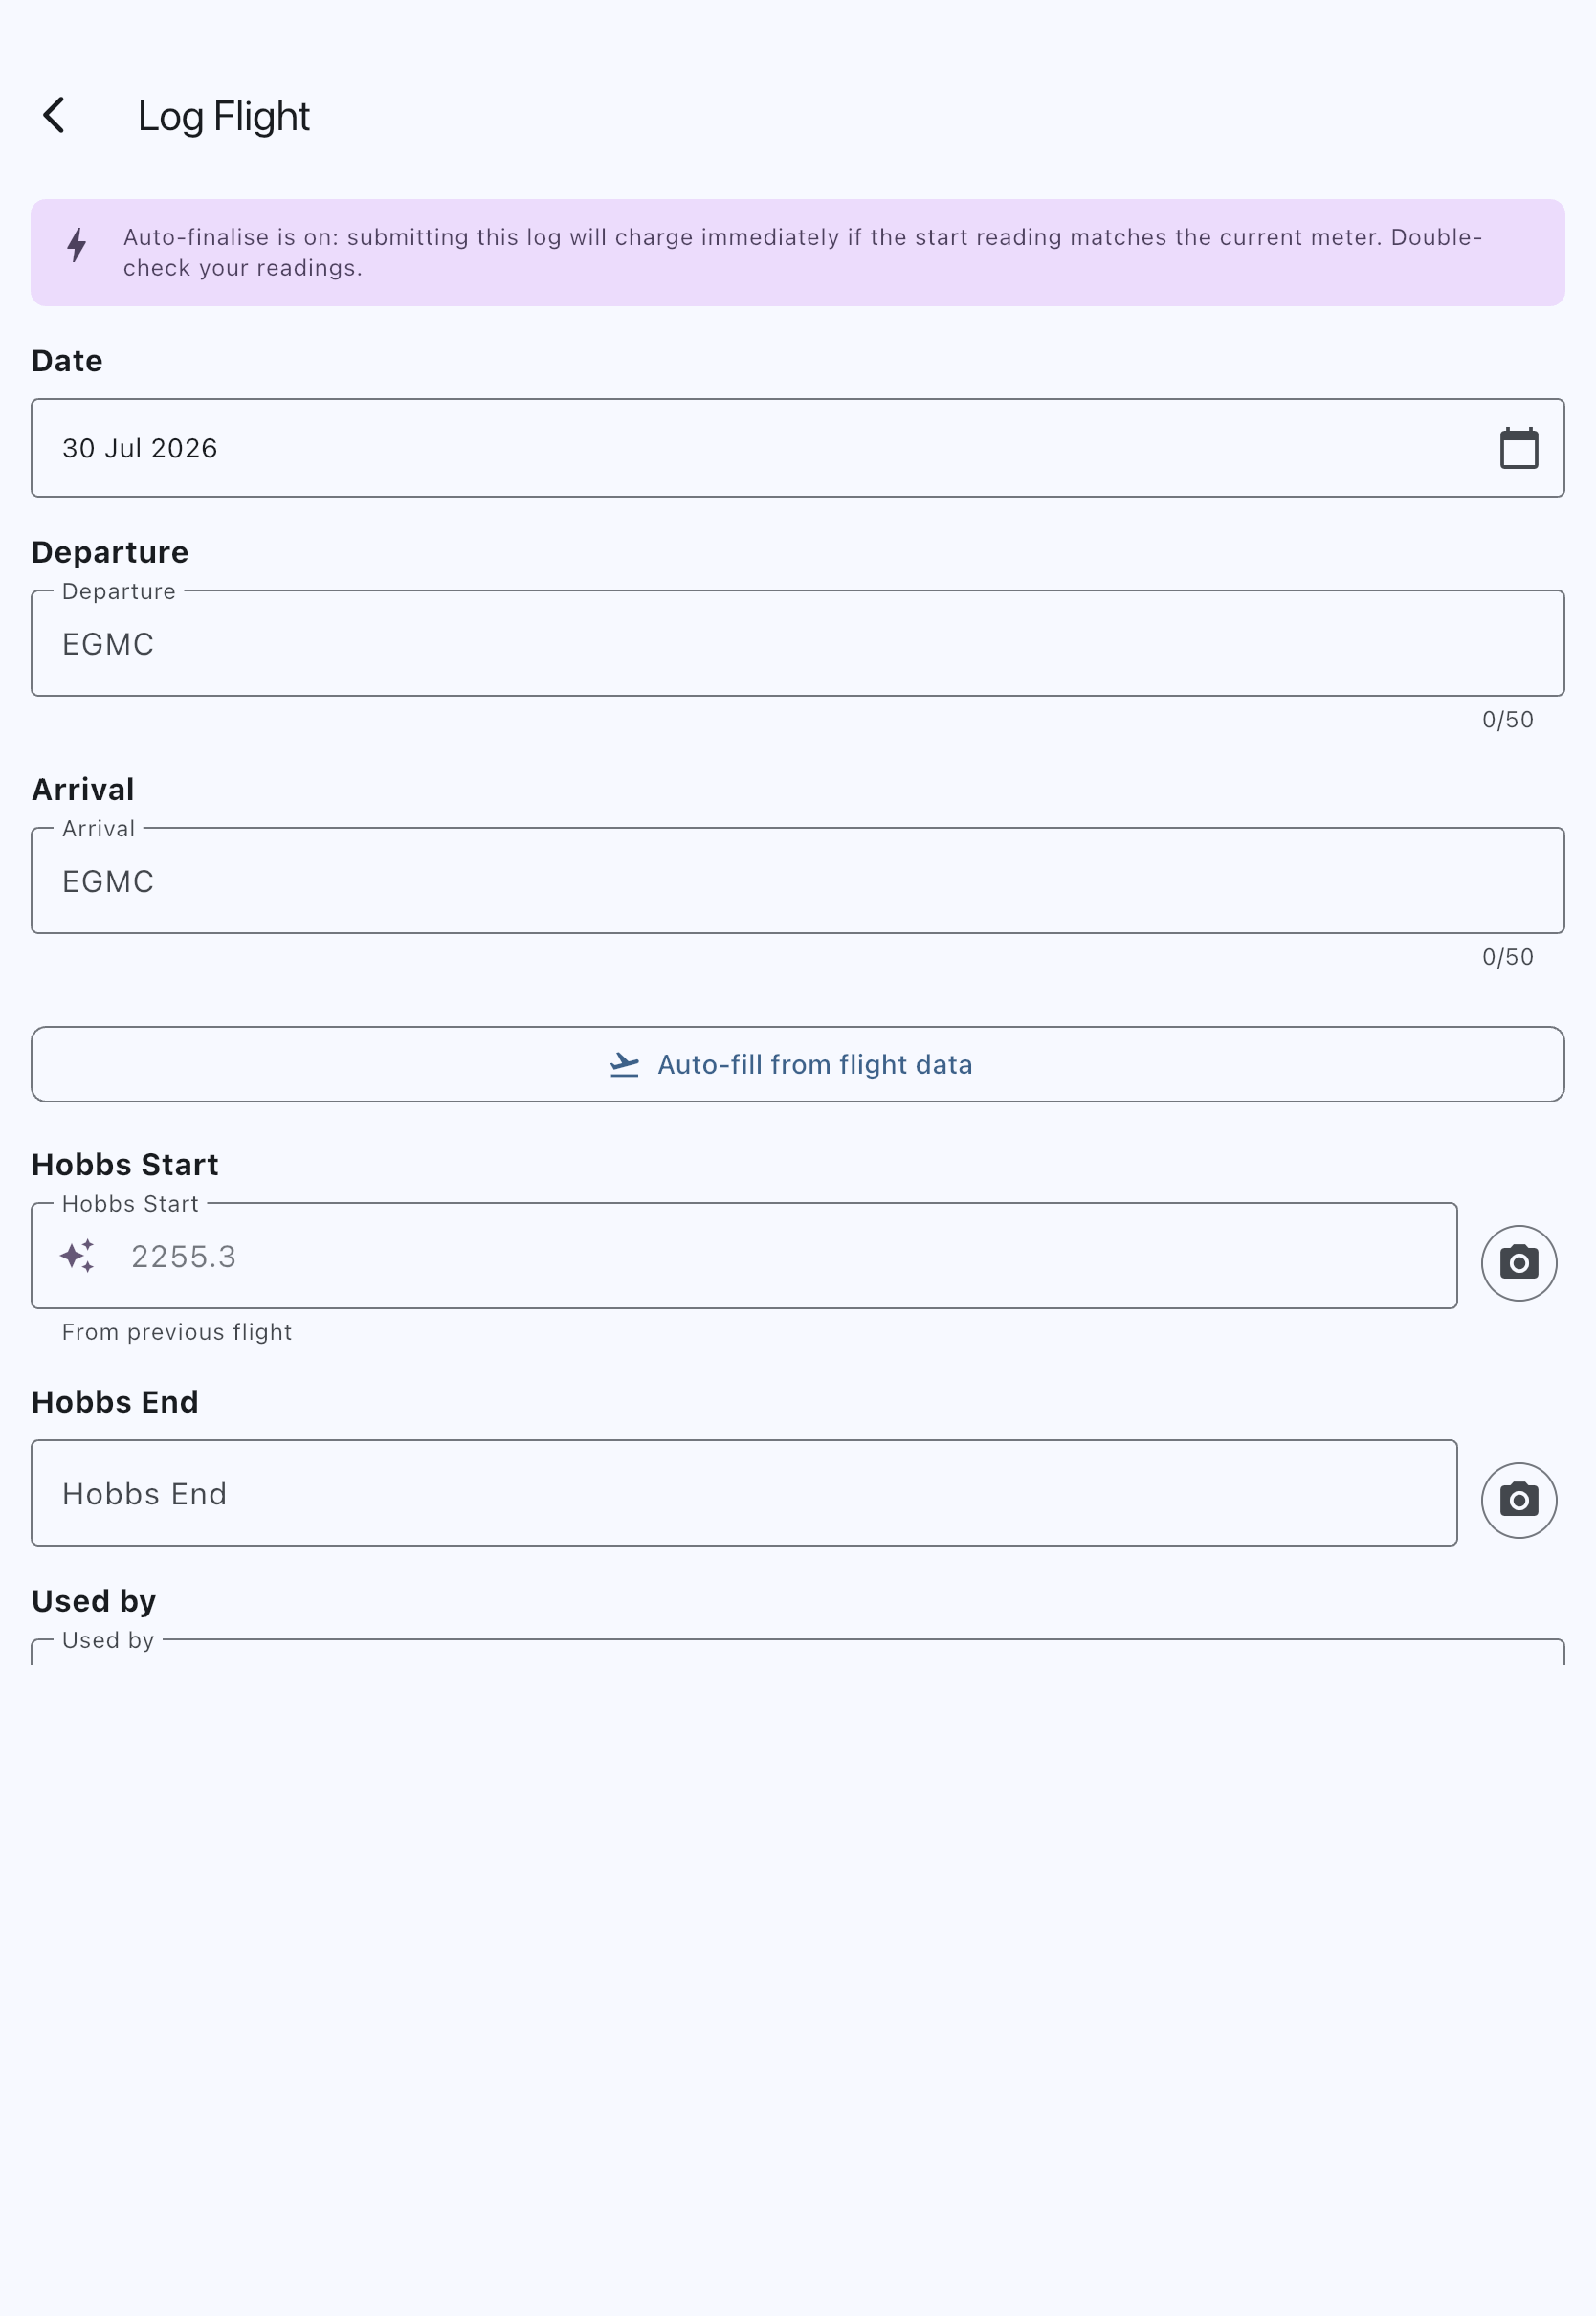
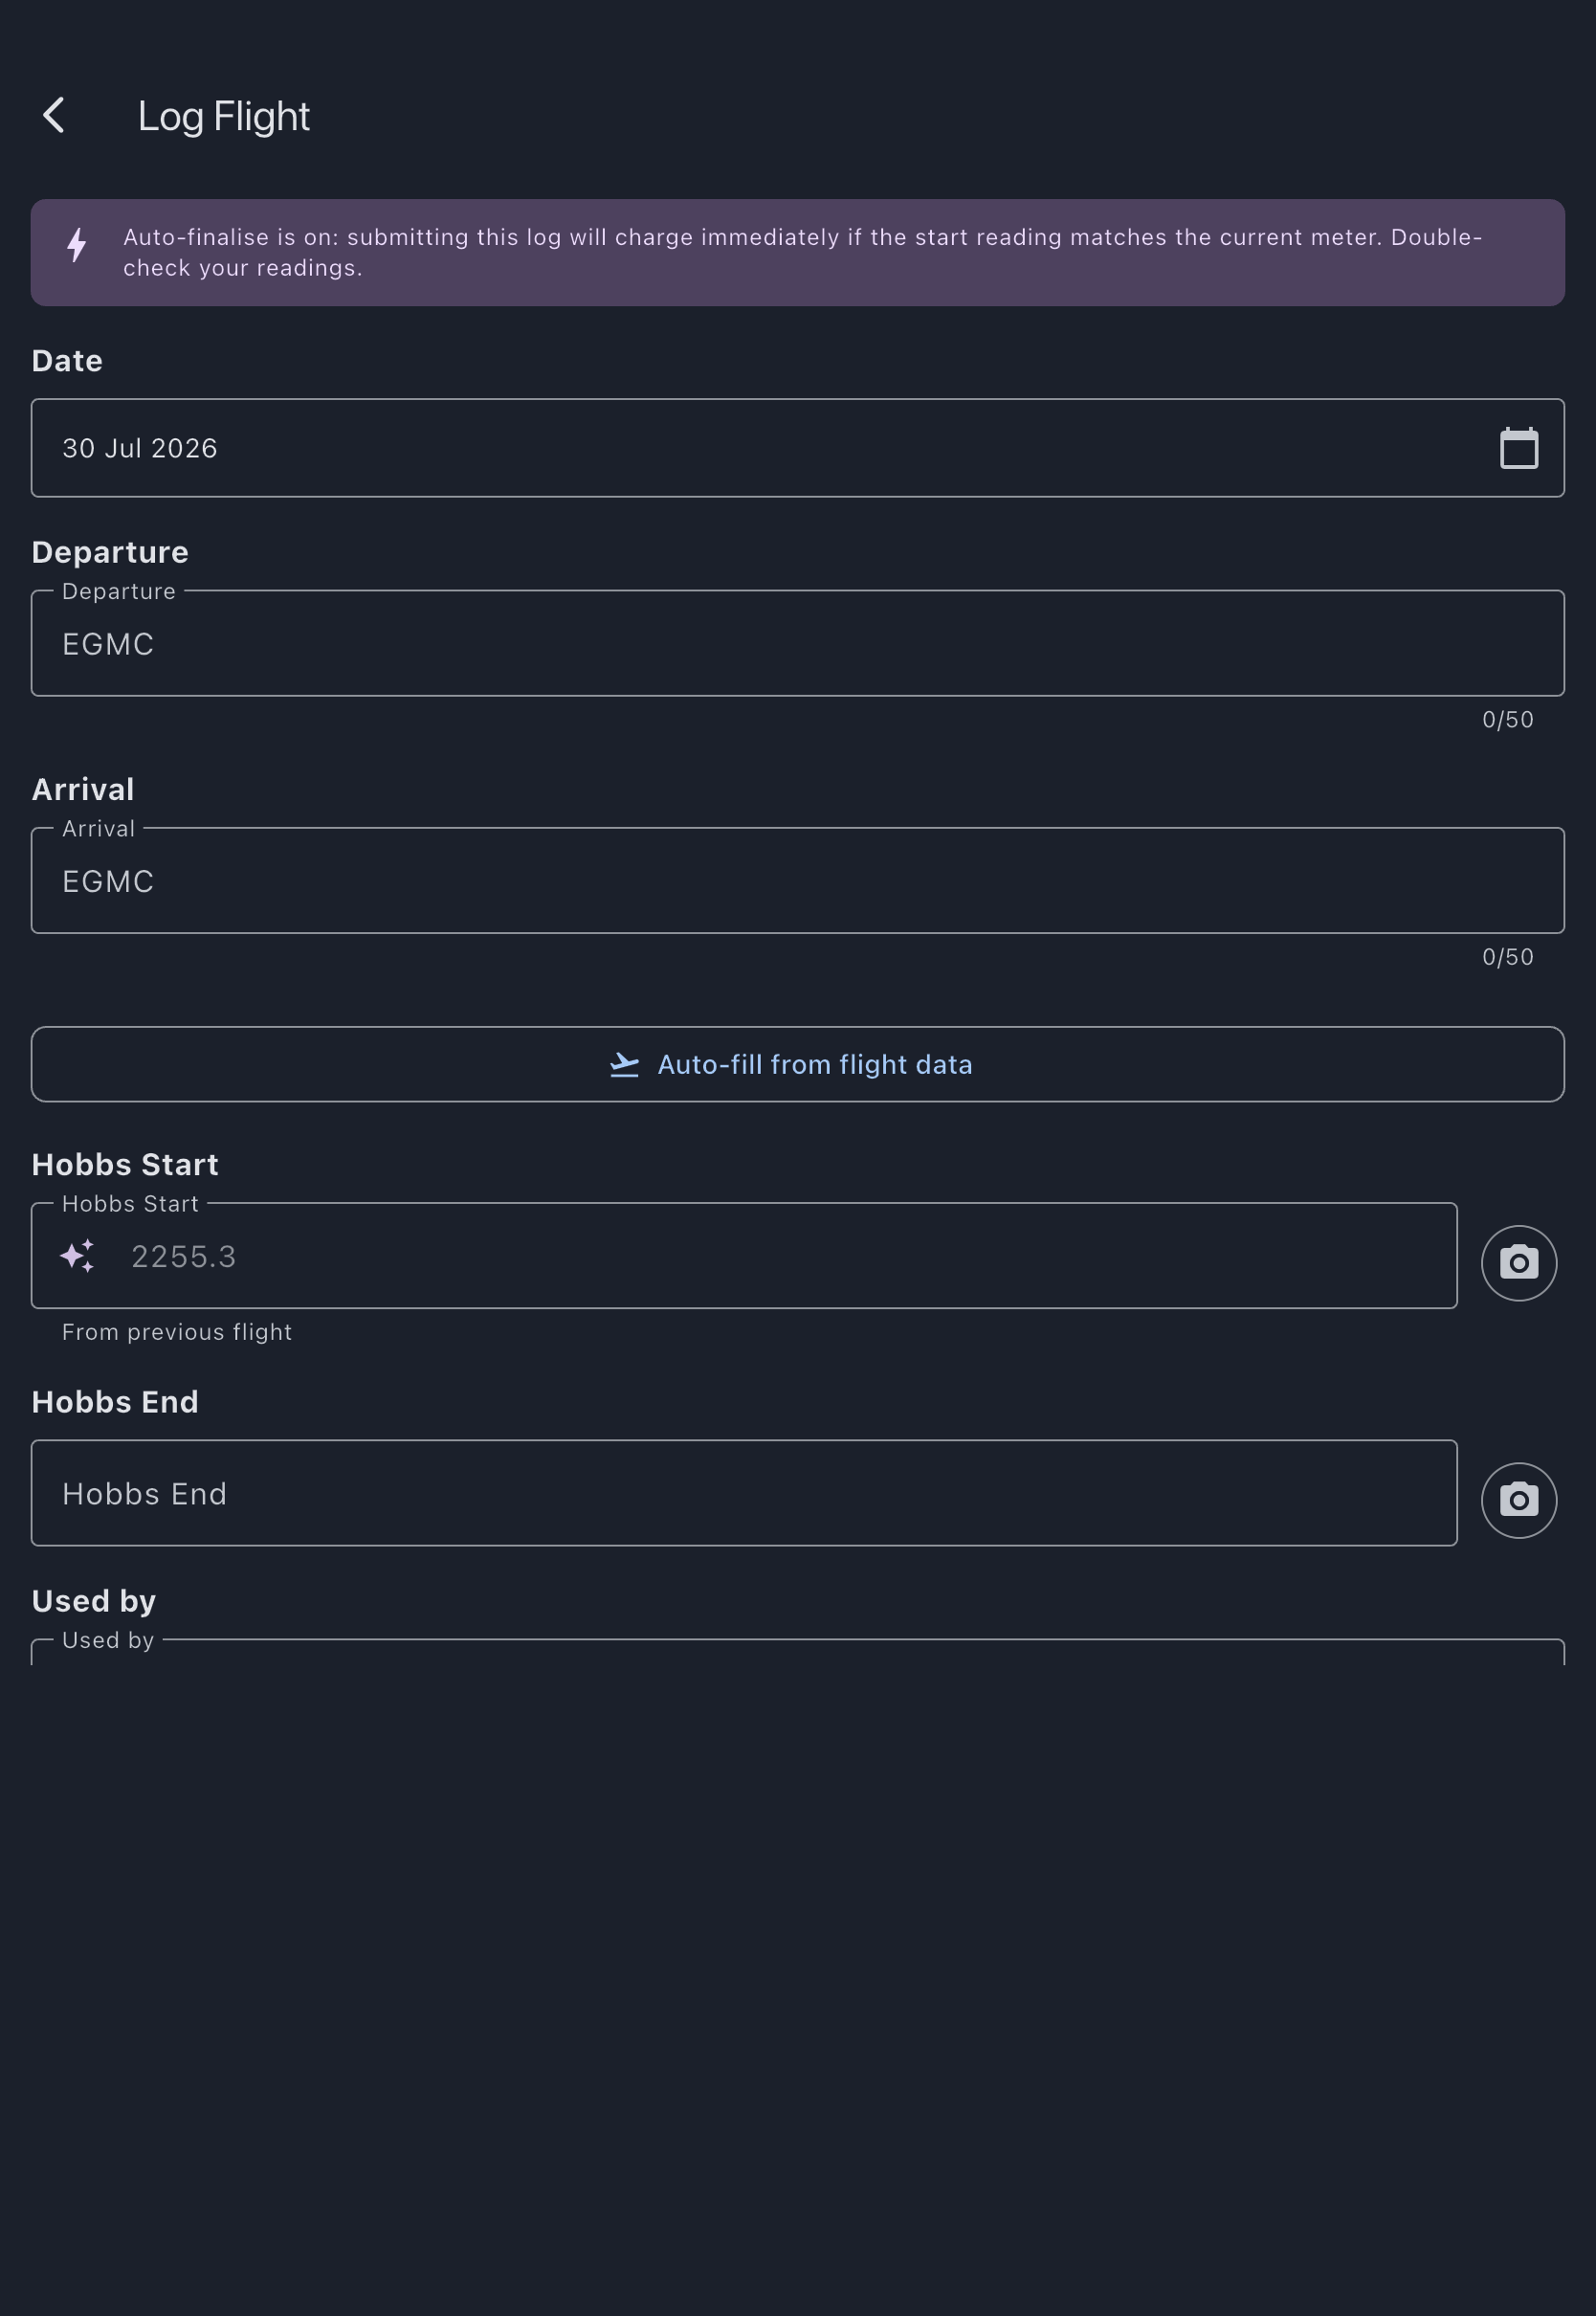
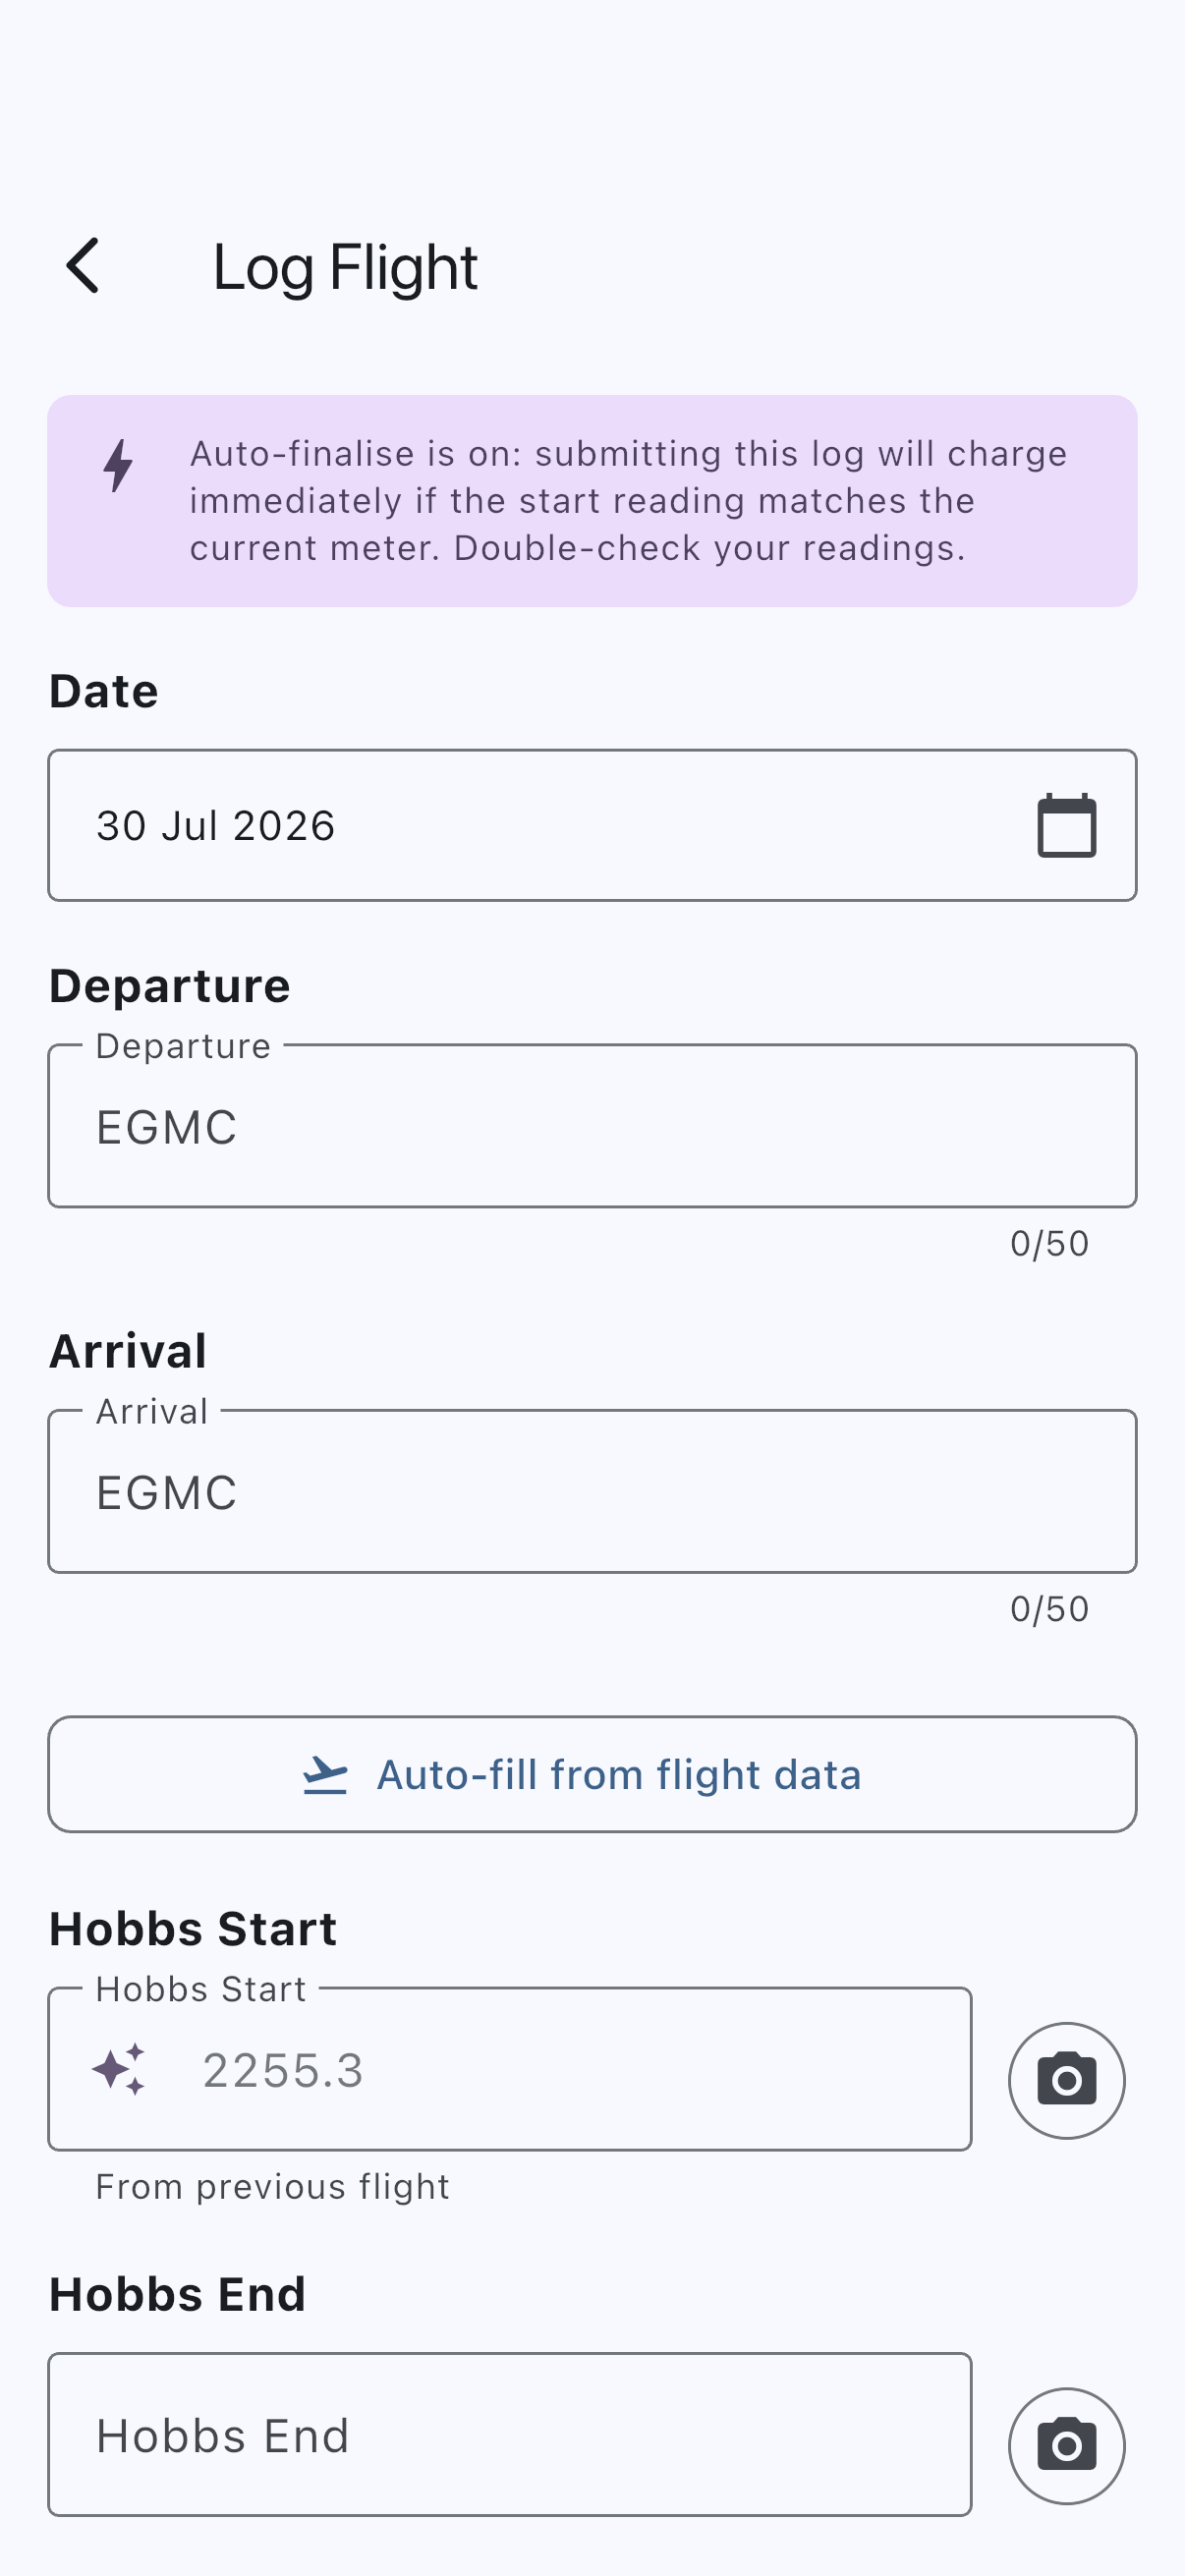
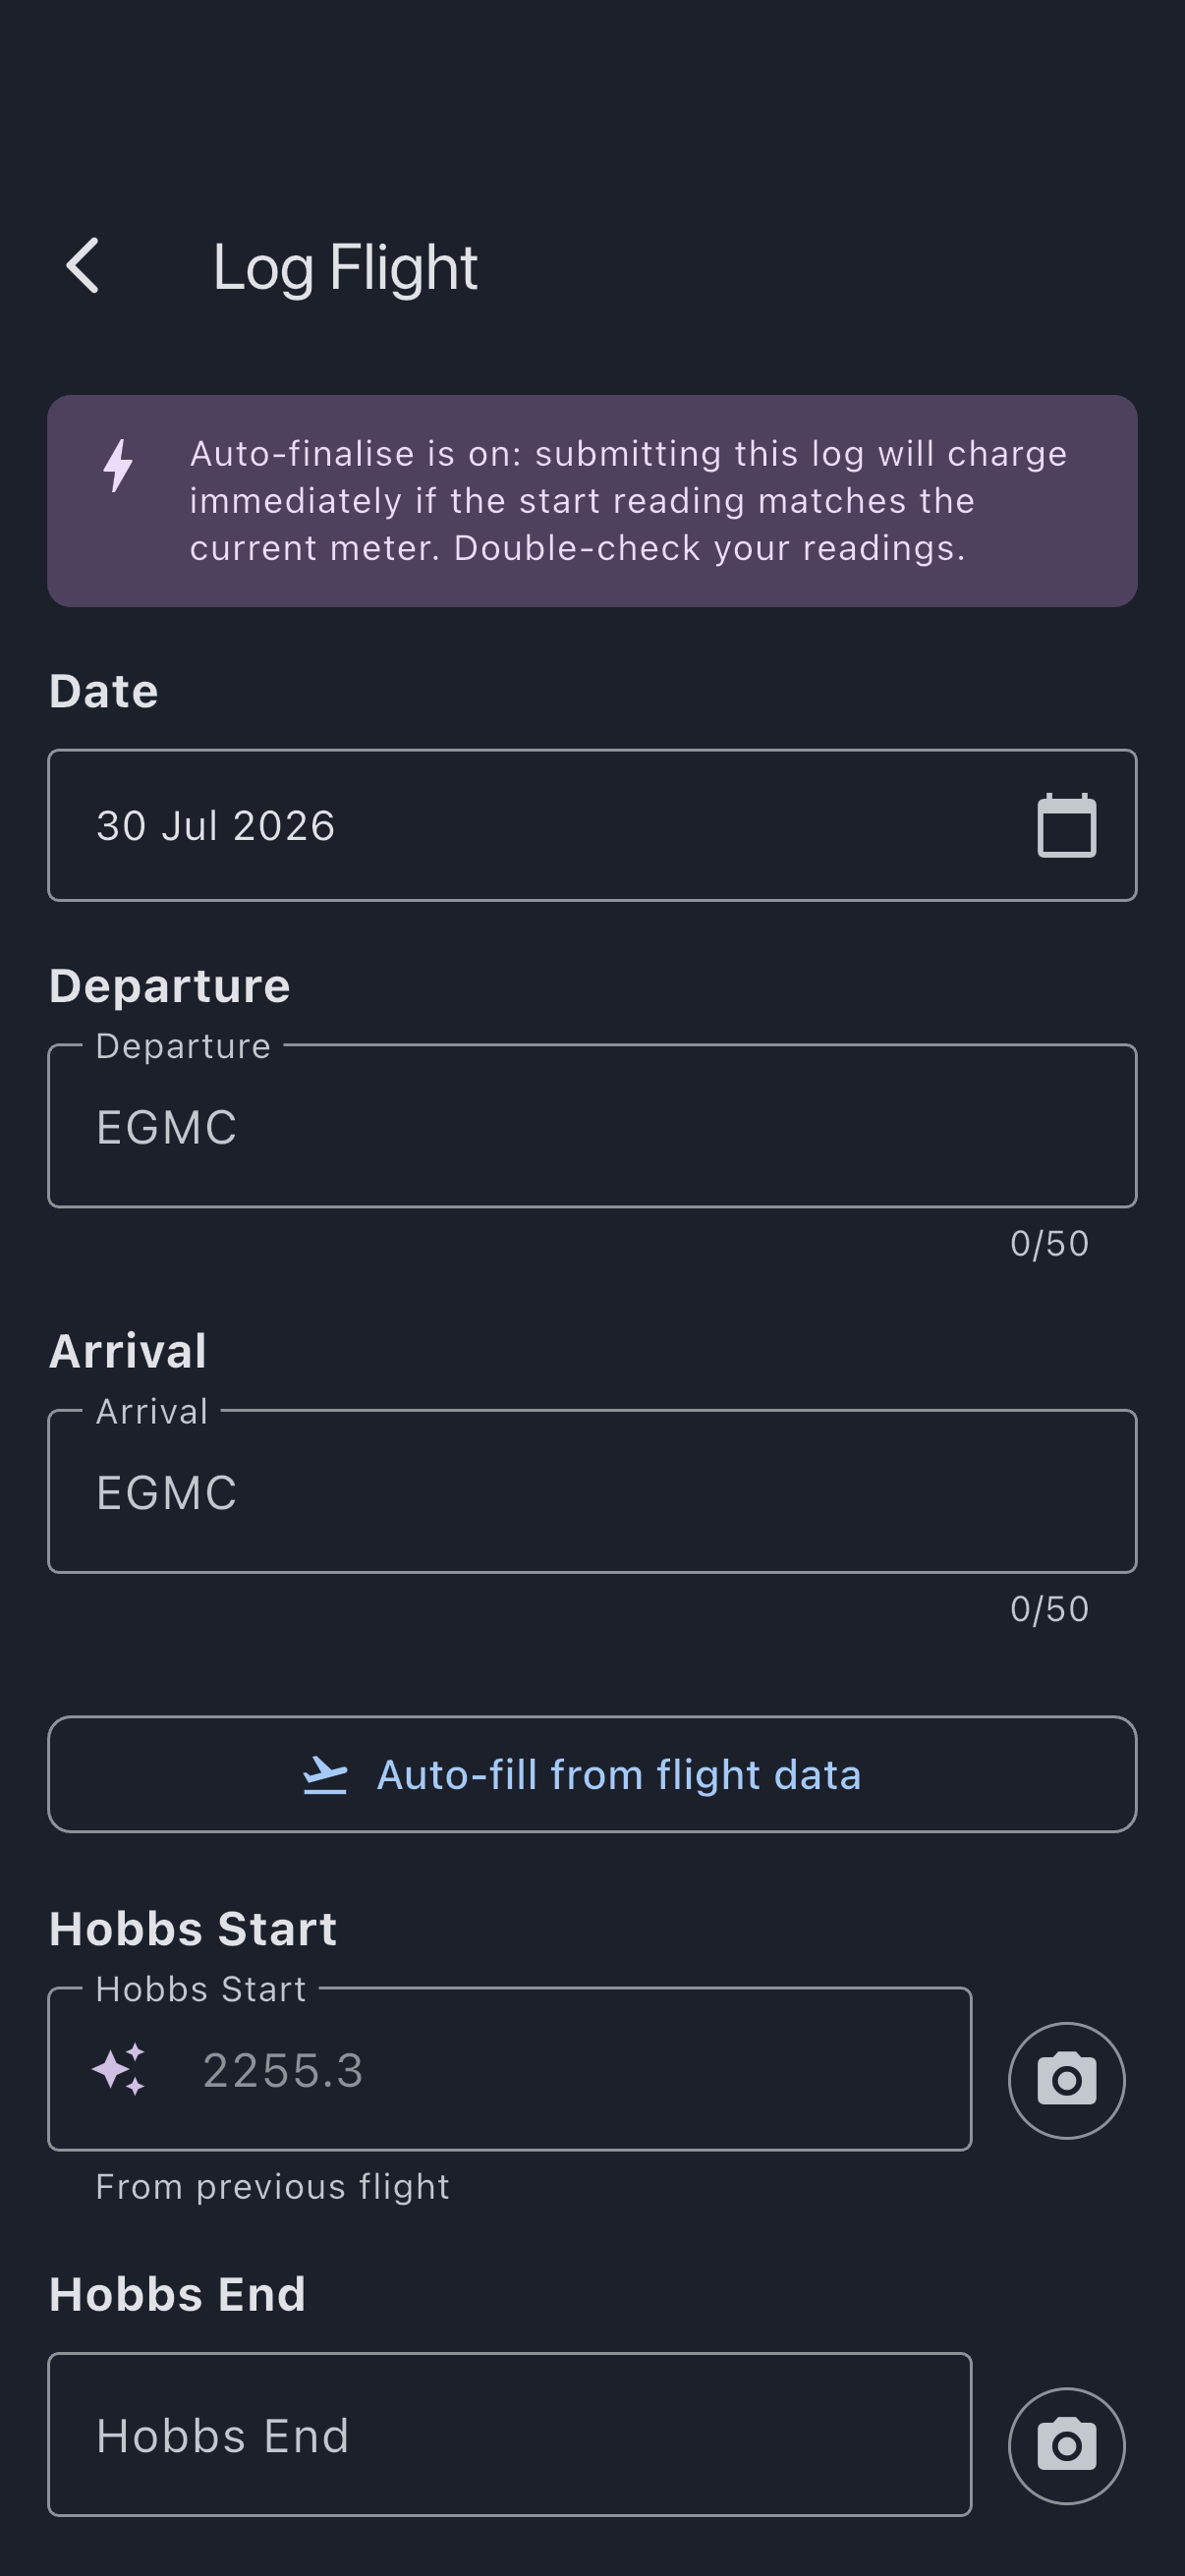
Work down the form. Don’t be put off by the length; most of the fields are either pre-filled, optional, or trivial.
- Date: today. Back-date it only if the flight happened earlier in the booking window.
- Hobbs Start: the Hobbs reading on the aircraft before you started the engine. It arrives pre-filled from the aircraft’s current reading; correct it if the drum said otherwise. Type the number as you’d read it on the drum:
1234.5. - Hobbs End: the reading after shutdown. It arrives pre-filled with the start reading less its last digit (
1234.5gives1234), so tap in and type the tail. It must be above the start: below is refused, and equal is refused too — the meter has to have moved. The form won’t save with the pre-fill left as it is. - Departure and Arrival: ICAO codes for where you took off and landed. Both are required for a flight. The arrival also decides whether home-airfield landing fees apply: land back at base and they do, land away and they don’t.
- Landings: the count. If you did three circuits, that’s three landings.
- Touch & Gos: separate from landings. A go-around isn’t a landing.
- Pilot in Command: pick yourself from the member list, or type a name if the PIC was a guest.
- Notes: anything else worth remembering. “Trim runaway on approach” belongs here too, alongside the squawk.
- Any defects?: the last thing on the form, below Notes and the cost estimate, a “No known defects” / “Report a defect” choice appears for every aircraft flight that took off. You must pick one before the form will save. Choosing “Report a defect” opens the squawk form after the log is saved.
The header of the Log Flight form shows a live read-out: “Billed on Hobbs time” and, once you’ve got both meter values in, a computed duration. That’s the charge the treasurer will see when they finalise, with no surprises. This read-out belongs to the Log Flight form; Quick Capture’s two steps don’t show it, which is one reason Quick Capture hands you the form for a last look before saving.
Step 4: Photograph the meter
Section titled “Step 4: Photograph the meter”Next to each meter field sits a small camera icon. Hold it for a moment and it tells you what it is for: Photograph the meter, framing just the one dial. Tap the one next to Hobbs End. (Quick Capture’s second step has the same icon beside its end meter, and a photo taken there arrives on the form with everything else.)
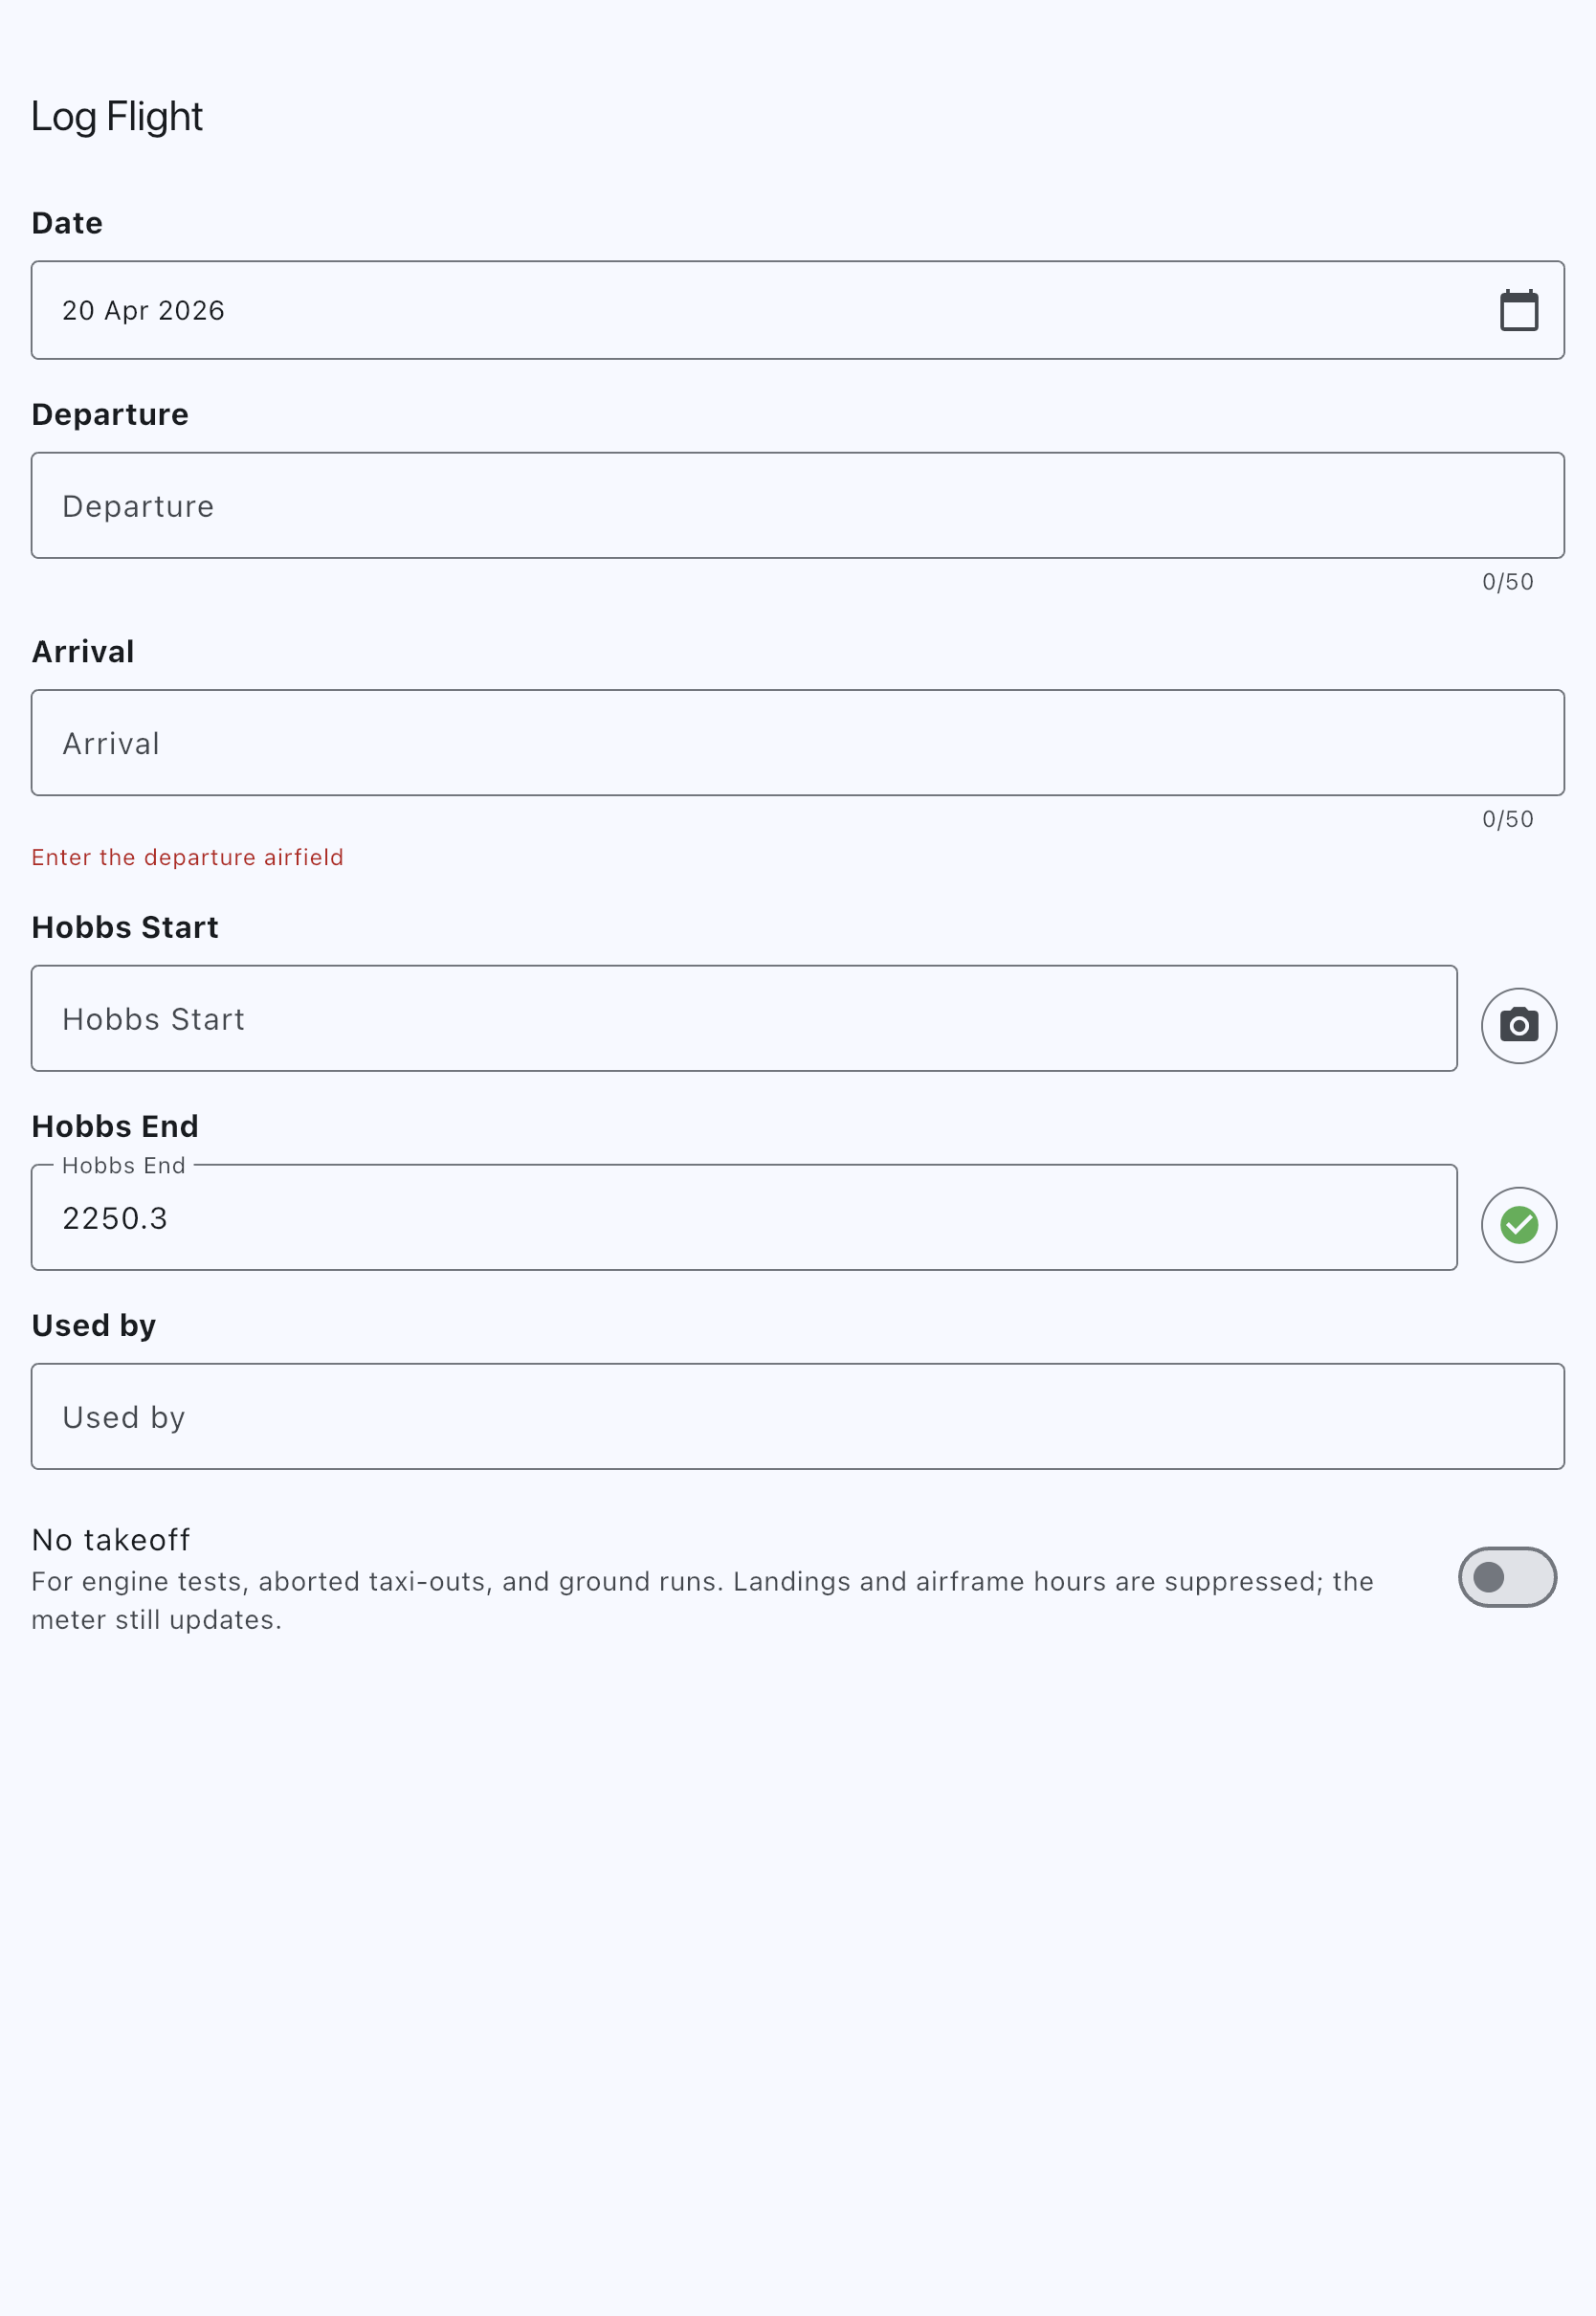
Your device’s camera opens. Line up the Hobbs drum in frame, tap the shutter, confirm. The camera icon next to the meter field swaps to a green tick to confirm the photo is attached and ready to upload when you save. You can tap it again to re-take if the first shot was blurry.
On mobile, Syndik8 reads the Hobbs value off the photo for you and offers to fill the field from the recognised number. On web, tapping the camera icon opens a file picker instead, so you can still attach a photo as evidence; the number is not auto-read, so type the reading in the field by hand.
The start-meter photo is optional and isn’t saved; it’s purely a workflow aid, handy if you want to double-check your reading later. The end-meter photo is the one that matters for the ledger.
Step 5: Save
Section titled “Step 5: Save”Scroll to the bottom. If you haven’t answered “Any defects?” yet, the form will highlight it before saving, so scroll up and pick “No known defects” or “Report a defect” first. Then tap Log Usage. The button reads Log Usage rather than Save throughout the screen; the form is literally logging usage.
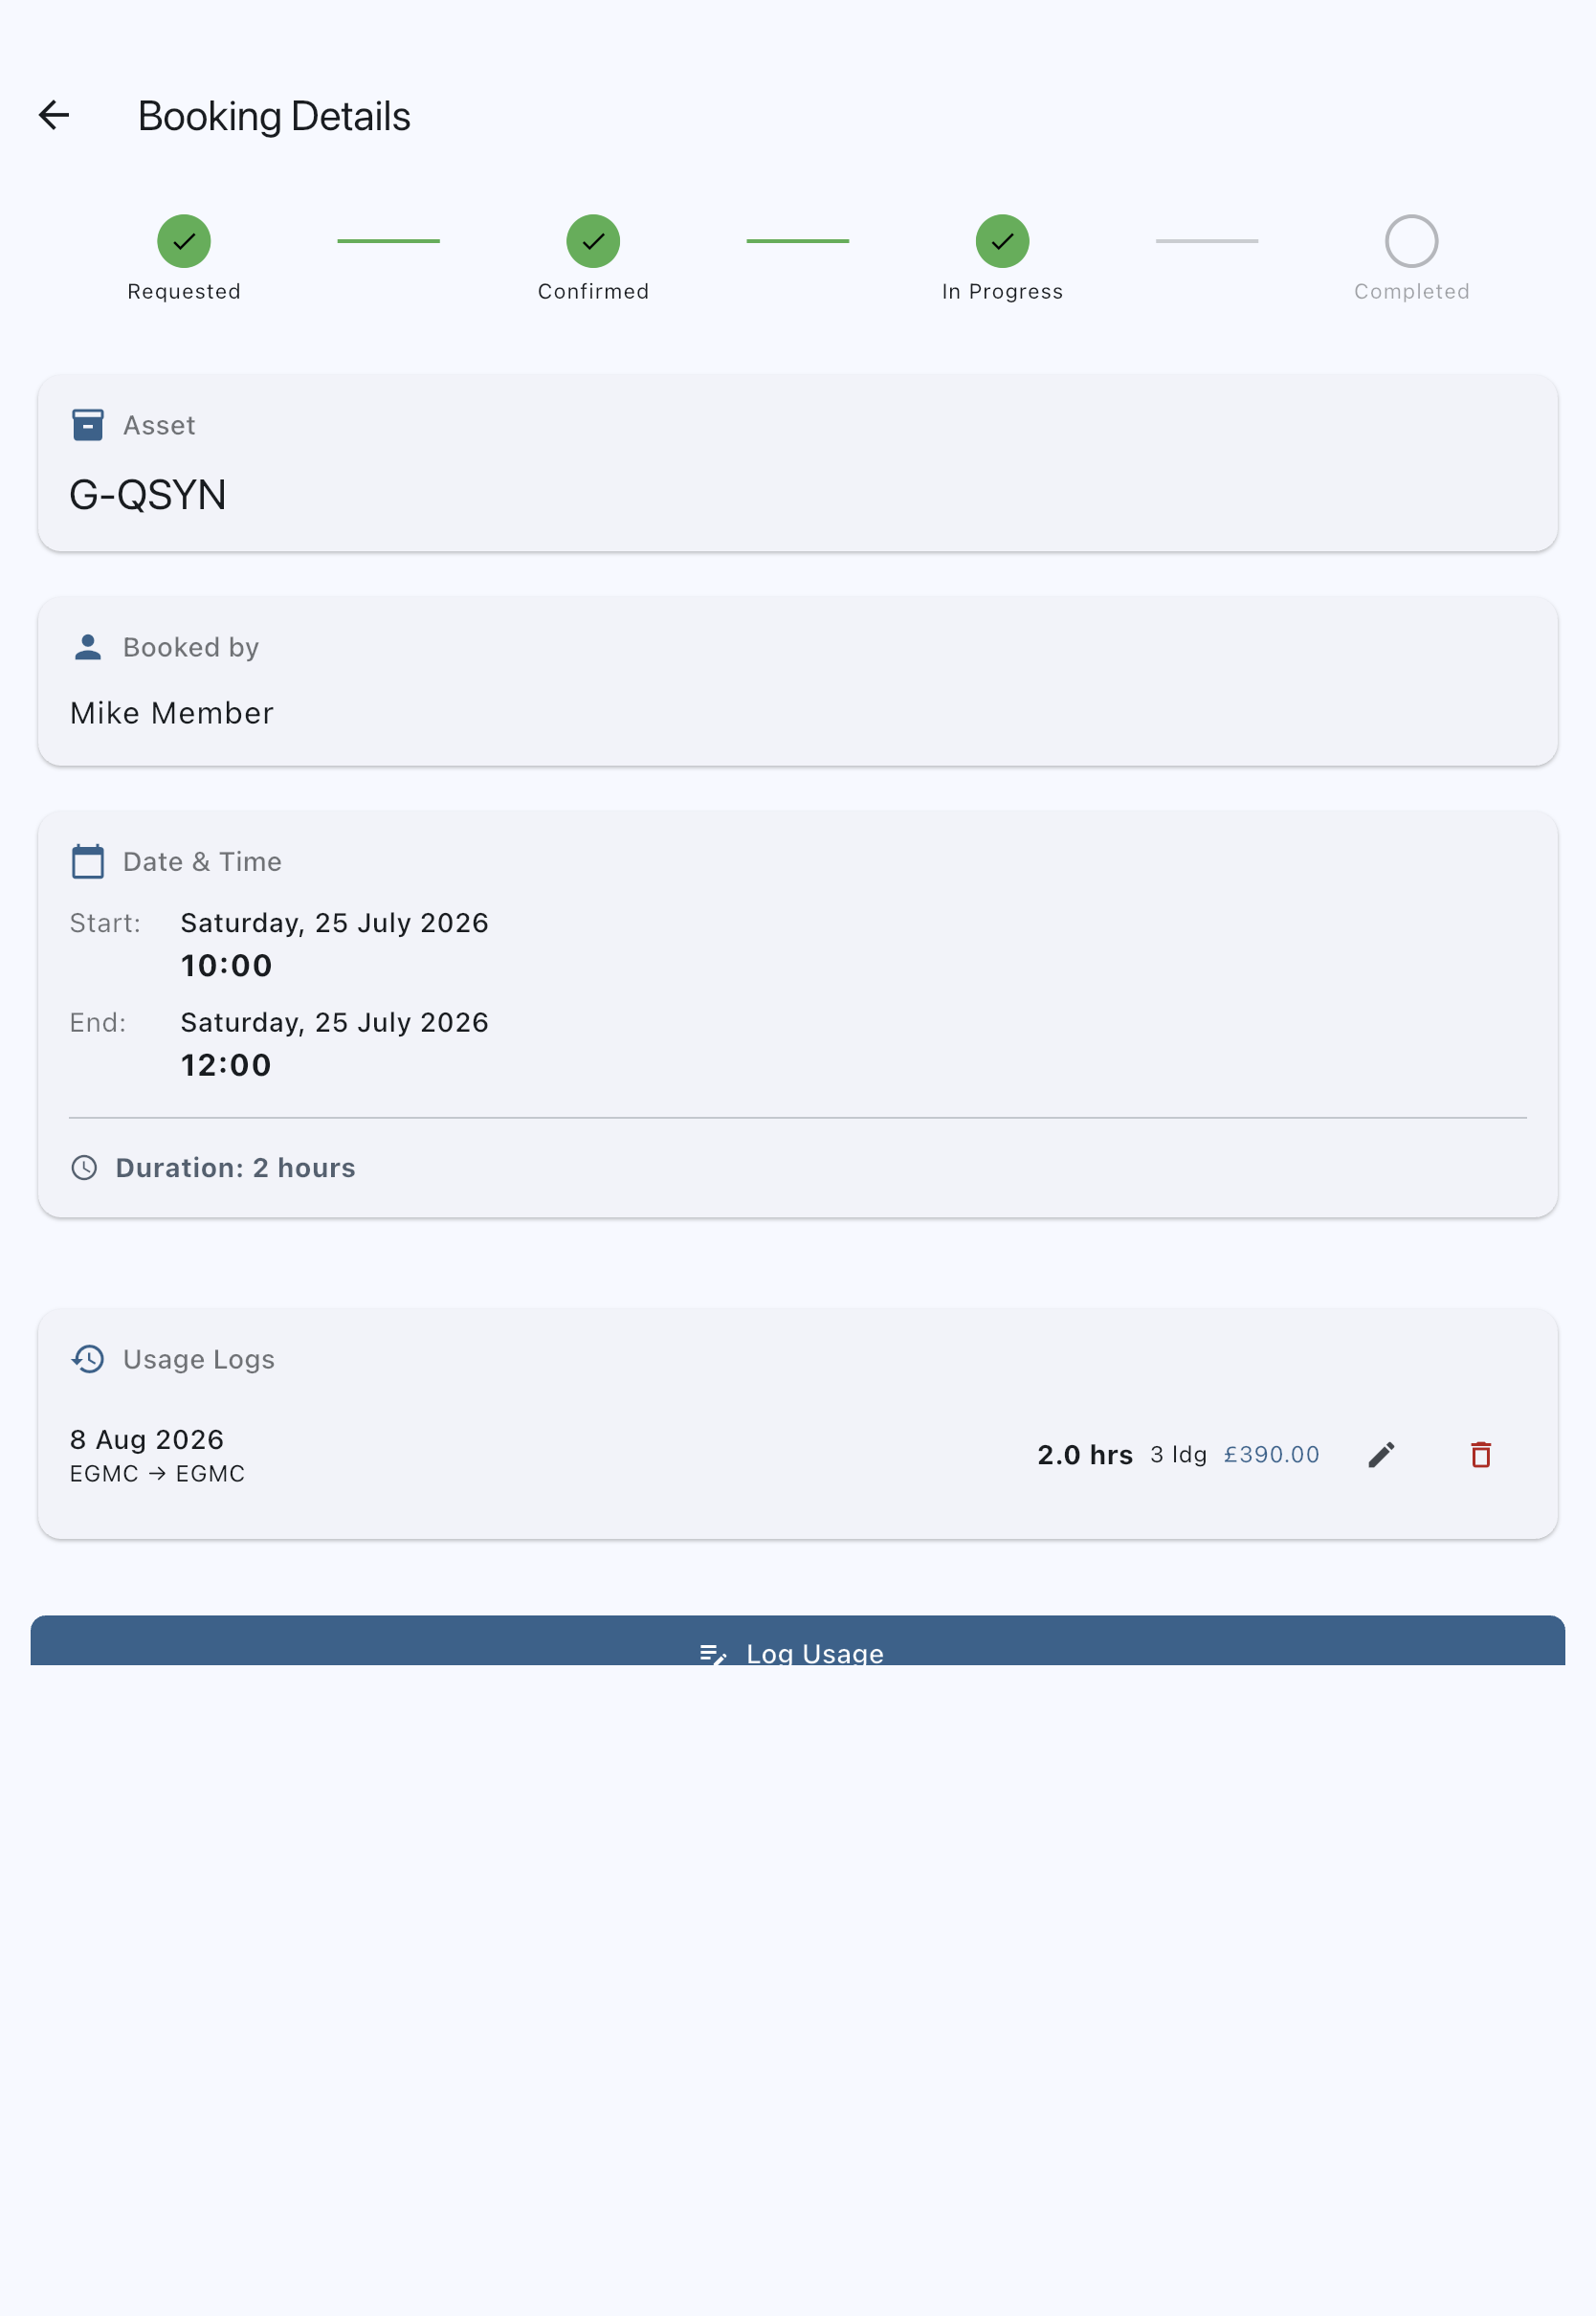
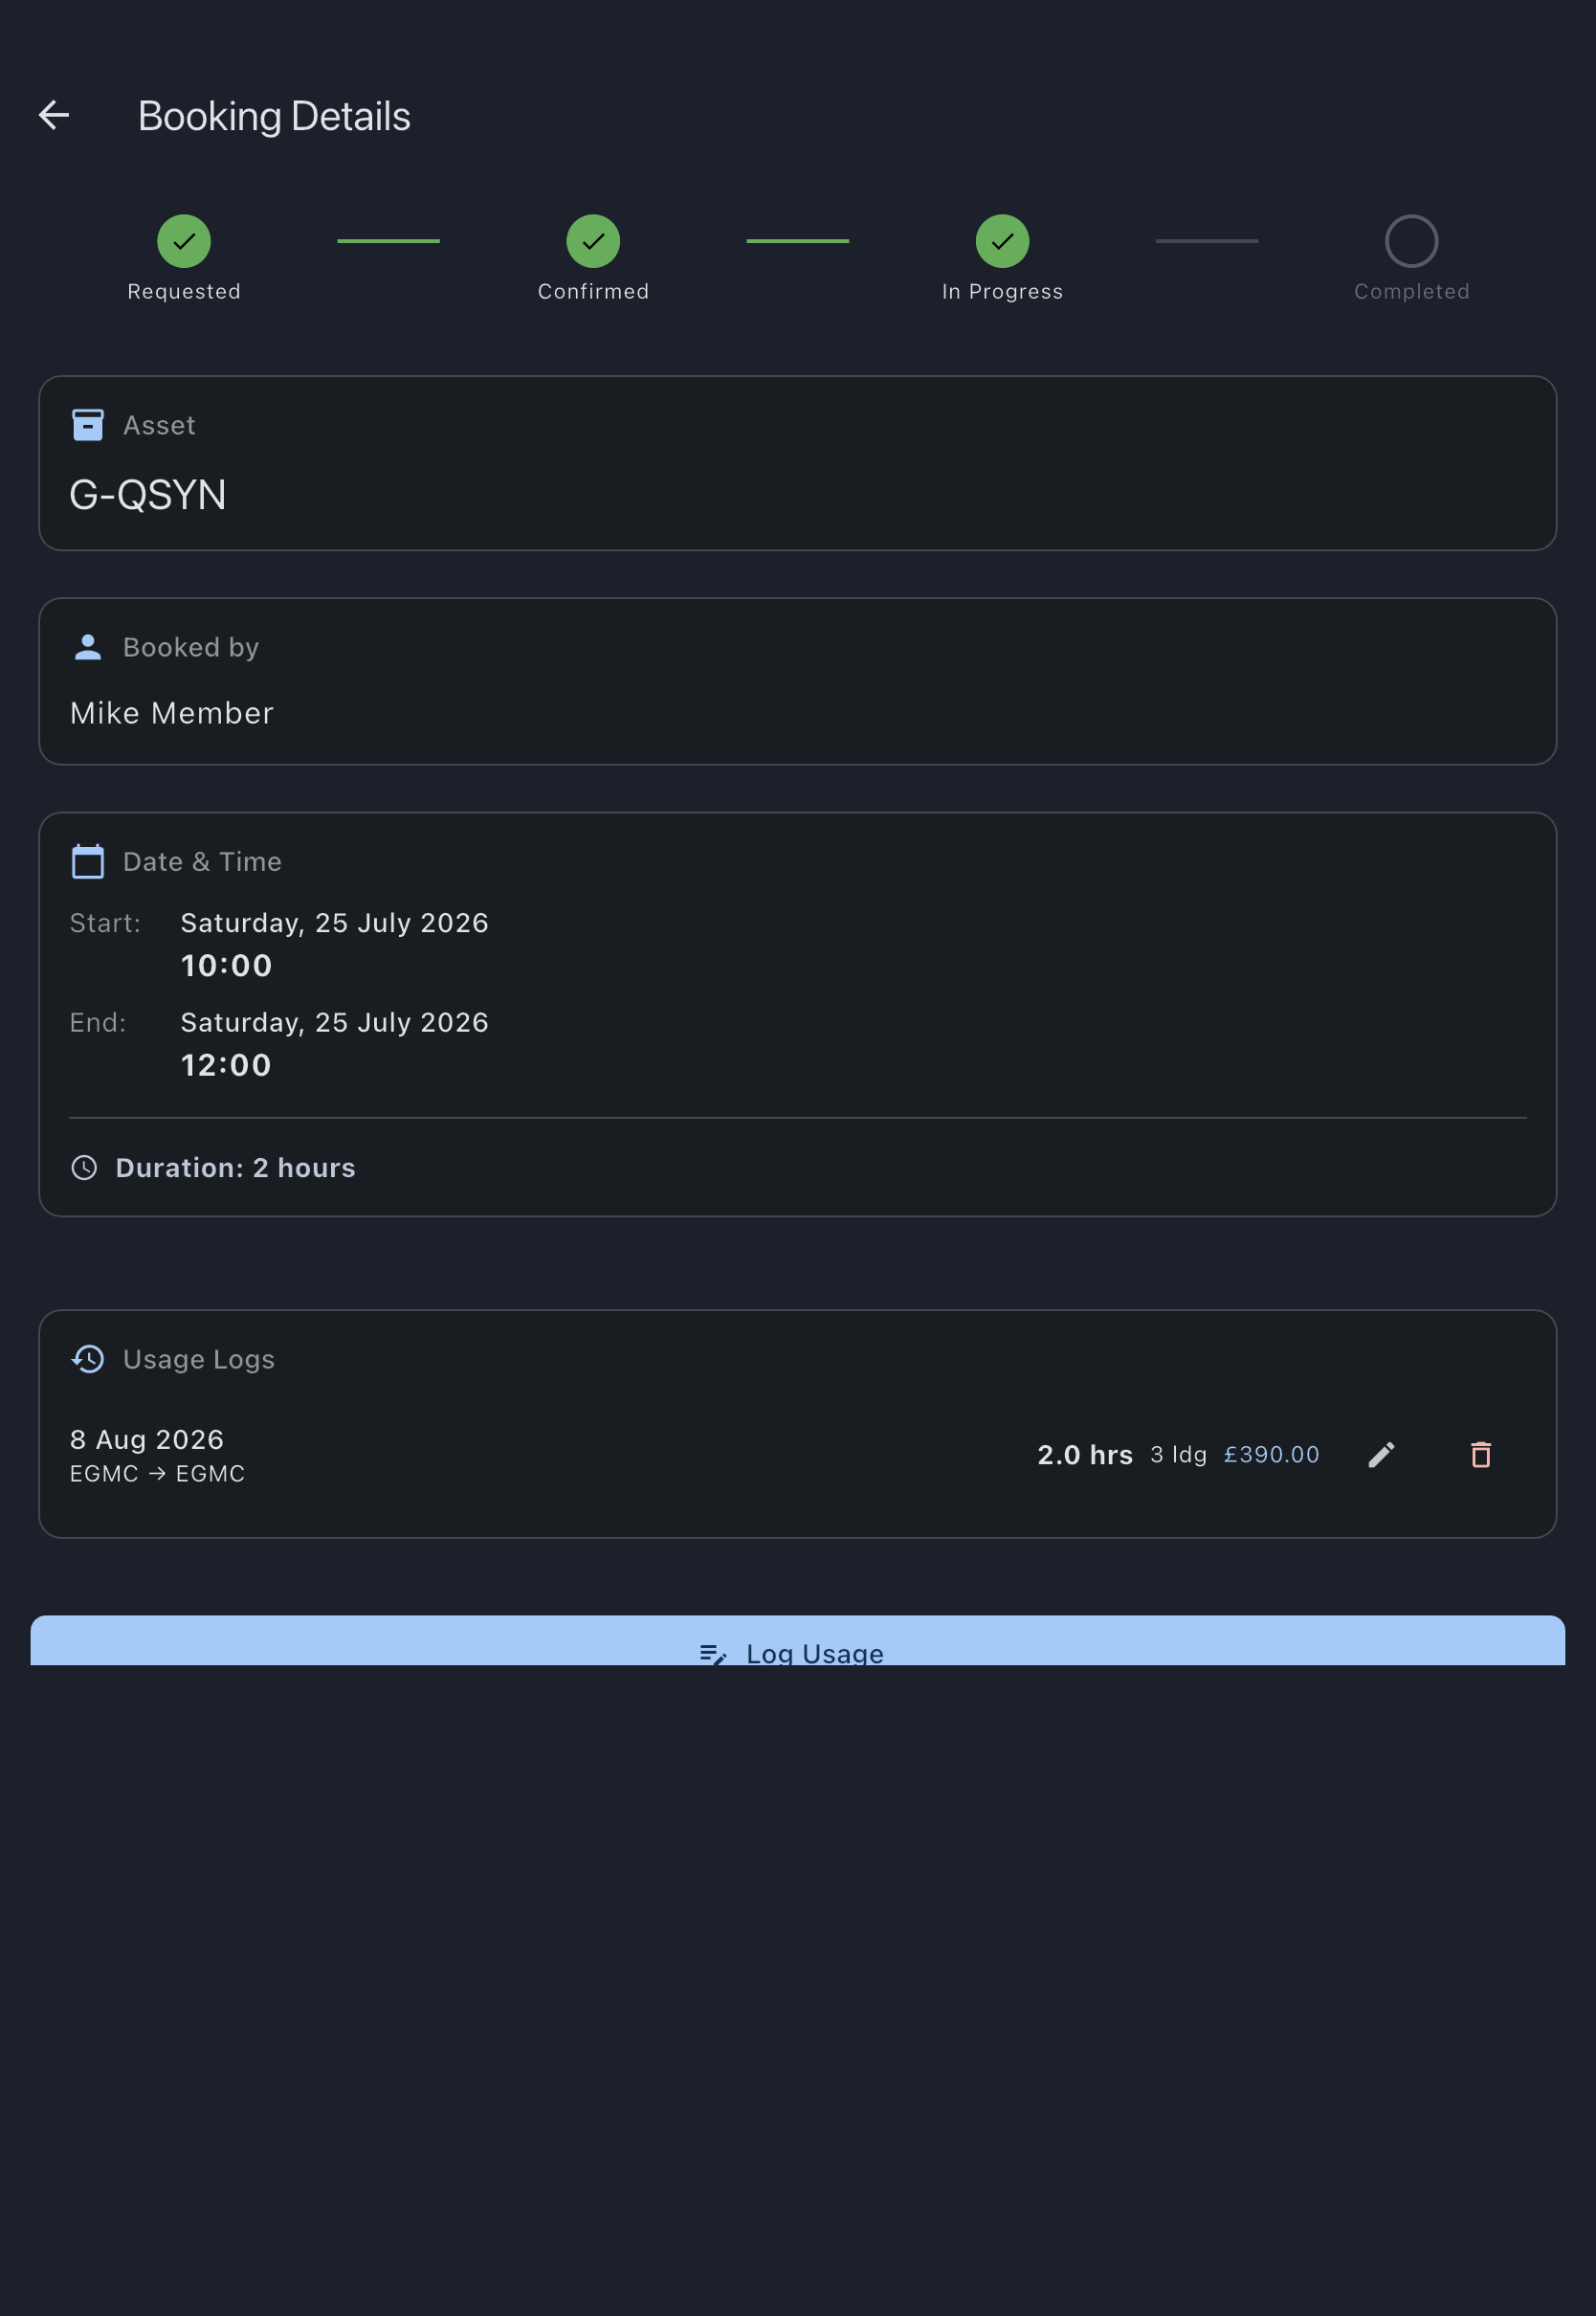
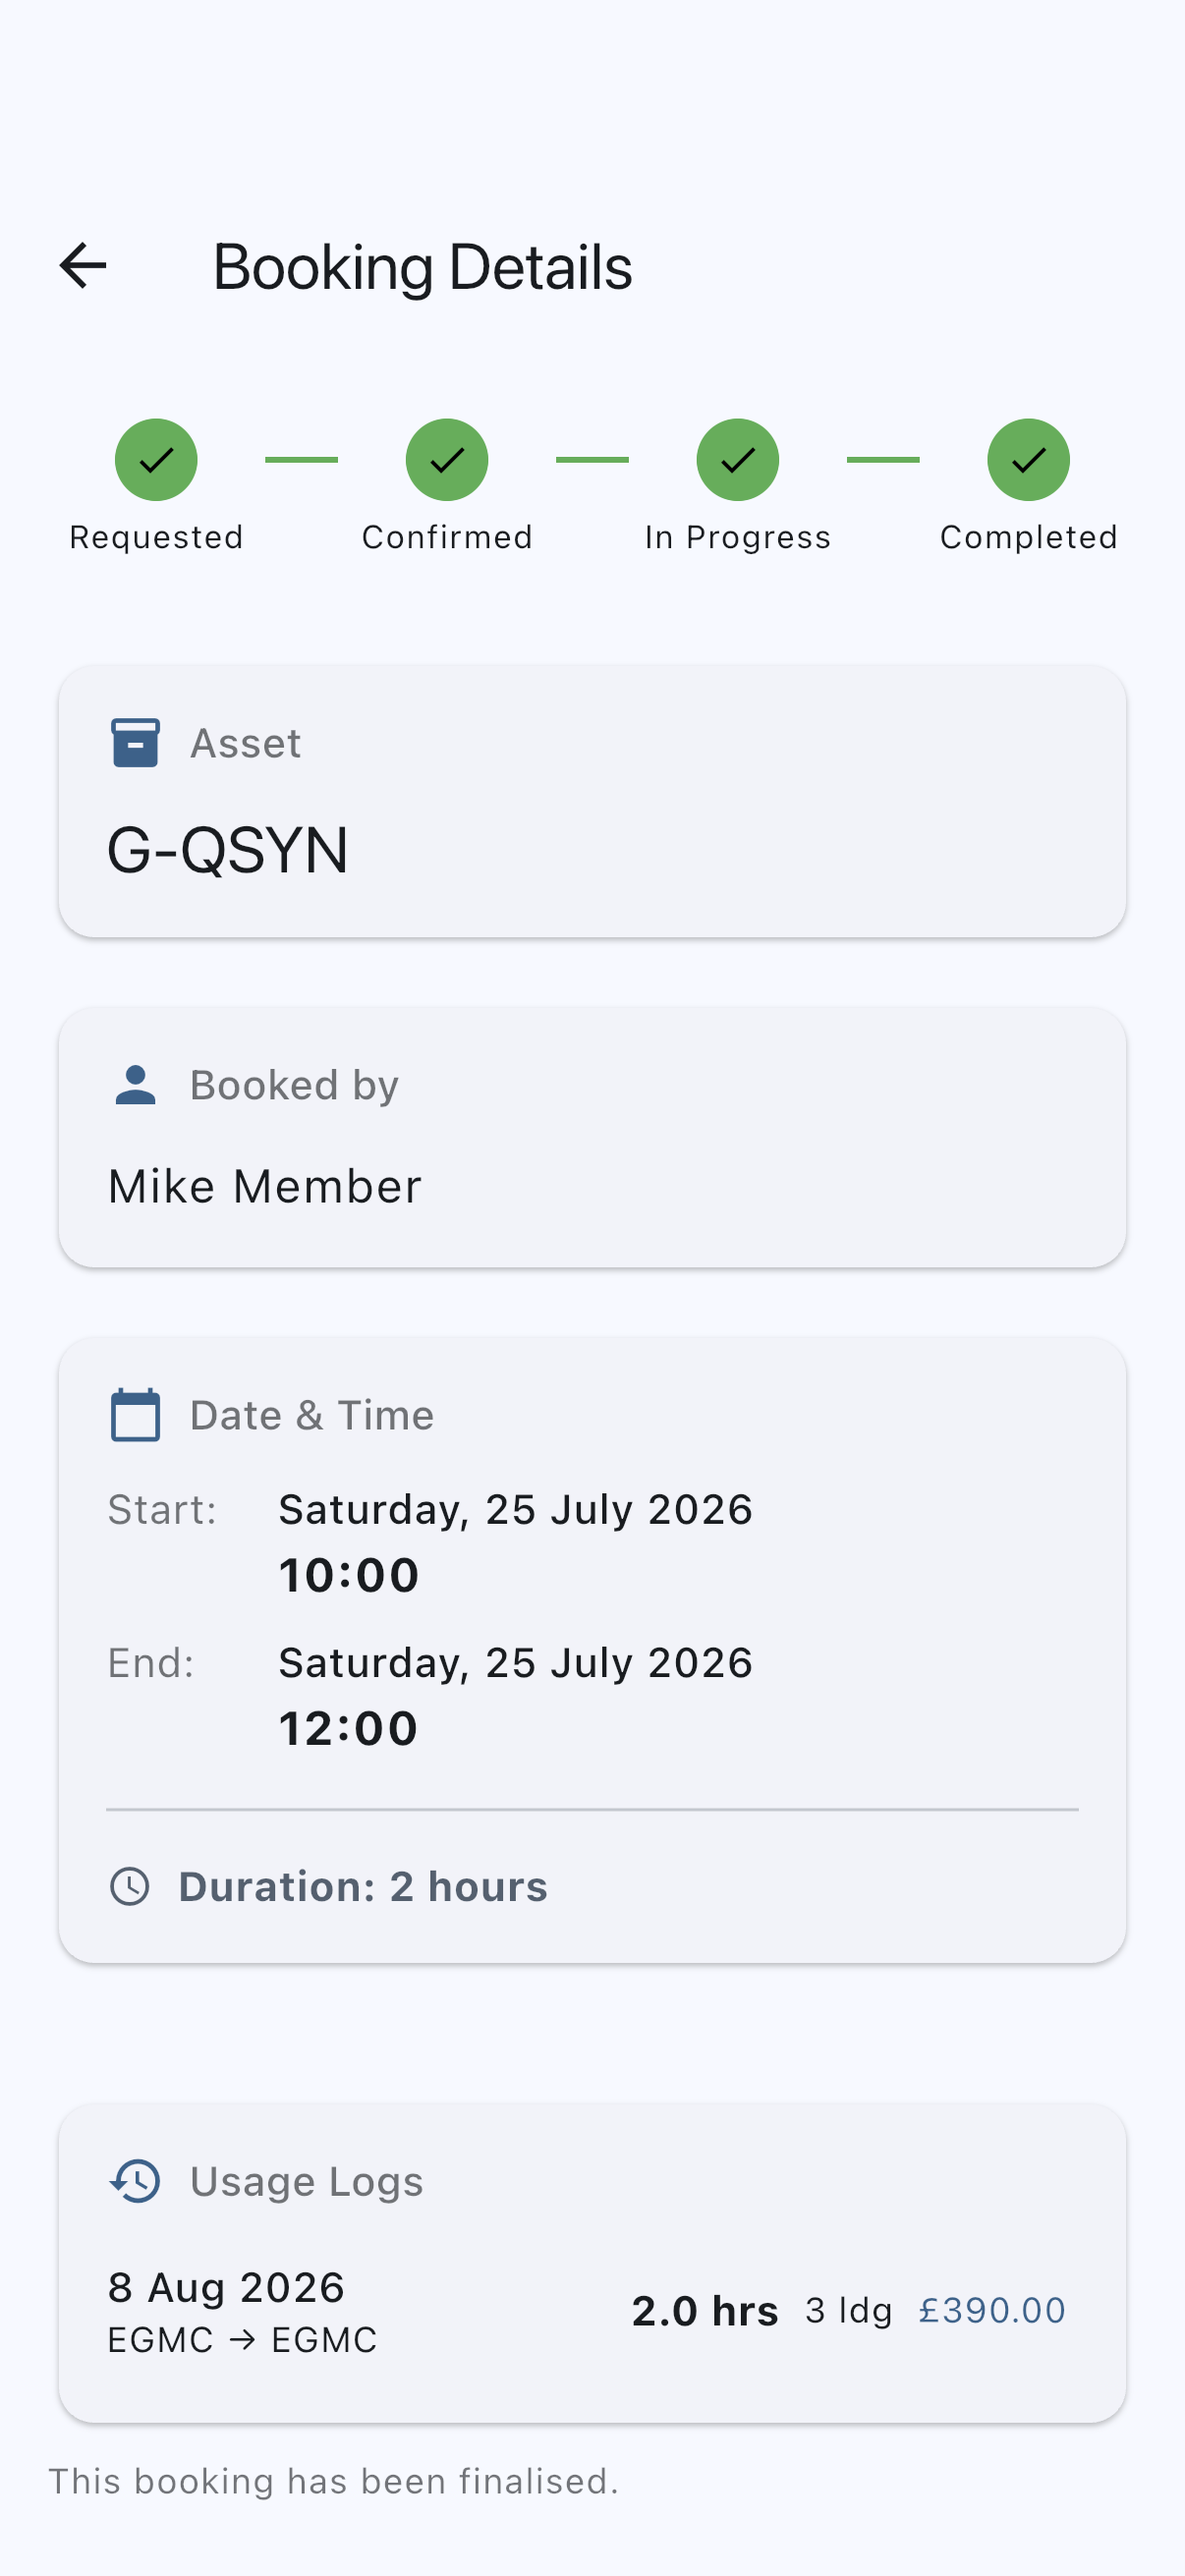
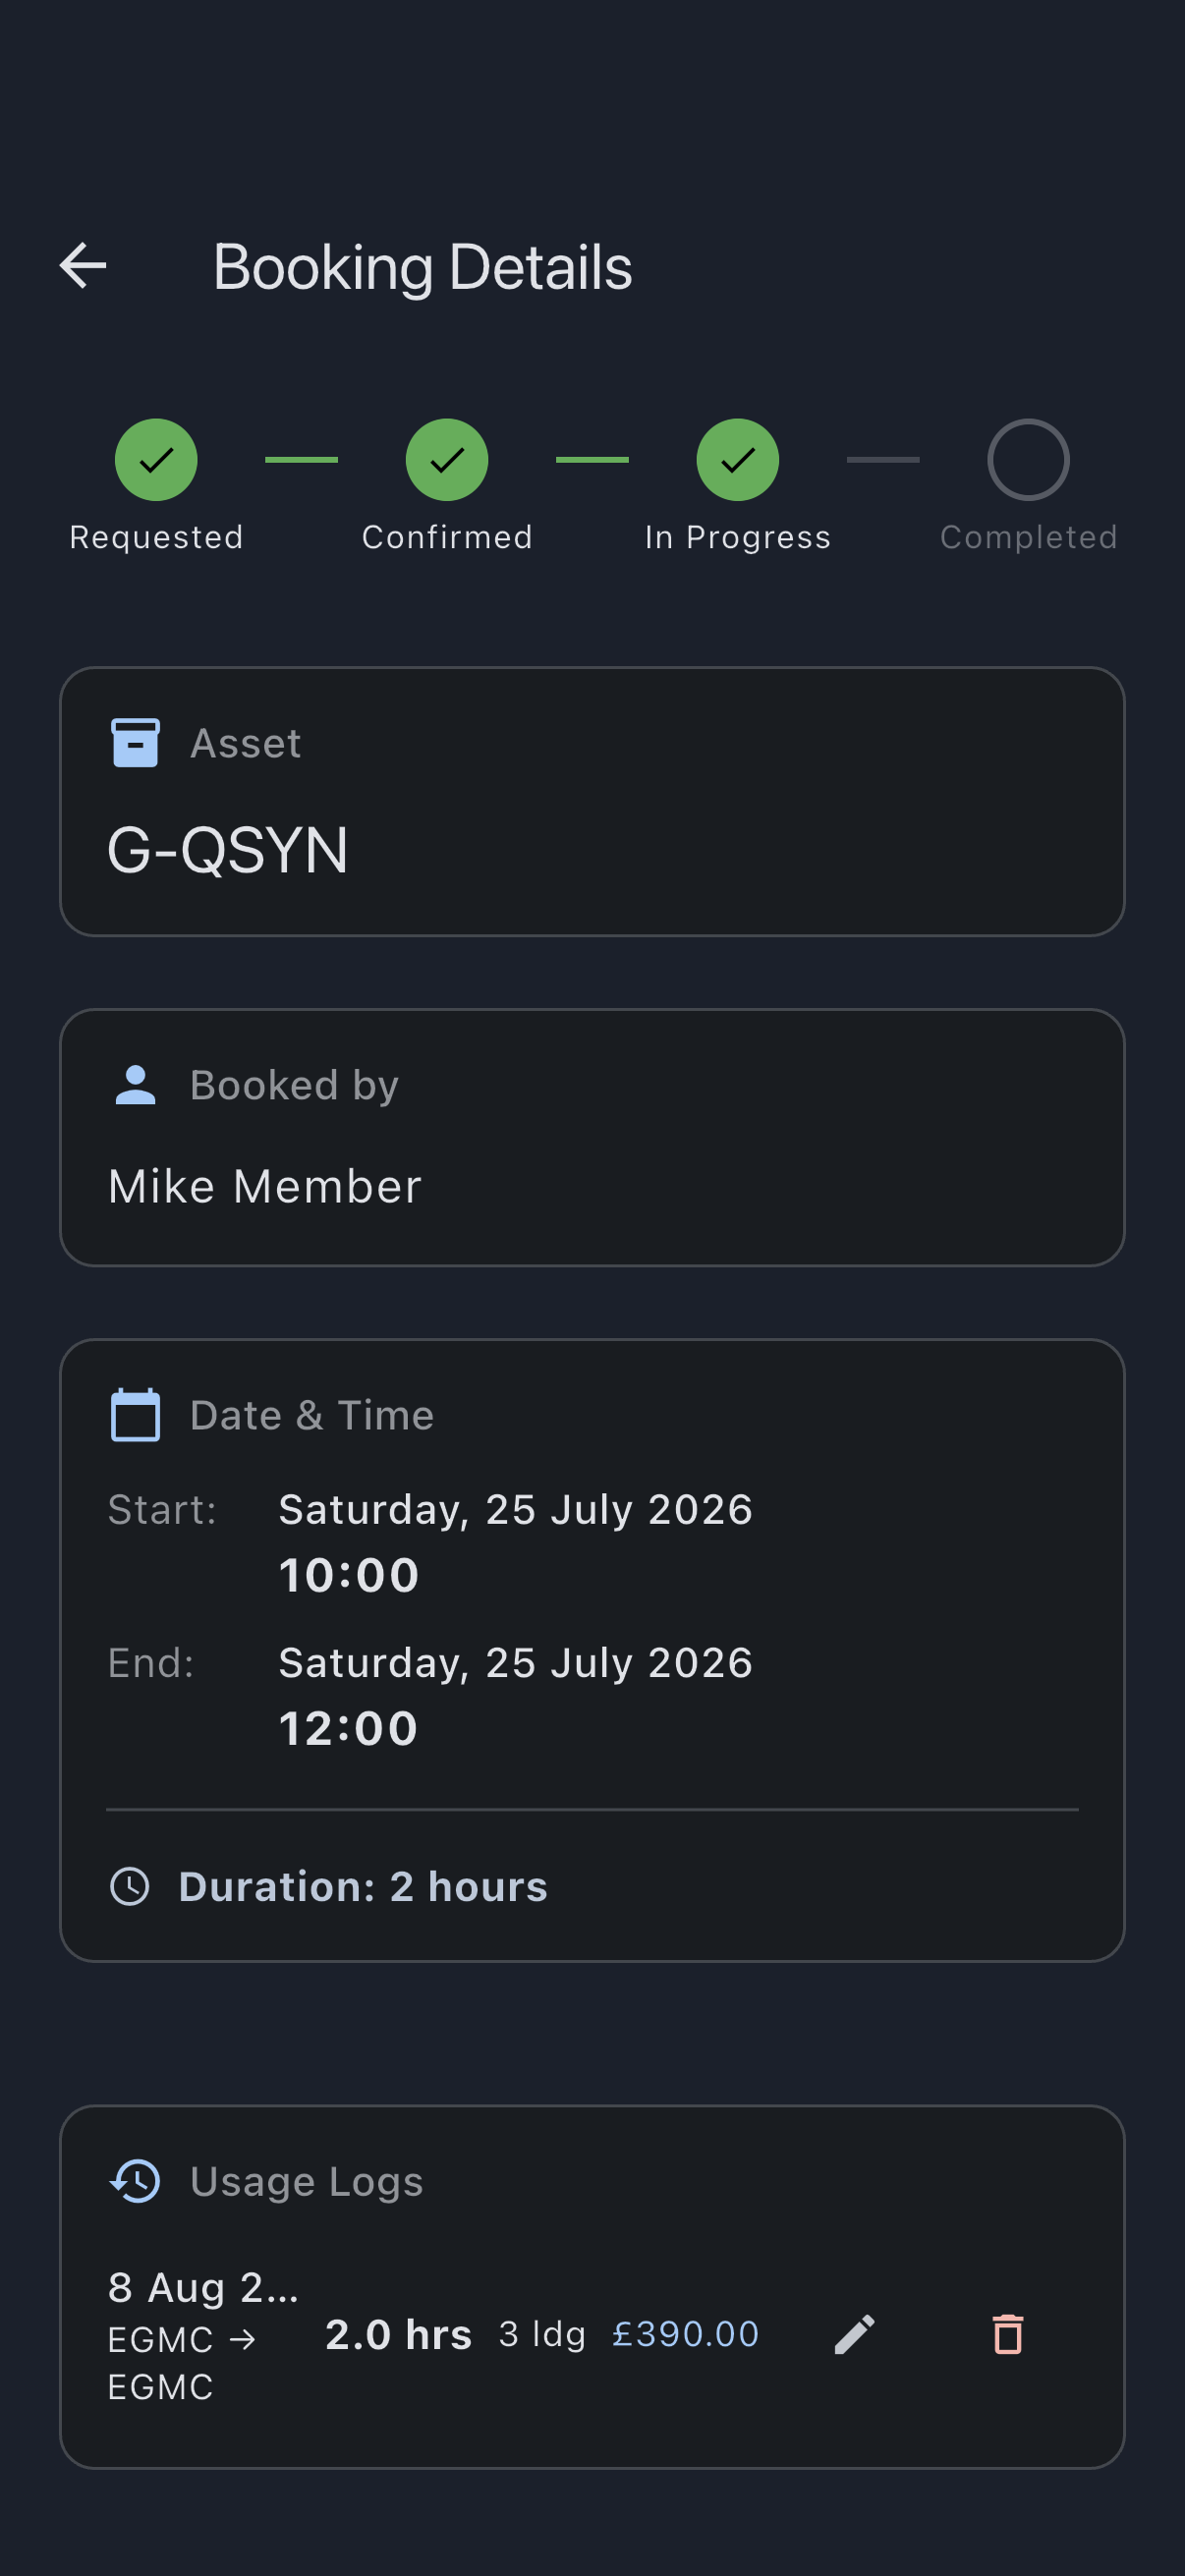
You’ll see a “Usage logged successfully” snackbar. The screen closes. You’re back on the booking, and the usage log you just created appears in the booking’s usage list, complete with Hobbs delta and landing count. If you came in through Quick Capture, the Flight in progress card is gone from your Home screen too.
What you just did
Section titled “What you just did”- Created a confirmed booking on the calendar.
- Logged usage against that booking, including meter readings, landings, and PIC — from the ramp with Quick Capture, or afterwards from the booking.
- Attached an end-meter photo as evidence.
- Made the booking eligible for finalisation. An admin or the treasurer can now finalise the charge at month end.
Where to go next
Section titled “Where to go next”- If the next flight has unusual conditions (mid-month fuel top-up, a landing at a non-home airfield with fees), the full field list lives on Usage log fields.
- For the rules behind the meter-photo store (what’s kept, what isn’t, who sees it), see Hobbs and tacho photos.
- For how the pre-filled readings are chosen, see Previous-tacho pre-fill.
- For the “why” behind splitting logging from finalisation, see Why finalisation is a separate step.
- If you spotted a defect in flight, the next thing to learn is Report a squawk.